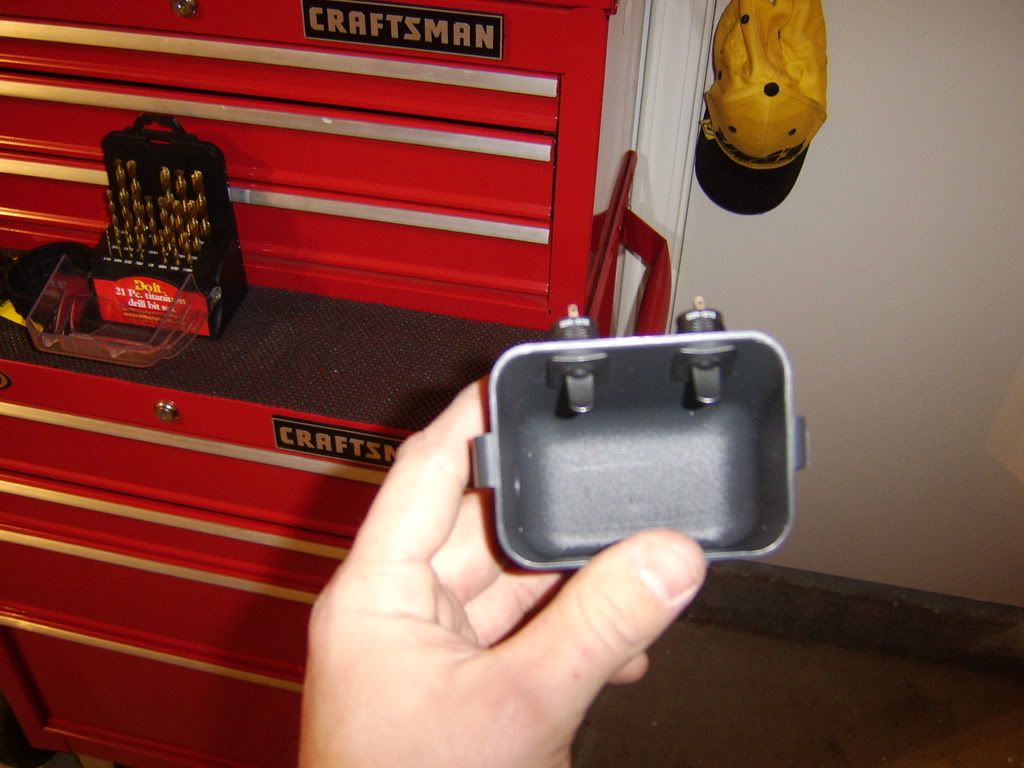
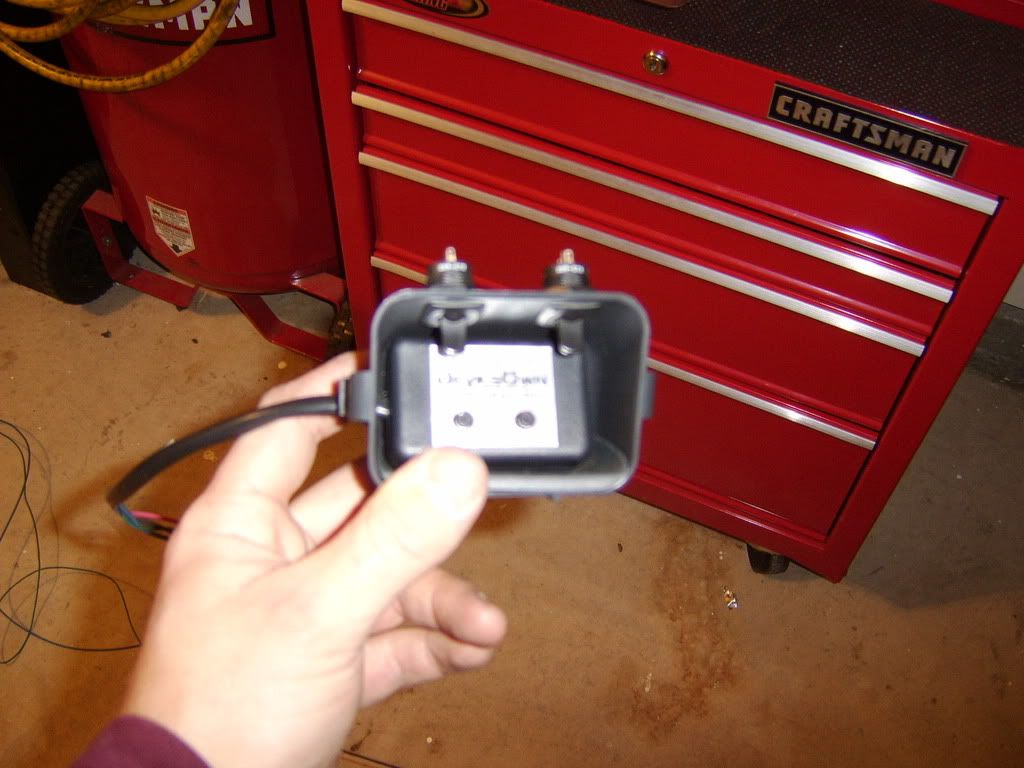
Now its time to figure out where to place the main control unit for the Devilsown kit. My plan from the begining
was to mount it in the mini cubby by the headlight switch. I already have a couple of switches mounted, why not a
control unit too? It should fit perfect. Here it is removed before modification...
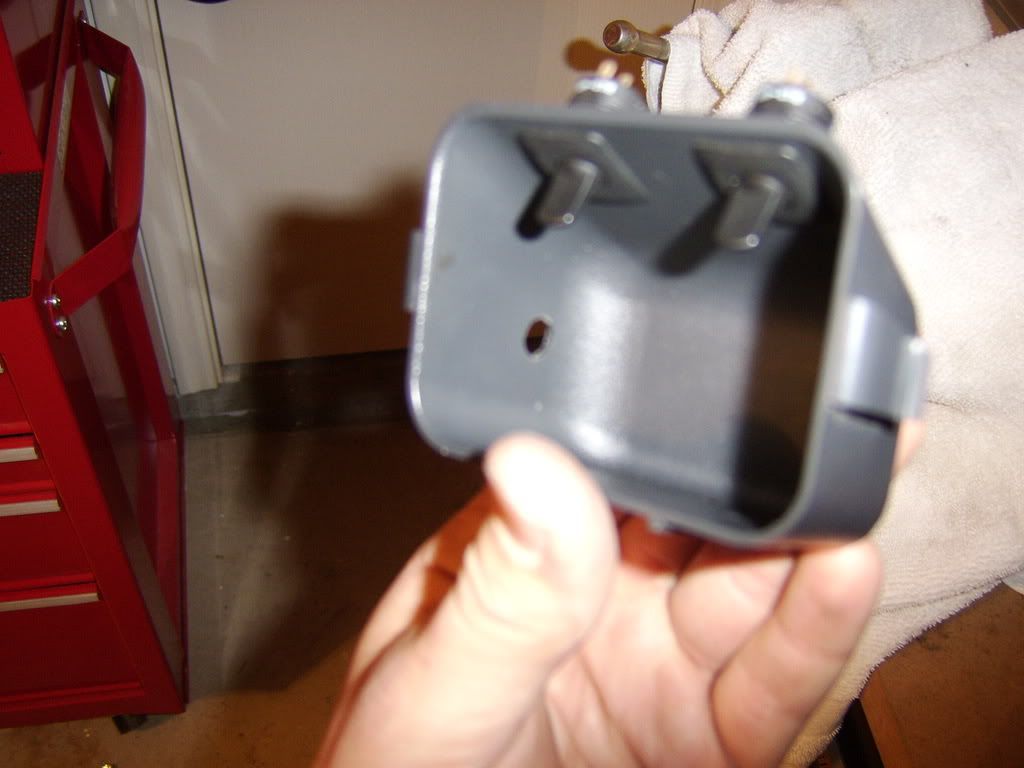
Drilled a hole in the cubby so the control units' wiring can run through...
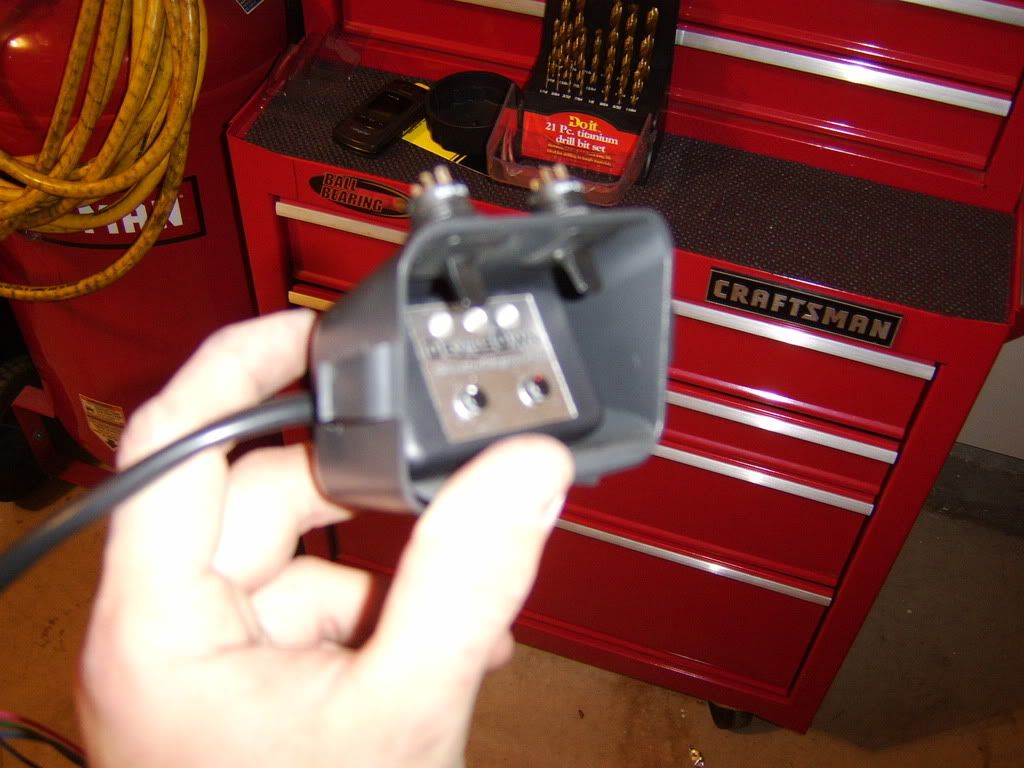
Mocking up the control unit in its new home...
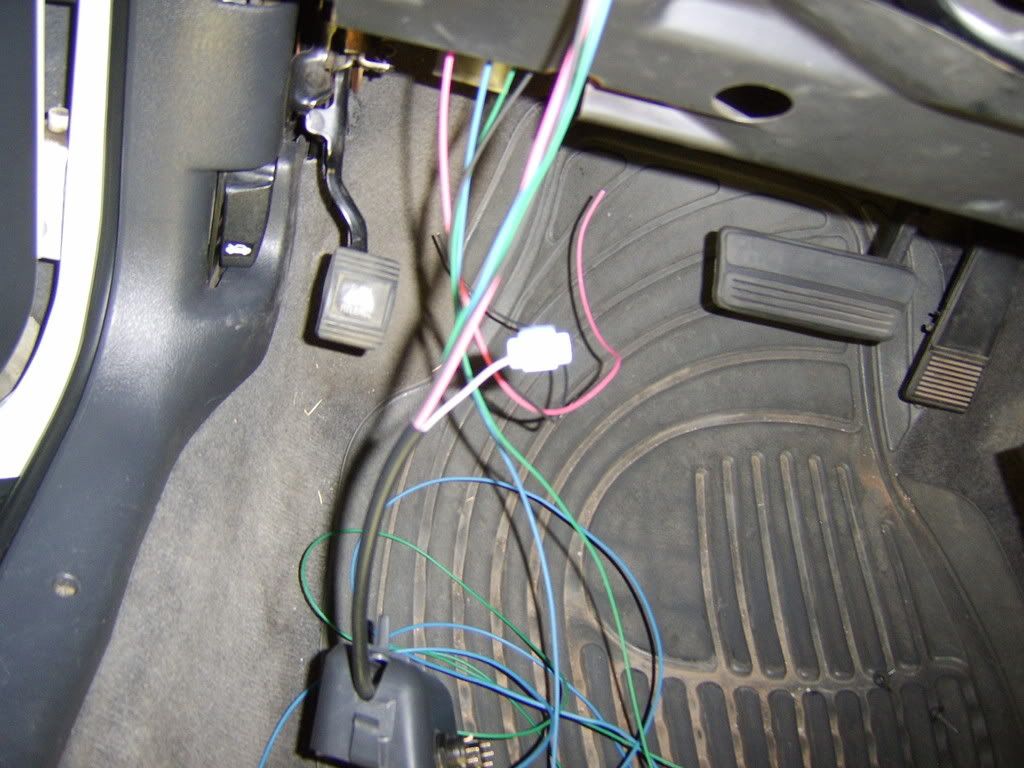
Now its time for some wiring, first we'll start running the wires, control unit, and modified cubby in to the dash
of the car...
After running it under the dash and nicely looming and seprating wires, I wired in the supplied 10 AMP fuse holder
on the red wire power side and I tapped it into a switched 12V source. Since my Acc Power Drop is pretty much used
up and on the other side of the dash, I used my Autometer Volts gauge power wire as a tapping point and spliced
there. I took the black ground wire crimped on a ring terminal and used an existing bolt for the steering column
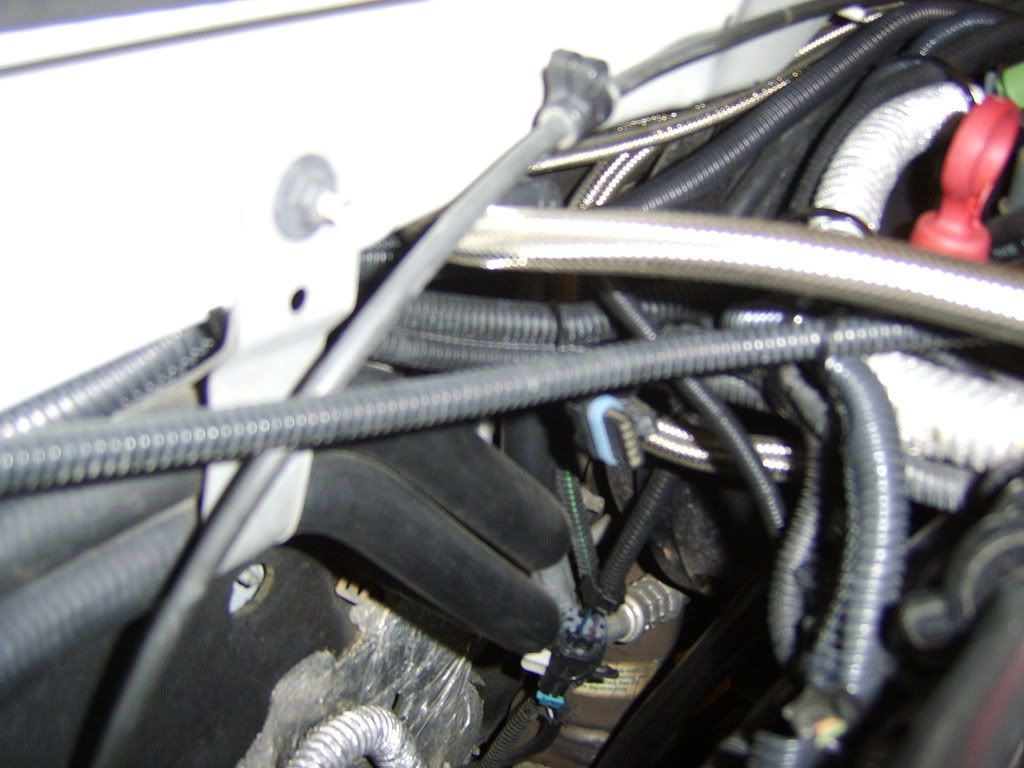
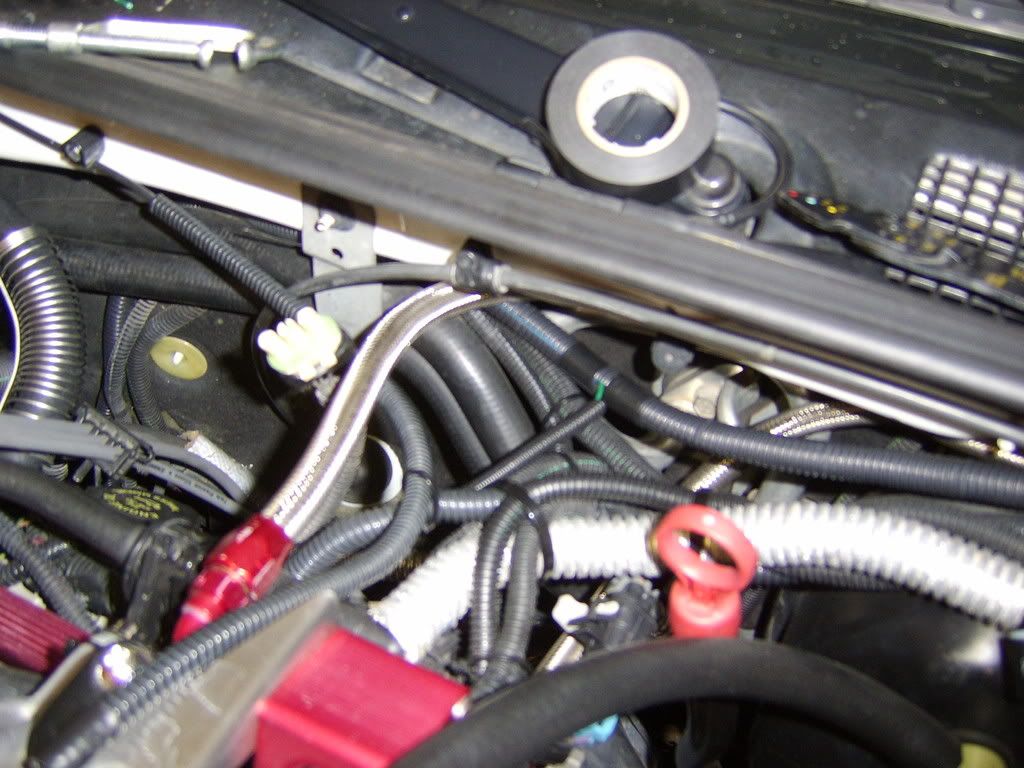
mount. I proceeded to run the blue and green wires (longest wires in the bundle) to the passenger side wire
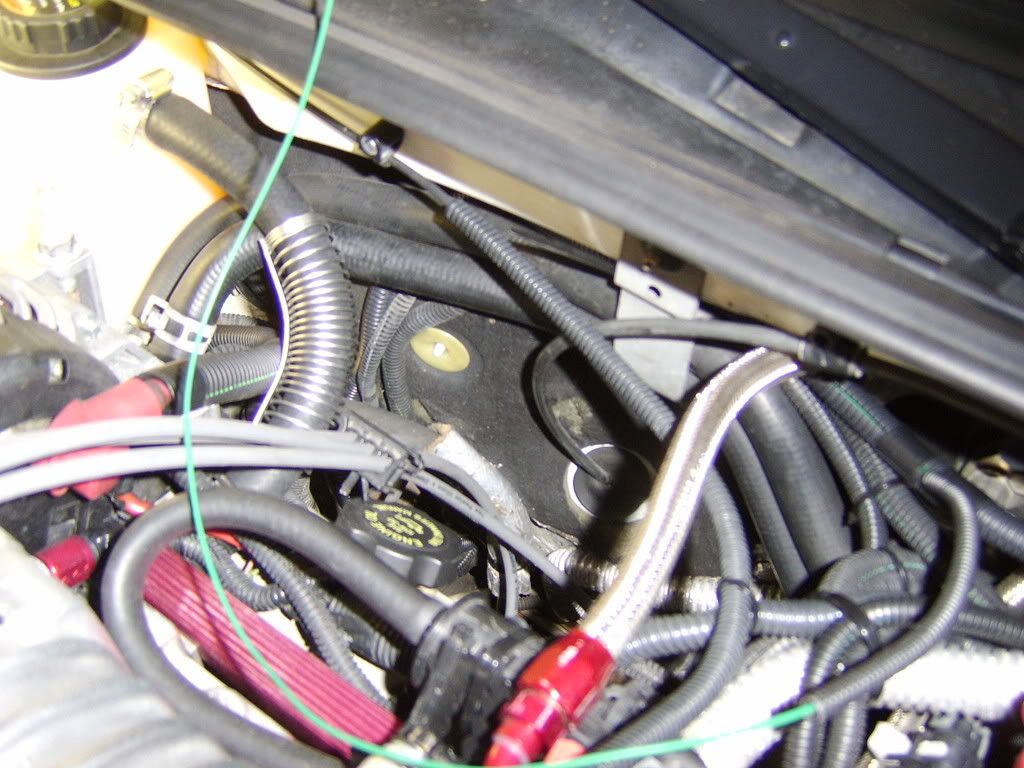
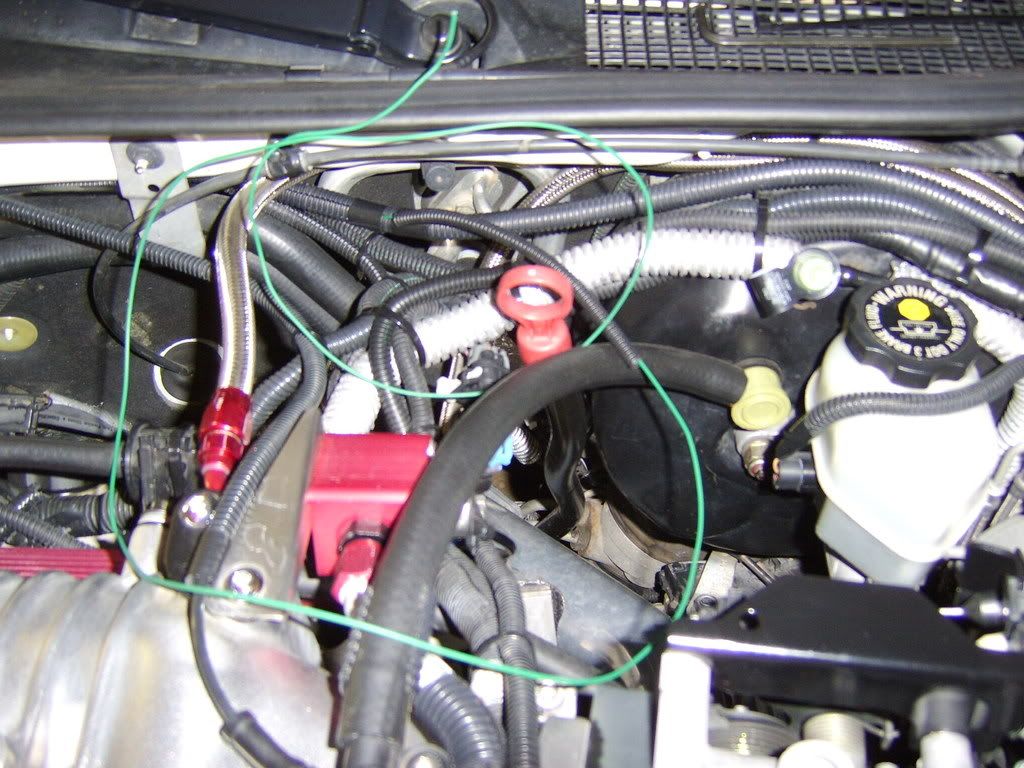
gromment and ran the out into the engine like i've done many times before. After successfully getting the wires
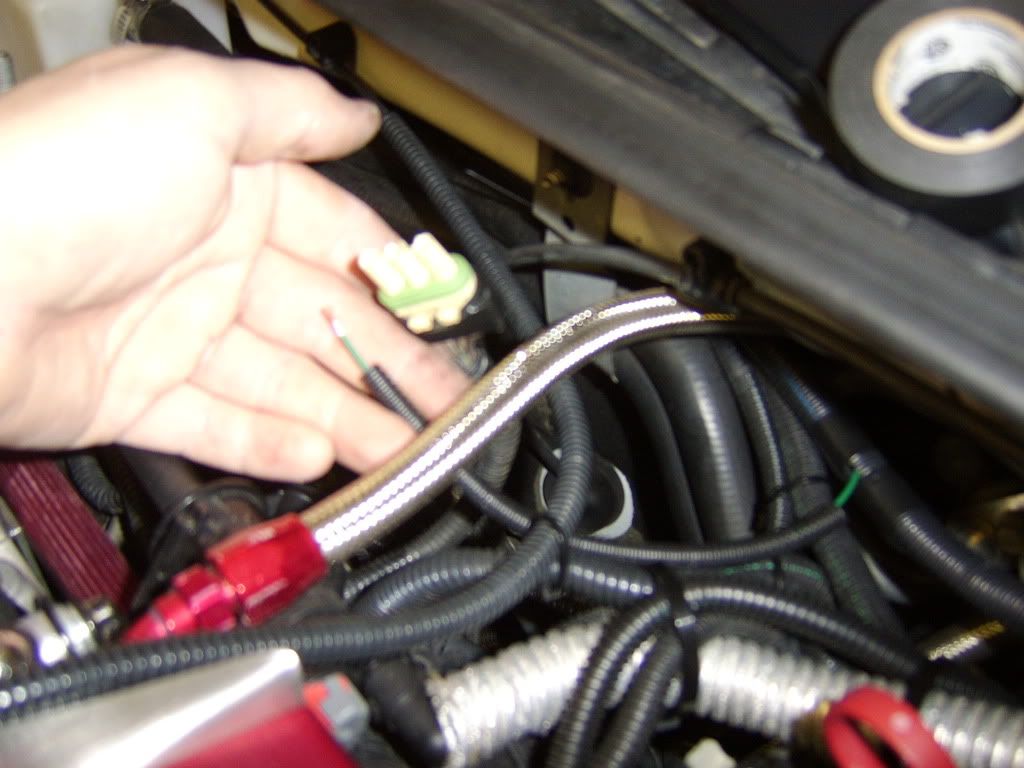
into the engine bay, I loomed them up and started routing the wires to there new homes. The Green wire goes to the
MAP sensor and taps into the middle green wire (B) on the connector. The blue wire goes directly to the pump and
wires into the Red power wire. Posi tap was used for the MAP signal wire connection, a butt connector with heat
shrink was used on on the blue/red pump connection. For the pumps' ground I used a ring terminal and some shrink
wrap to seal it off. Drilled a small hole and shot in a sheet metal screw on the frame rail beside the pump.