|
|


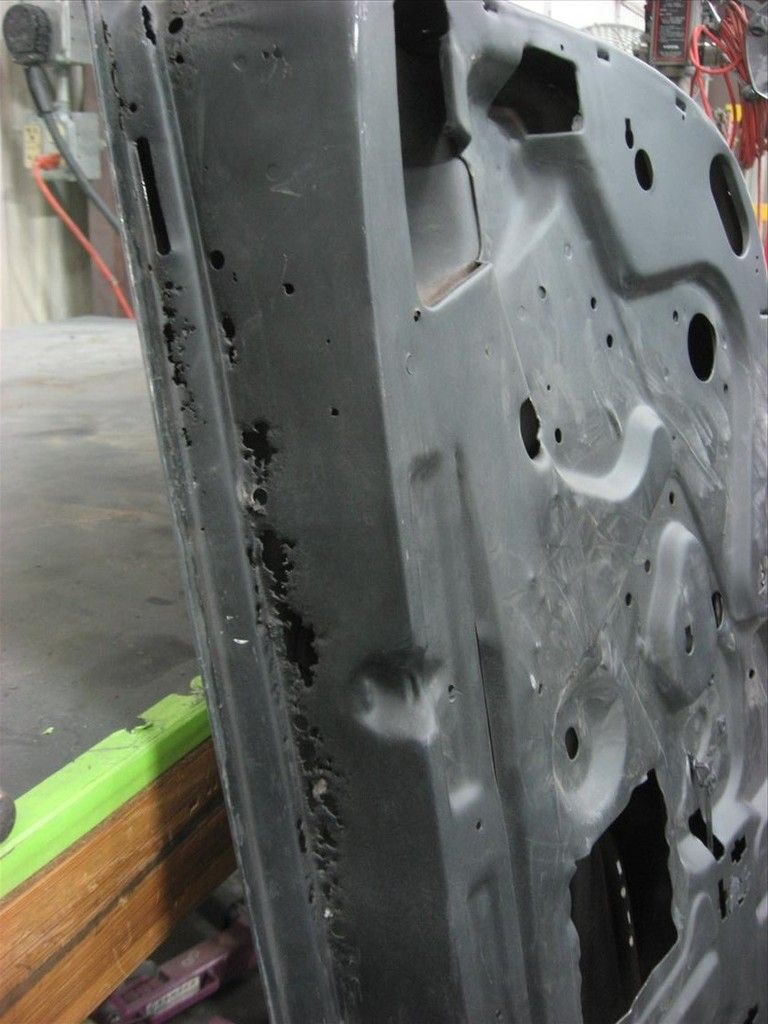
Same door

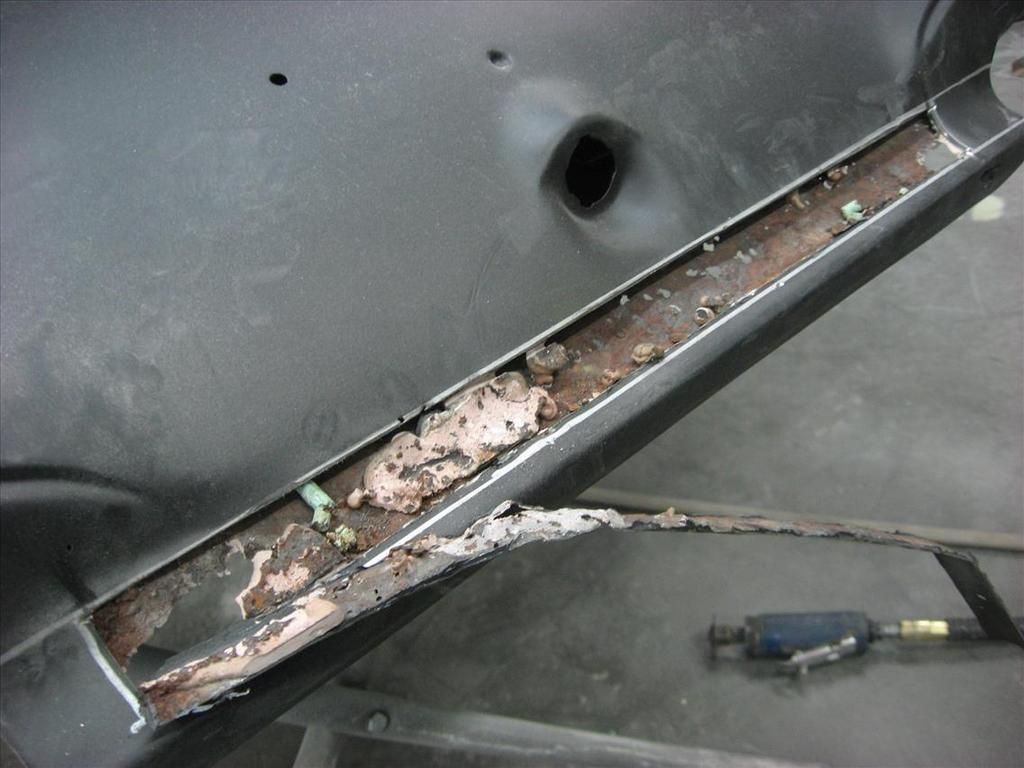
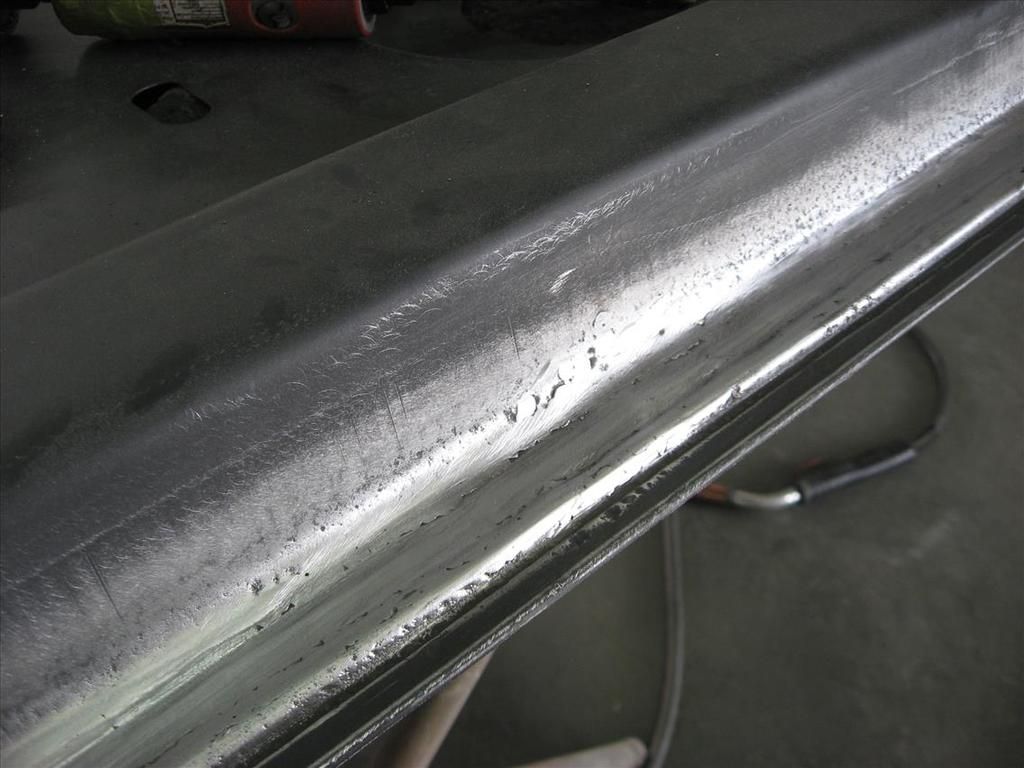
The trunk lid. This is all 1960 Chevy Biscayne (like an Impala) stuff.
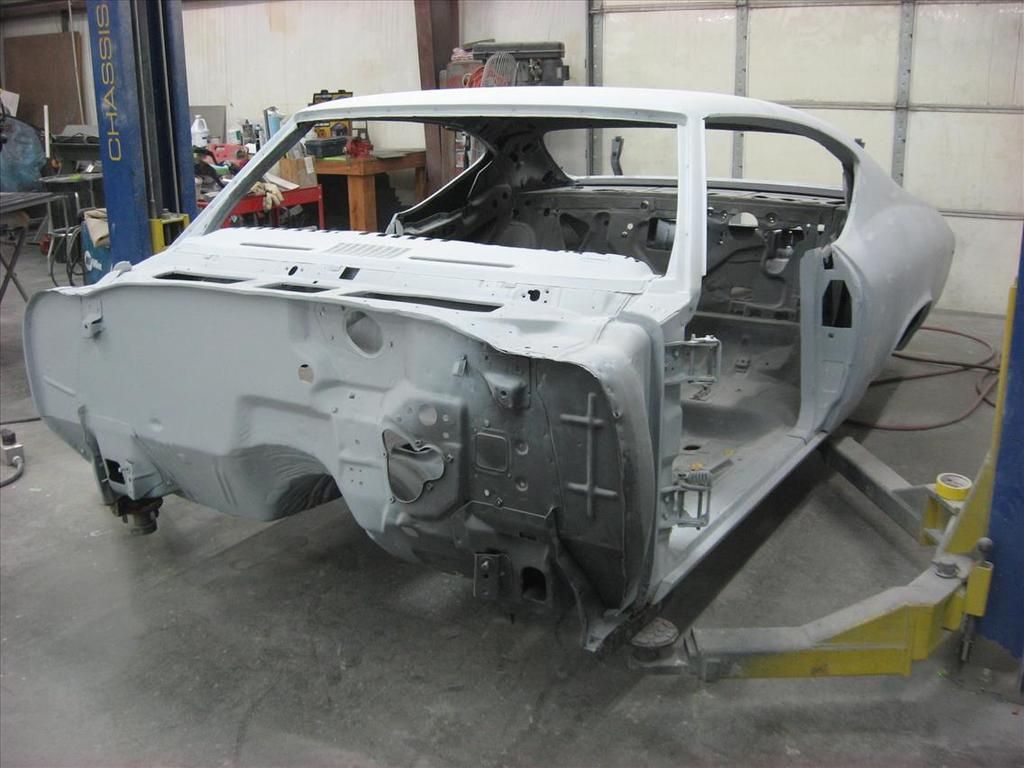
This Chevelle should be shiny black next week. I did not do major bodywork (co-workers did it all) but did do some stuff.
Ahh. Time to wipe. This is what I worked on for the last half a year. That rusty Biz was a welcome change!
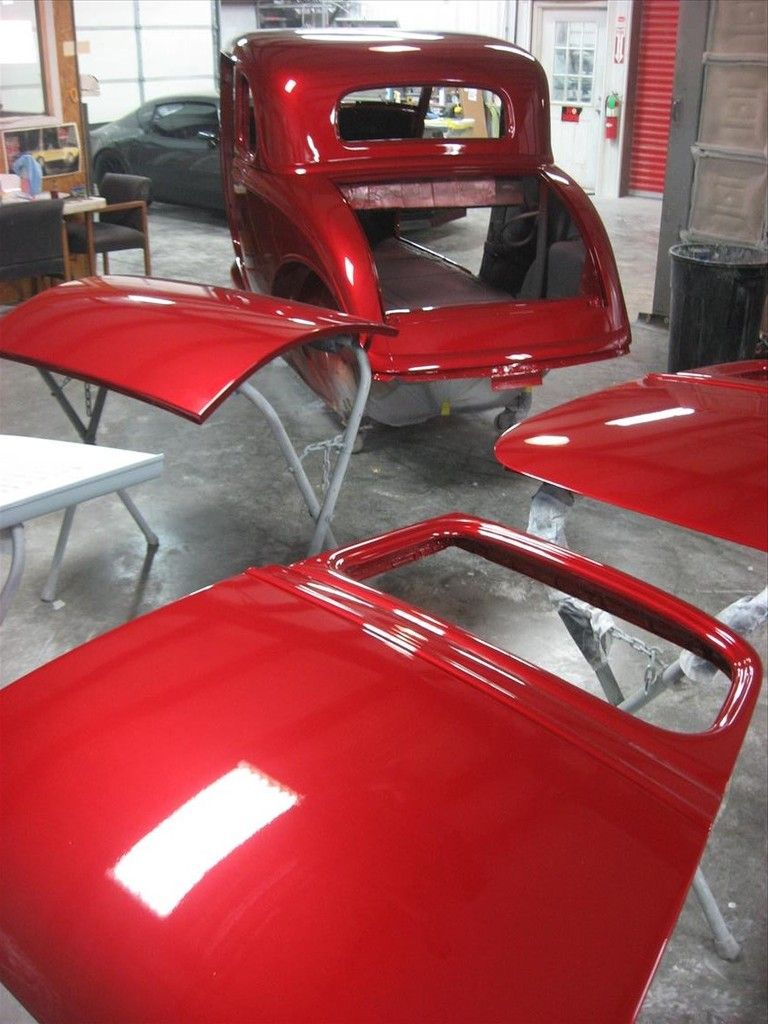


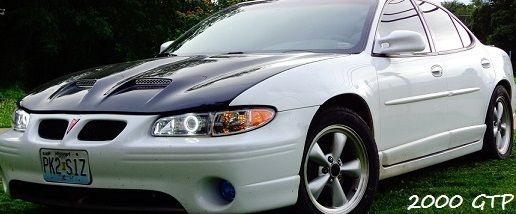
sexy red, nice pontiac in the back
Thx. You'd get a bone if you heard it. Distinct! Thats "caught red handed" off a Caddy.Originally Posted by ItHurtz


I still say this thread is like one of those Discovery Channel shows without the drama. Just wow. All the wow.

 GMPP, Votland, Addco

That Biscayne is gonna be 90% new metal by the time you're done. lol
Great work, I can only hope to have to opportunity to learn how to work the magic that you do.
Booba's gif reminds me of cookie monster throwing cookies at face and omnom chunx flying.
The new metal pile sure is big, but kinda like bondo... just because you buy and use a gallon don't mean theres a gallon on the car. Some of the new panels, I'll just cut patches from because they are known to fit poorly. Its a big job and in order to keep the painter (and car owner and boss) from being in a pinch at the other end, I gotta keep things small, simple, and moving most of all. What I try to do is just be sure that a solid foundation for the filler and primer exists, and thats a lot different from what a 75 year old street rod fabricator can do, metal perfection-wise. The trick about learning it on other people's cars is somehow you gotta get them to ask you to do it. Know your work, offer a good value and be reliable, and folks can't ask for much more.
Hot damn, I clicked the HRN main page and saw the blue truck! It will be in ink in the August mag. I didn't expect to see it here so soon-
http://www.hotrod.com/articles/1967-...d-great-taste/

That must be a good feeling.
It is, even though I hardly worked on it. Helps me feel less foolish for sticking with this job. I did disassemble the body of that 100% and then later on I installed a bed floor that we fabricated.
Tim, stand by for another massive a patch pic dump. About that 60 Biscayne trunk lid. Its a Lulu.
This will take more than one post...
I am still working on that. Endo dump

next weeks episode?
I gotta see how you get that blended.
Yeah next weekishness. The upper silver line in this pic shows how the contour conveniently goes flat straight across just below the lock. Thats where the splice will be. It was best to let that excess overlap and float until I nailed down the bottom part.The jagged stuff you see around the edge and back just hasn't been fully folded around yet. I had to patch the shell first, as you can kinda see. It was a rough week (sick) and I spaced getting pics of the touchy part when I made that piece. The clue to the sorcery is... make it with posterboard and scissors before metal!
It will look just like original when done, with the exception of a couple small details inside the back of the lid. After I hammer the skin around and tack up the splits on the inside edge, the lid will be able to shut those last few mms and I can make it do whatever if its not perfect. The screws are thru slotted holes so I could fine tune the side to side of the outer skin patch. Those holes will all go away when I take the patch off and prep it for final installation. It is awesome to be at a point where nobody questions my methods because I never know if I'm doing it right. Like I always say, I'm a better grinder than welder. Theres just not any of these old lids left still good, and no repops. So we fix.
Oh and see the green chunx? Rat poison. Dammit I did not recognize it as that, thought it was bondo that went through holes. Might have a bit to do with me feeling so rough lately because I handled that stuff and probably inhaled some as dust.
And to think, once all is said and done nobody will know that you made an entirely new chunk of that trunk lid just by looking at it.
This is good.
| « Previous Thread | Next Thread » |
| Bookmarks |
Bookmarks |