Okay this is a how to for moving your coil packs on an 04+ na to the backside of the motor. I originally got this idea from the F body Camaros and seeing their coil packs sitting on the side of the motor.
Things you will need
#1 F body coil pack plate from camaro/firebird
#2 Two 2 1/2 long bolts
#3 Two nylon lock nuts
#4 12 washers
#5 Spark plug wire the length of your third shortest one
Tools needed
15mm socket
13mm socket
7/32 socket
E8 torque star socket
15mm open end wrench (ratchet wrench or pass through socket are lot faster)
Vice grips
DISCONNECT THE NEGATIVE BATTERY TERMINAL
#1
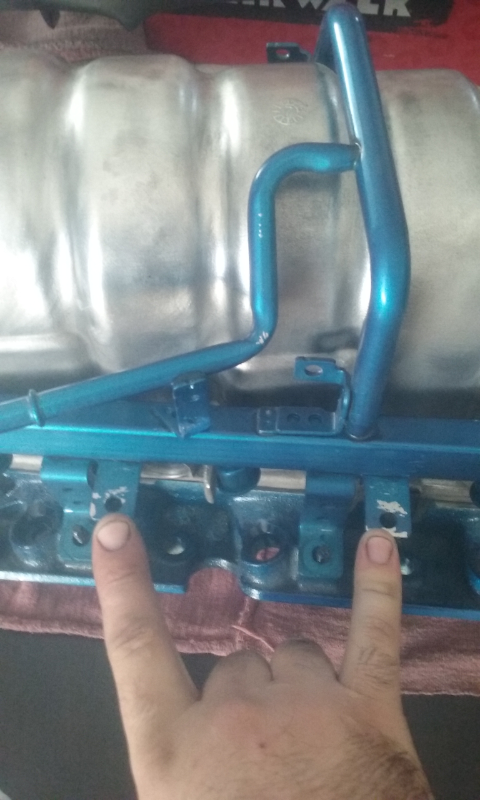
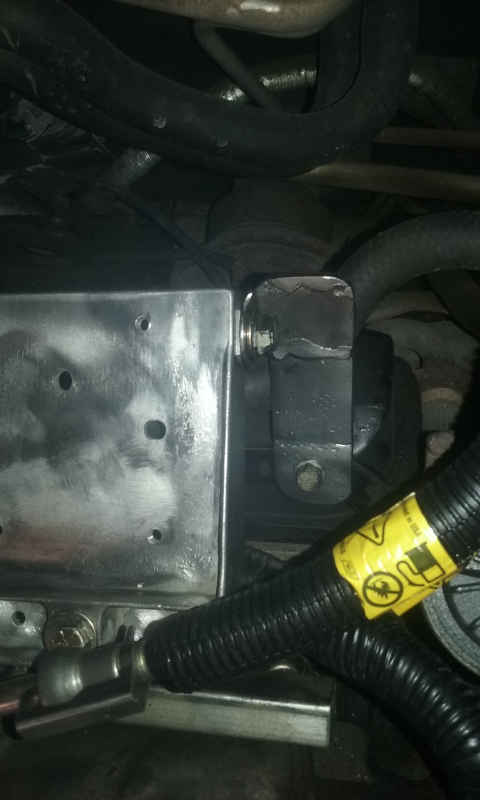
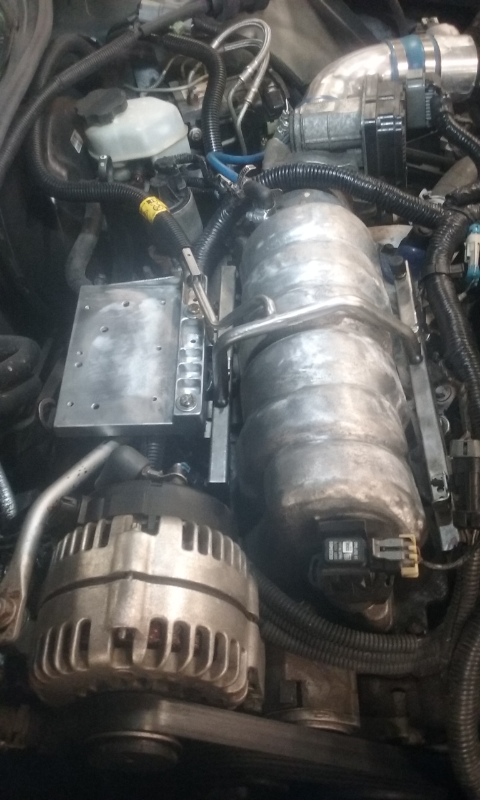
Step one is mount the plate. There are two tabs that stick off of the fuel rail on the backside of the motor. You may have to move some wires around so that everything is below that point. I used 6 washers on each side to shim the plate up higher so it wasn't rubbing the tops of the injectors or the wires. Next I made a bracket then mounted onto the side of the plate down to the bracket that the support bar from the alternator mounts to. You will have to tweak the fuel line a little so that the coil packs can sit and nothing's rubbing.
#2
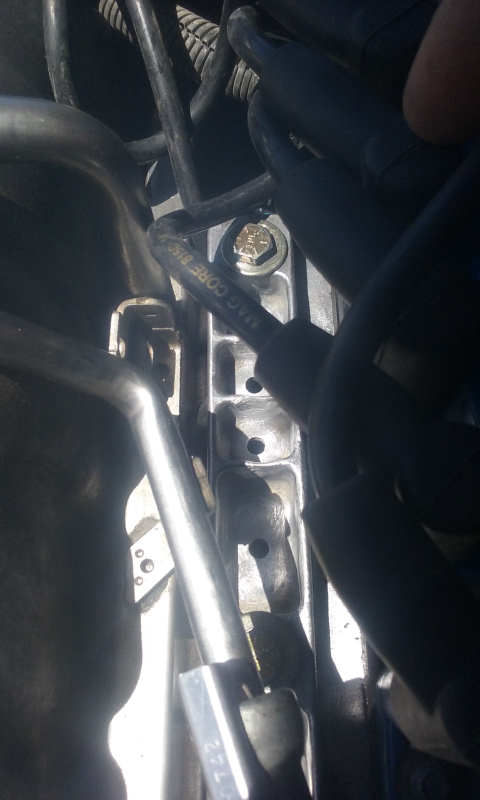
Step two is to remove the coil packs start by disconnecting all of the spark plug wires. Then remove the 6 bolts holding the coil packs down with the 7/32 socket some say it's a 5.5mm I think the 7/32 fits better. Once you have the coil packs out of the way remove all of your wires. Set the board that the coil packs sit on to the side. Then remove the three nuts underneath the coil pack plate this is where a pass-through socket or ratchet wrench will come in handy once those are removed use the E8 Torx star socket and remove the two studs that are there.
#3
Step 3 is to move the electronic board that the coil packs sit on up to the new place. Install the coil packs in the same order that they were before. Then reroute your current wires that you have to where they need to go. The shortest of your 6 wires is going to be too short to reach anything this is where that extra wire comes in. Reconnect your battery and your good to go.
(Pics will be posted shortly)


