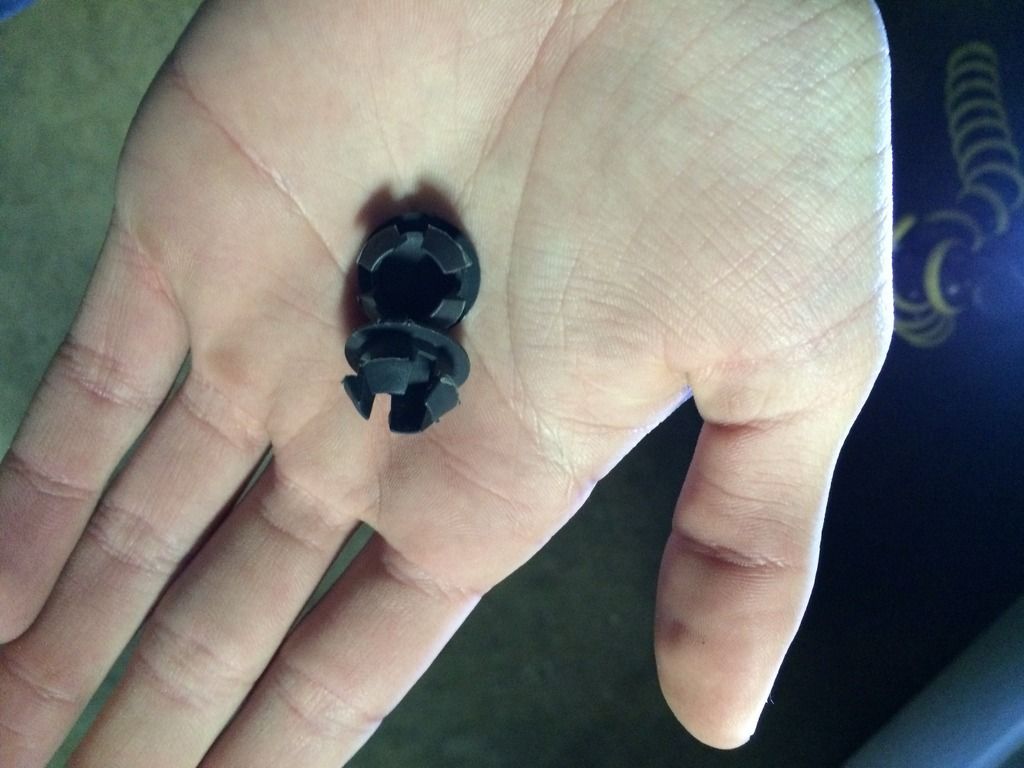
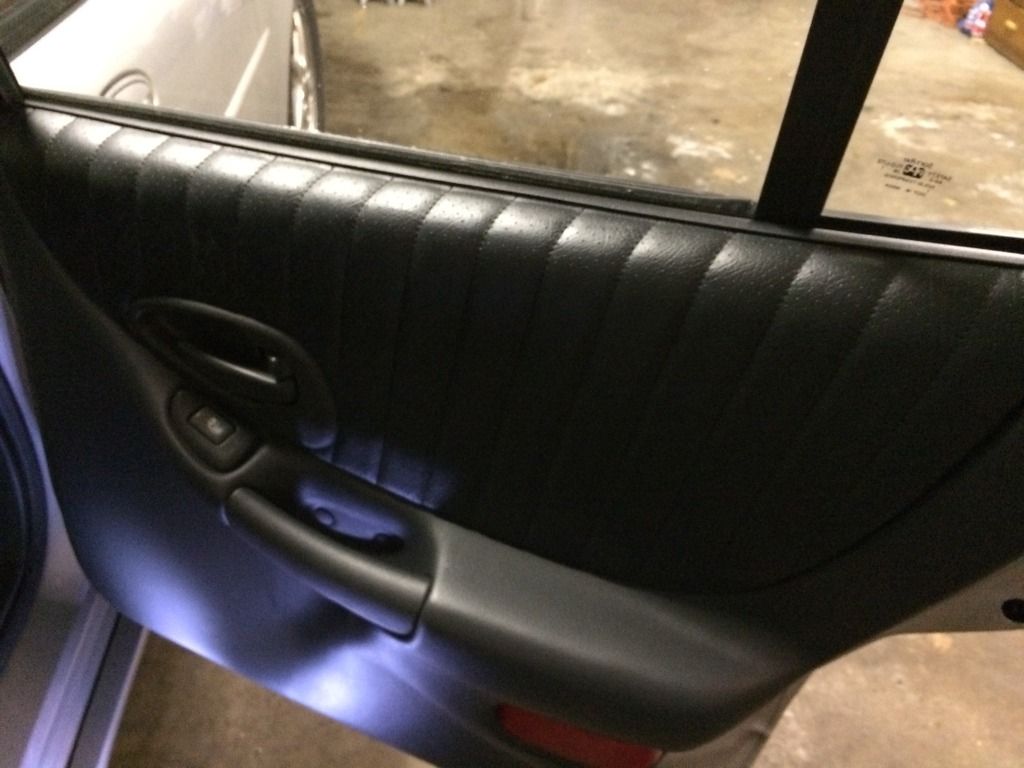
At this point in time, a lot of these door panel clips are broken. 3 of my 4 doors have broken clips. Here's the link to the clips I bought:
http://www.amazon.com/gp/product/B00...ilpage_o00_s00
I bought these instead because I've bought the generic ones most people buy on Amazon. Those are a tad longer and some people trim them. That wasn't the problem for me. My issue was the heads would snap off very easily, and I don't slam my doors. Every clip I replaced has already broken. So I will be giving the ones I posted above a try. And in the pic on Amazon, they're white, but they're actually yellow. Not that it matters, but just don't be alarmed when they aren't white.
This thread will pertain to people wanting to replace door panel clips, put in aftermarket speakers, replace a door handle, etc.
You will need:
-flat blade screwdriver (a little one will work the best)
-screwdriver with a T27 torx bit (T25 will work too, a T27 just fits it snugger)
-extendable magnet
-door panel clips
-an extension of some sort might be needed if your screwdriver is not long enough
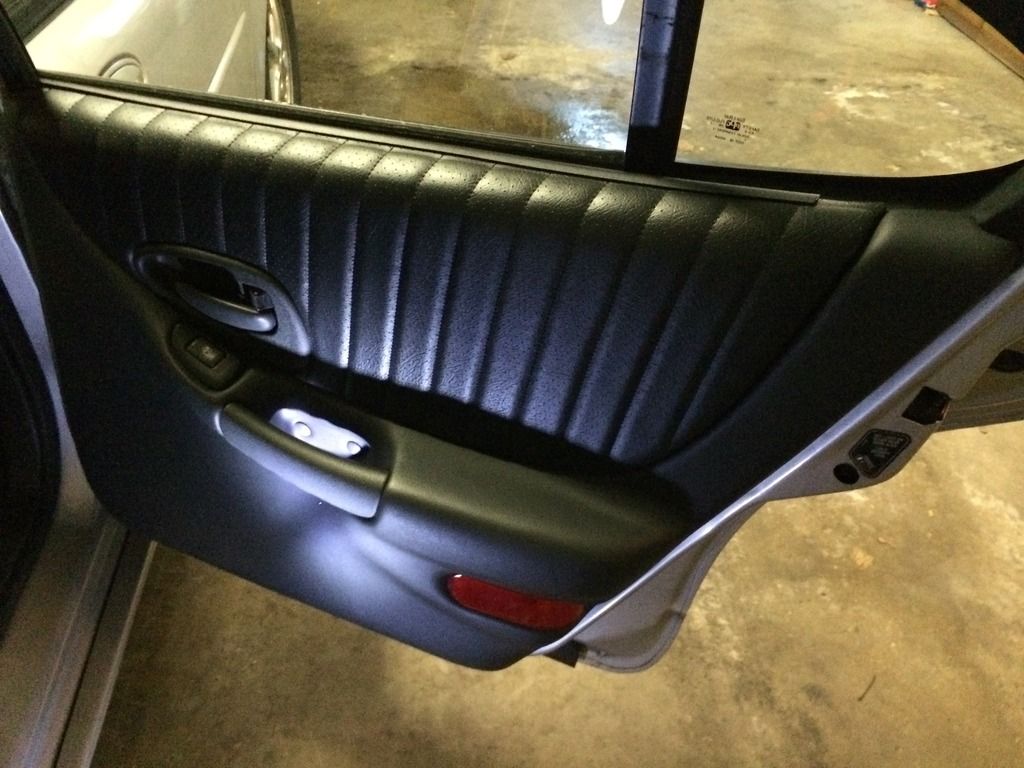
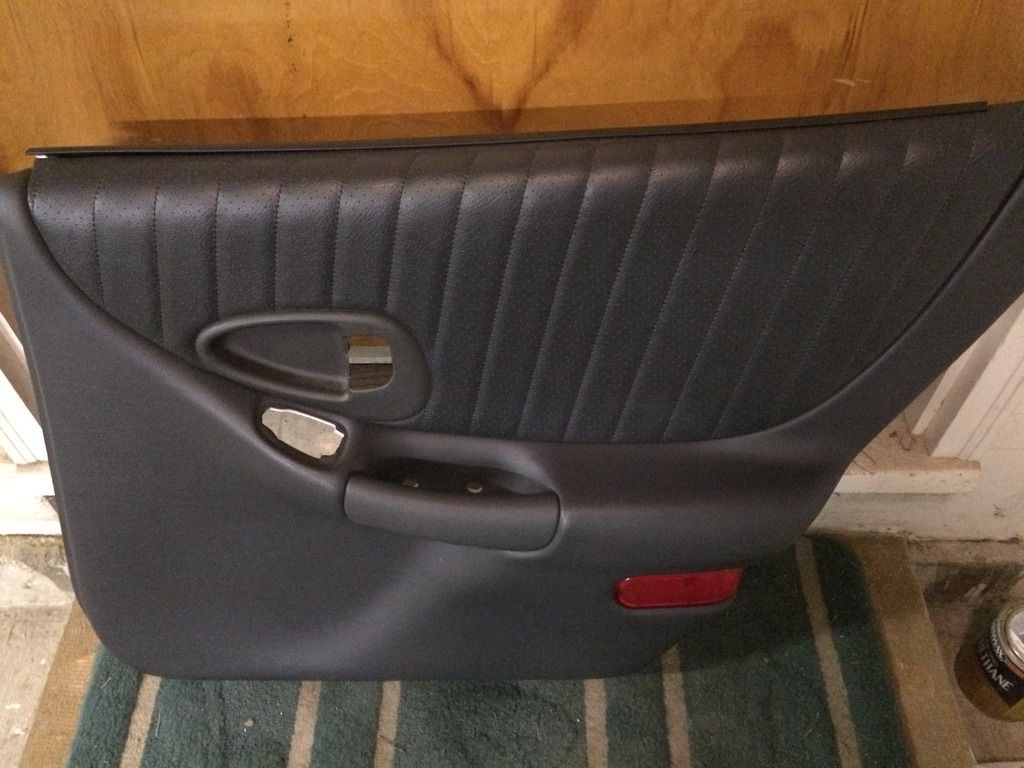
Here is the door panel. I will be doing the passenger rear door as it was the only door on the left side loose.
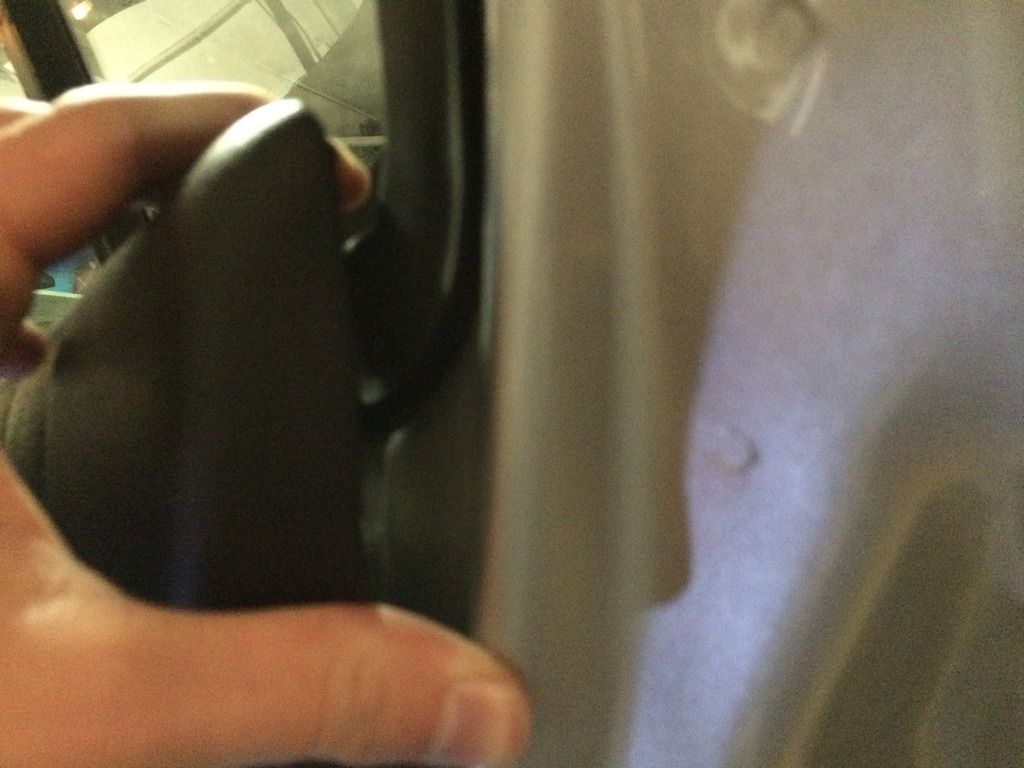
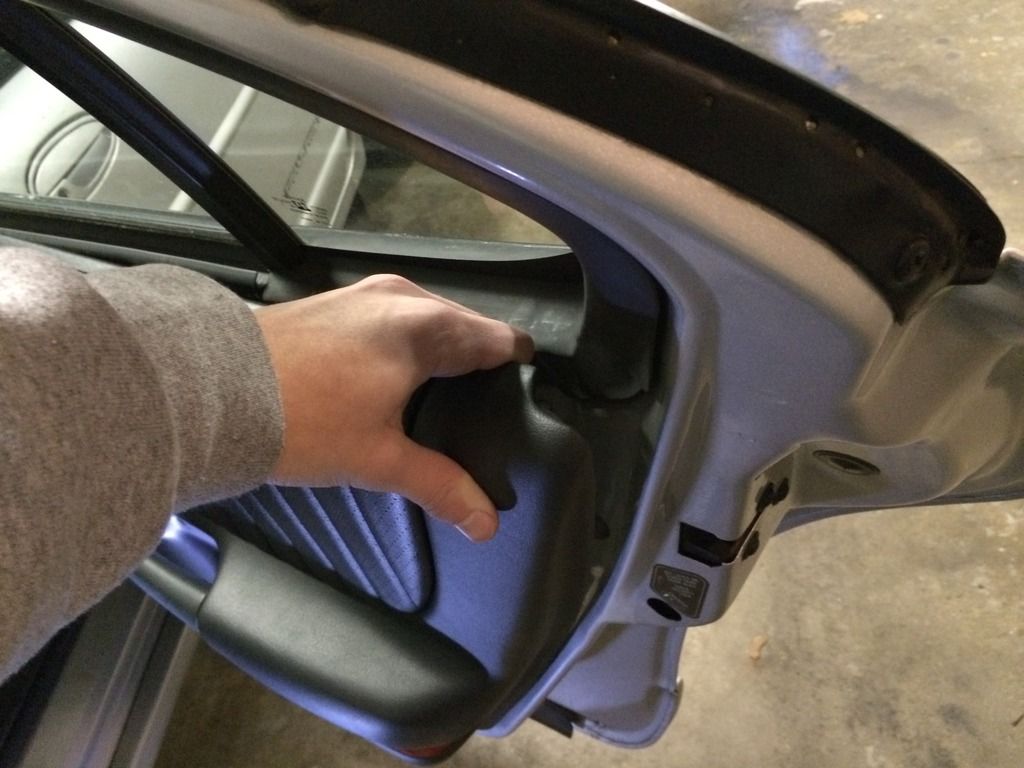
Here you can see I can easily pull the door panel away form the door due to several broken clips:
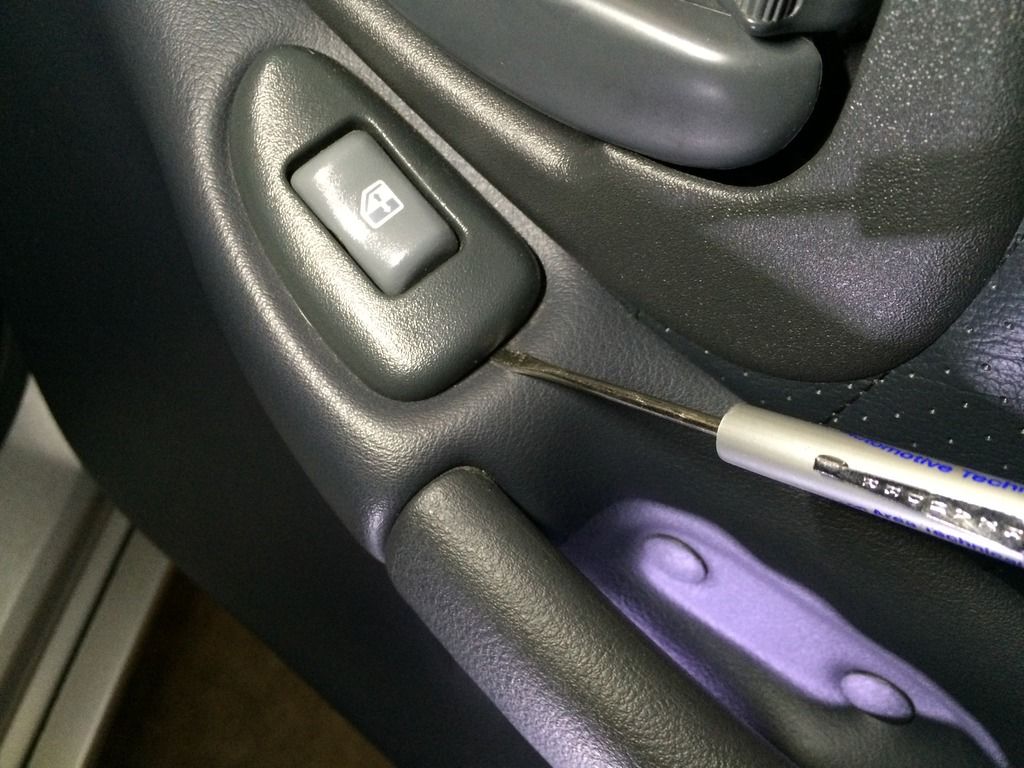
Step 1 - It is probably best if you unhook the battery before hand as you have to unclip electrical connectors and your door will remain open for an extended period of time, but isn't needed. Take your small flat blade screw driver and stick it between the window switch, and padded part of the door. Like this:
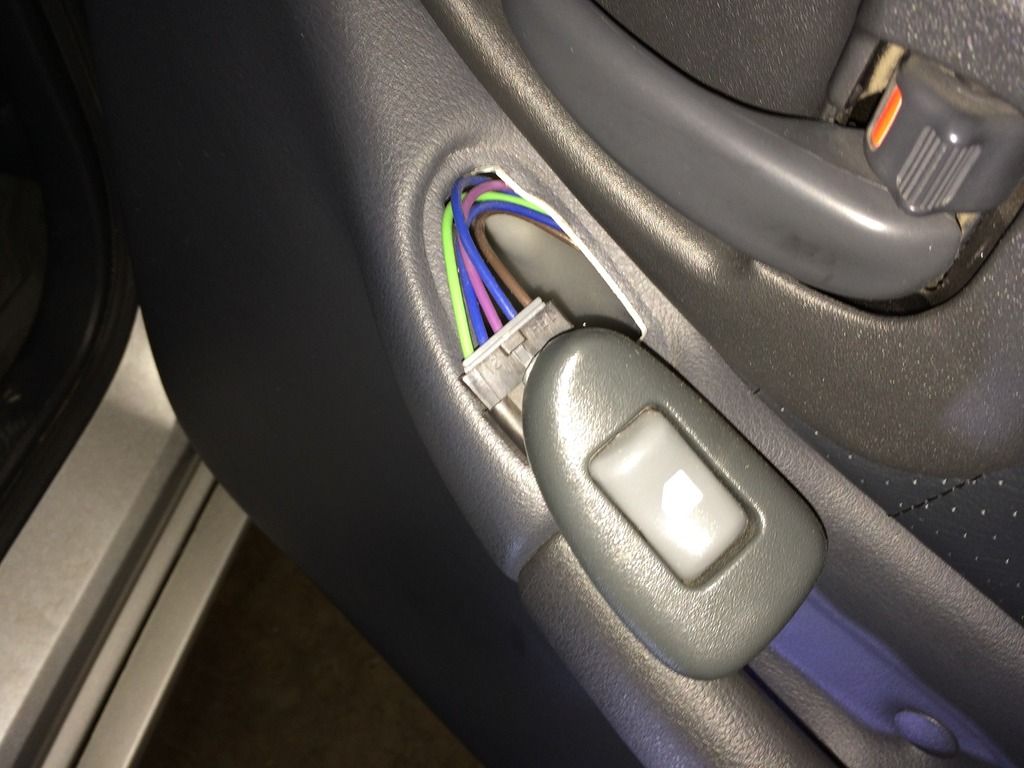
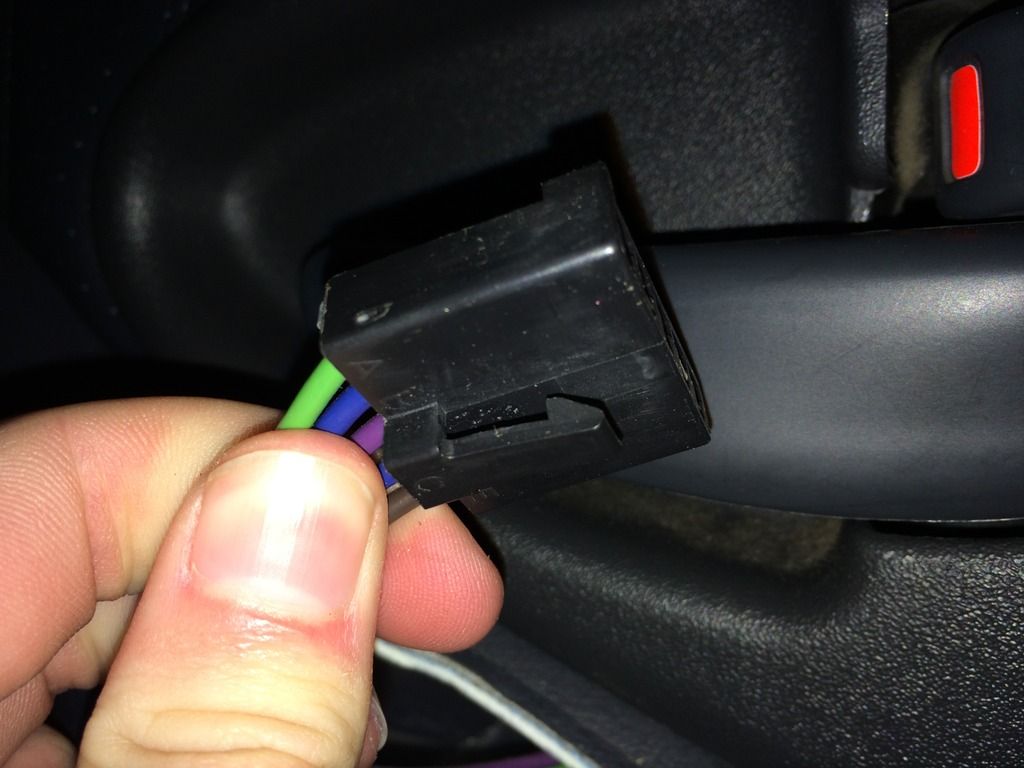
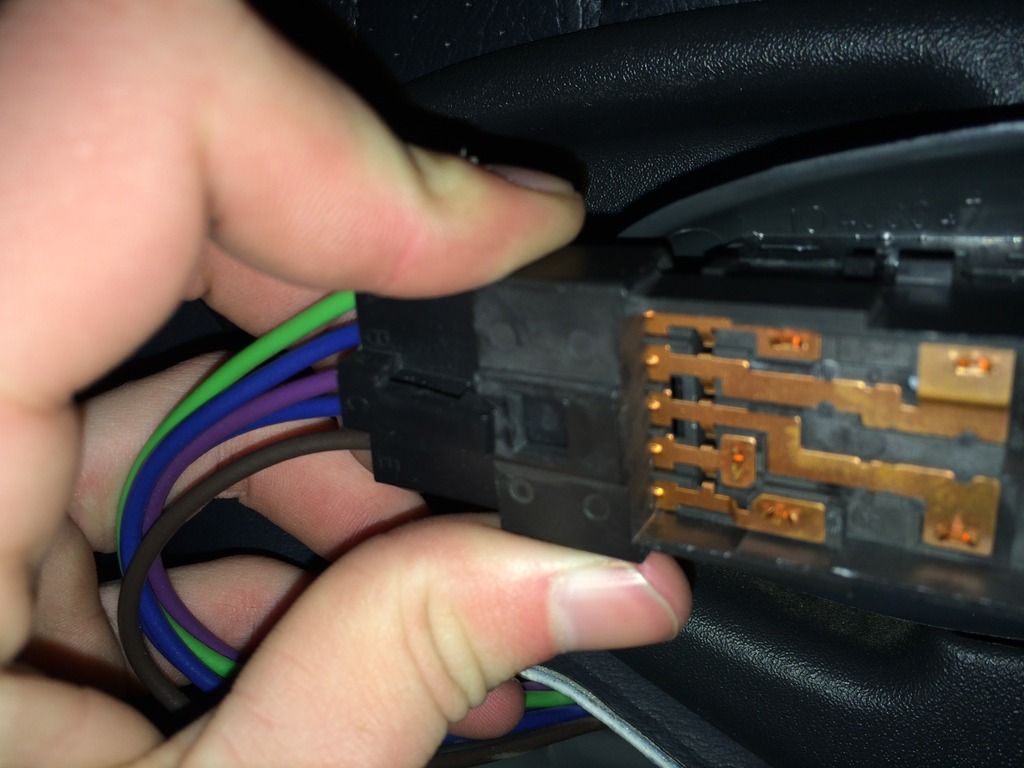
Gently pry up and the whole switch will pop up. Lift the whole thing up to expose the electrical connector(s) underneath. Using your small flat blade screwdriver again, pull up on the tab so you can pull out the connector(s). Set the window/lock switch aside.
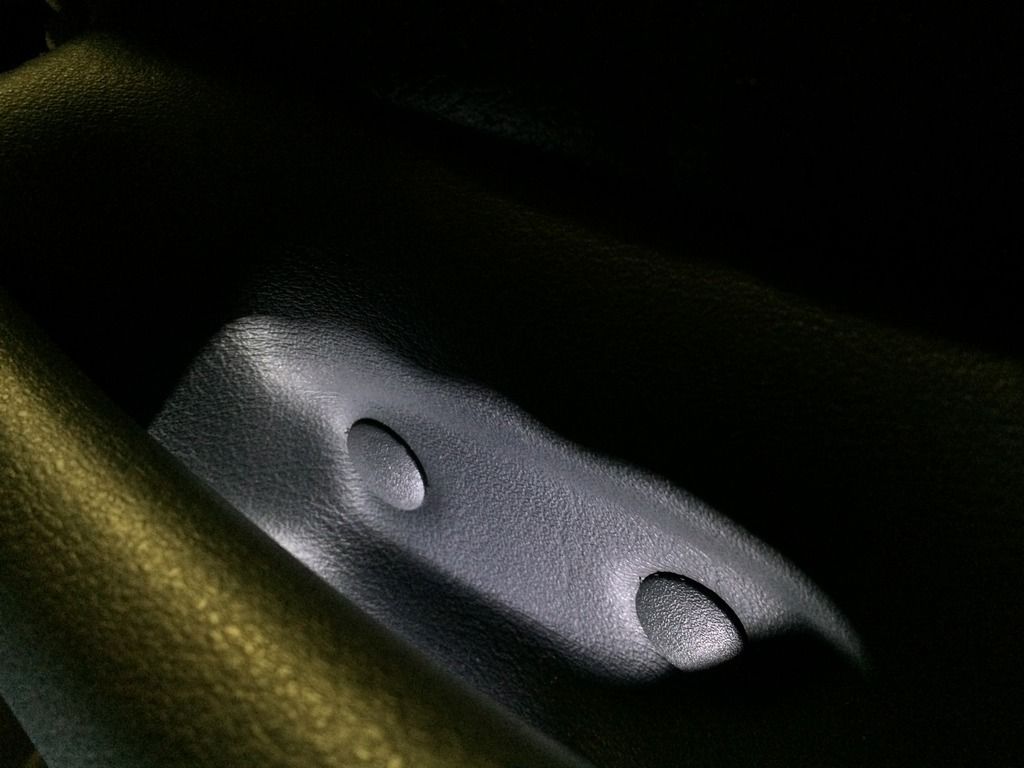
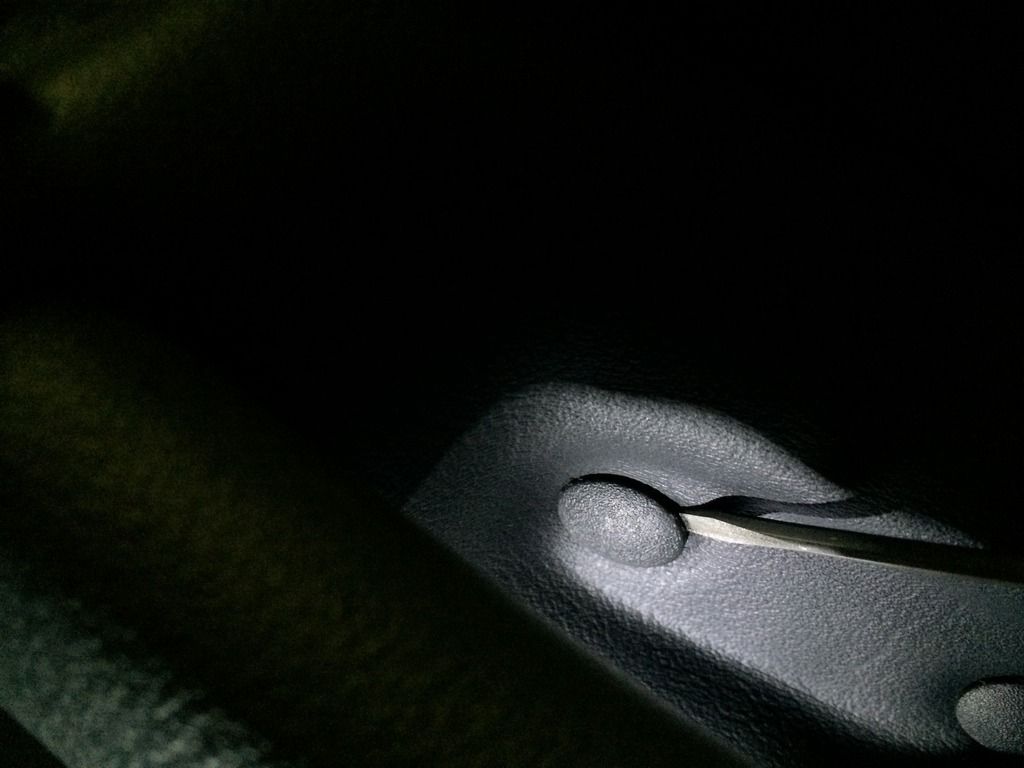
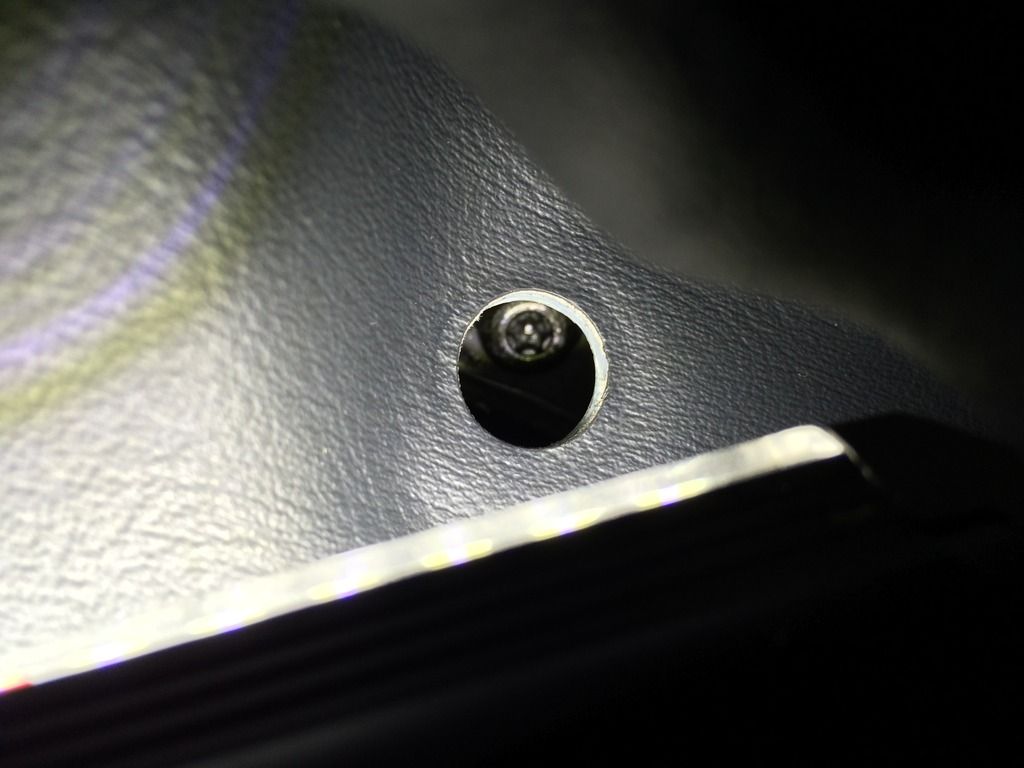
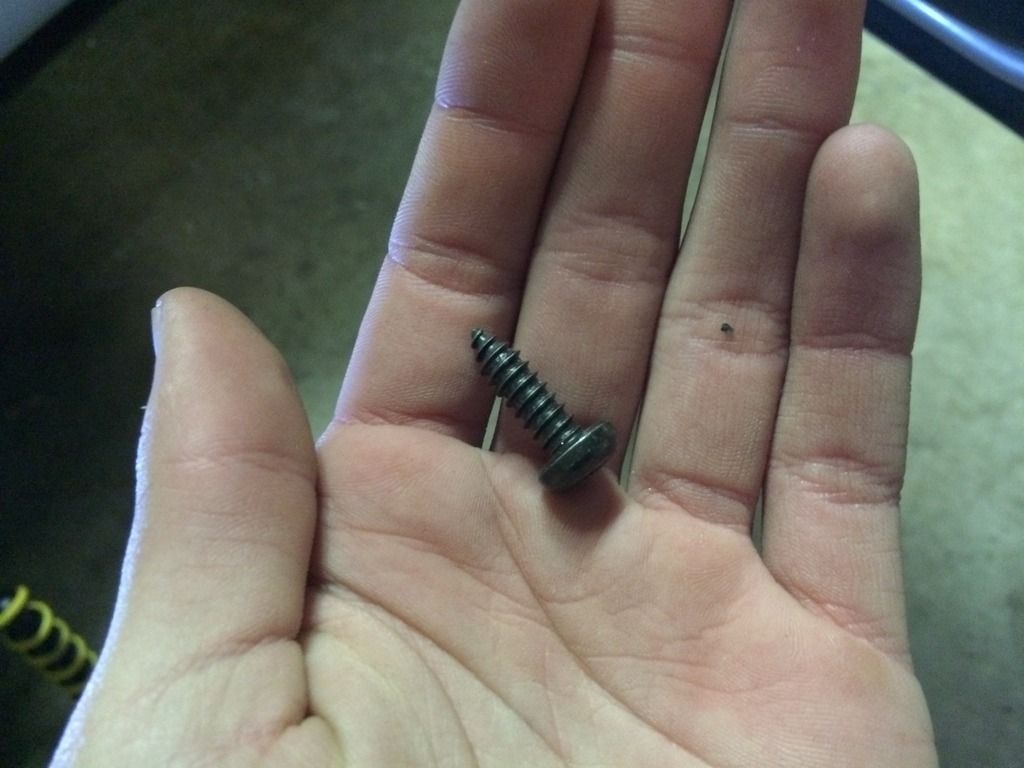
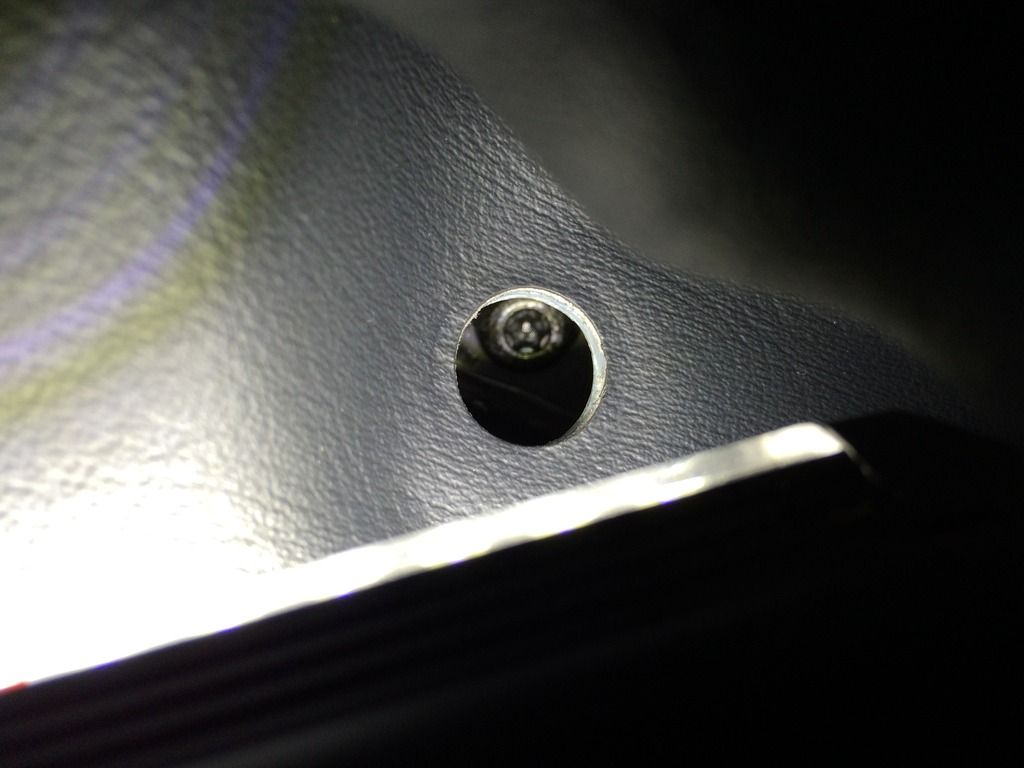
Step 2 - Behind the handle on the door are 2 little caps. Use your small flat blade screwdriver to wedge it between the edge of the cap. Space is sort of limited, so smaller the screwdriver the easier it will be. Pop each of the caps off and set those aside. Next shine a light up in there and you will see a torx head screw for each hole. These screws are to reinforce the handle area so the panel doesn't bend when someone closes the door or opens it. Take your T27 or T25 torx bit and unscrew each screw. Don't worry if the screw falls down inside the door when you take them out as you will be pulling off the whole panel.
Here are those little caps removed:
Step 3 - After you have those 2 screws removed, it's time to start pulling the door panel off. It's easiest to start at the edges where your clips are already broken. If you don't have any broken clips, I found it easiest to start from the side or the top corner towards the edge of the door. Grab a hold of the panel and start giving it short, quick jolts. Keep doing that until it breaks loose. If they won't budge, it can help to have a trim pry bar and use it as leverage. Once you have a few broken loose, it's easy to get the others out from there. Get all the clips broken free, BUT DON'T PULL THE PANEL OFF YET!
Step 4 - The reason you don't want to just yank the panel off yet, is because there is an electrical connector for the light on the bottom of the door. Unplug the connector the same you did the window switch from step 1. Once that is disconnected, you can now pull the door panel off. In my case, none of my doors are equipped with the light for the doors so I had no connector to remove, but some models have them.
You're halfway done! It's not hard at all, just takes a bit of patience sometimes. This applies for every door, not just one. So apply this to whatever door you want to remove the panel off of.
To remove the old door panel clips, just slide them out of the door panel and slide the new ones back in. If some are stuck in the door itself, I just took a wire snip pliers because it's angled jaws made it easy to slide in behind the clip. And pushed on the end of the pliers as leverage to get the old clip out. Worked every time.
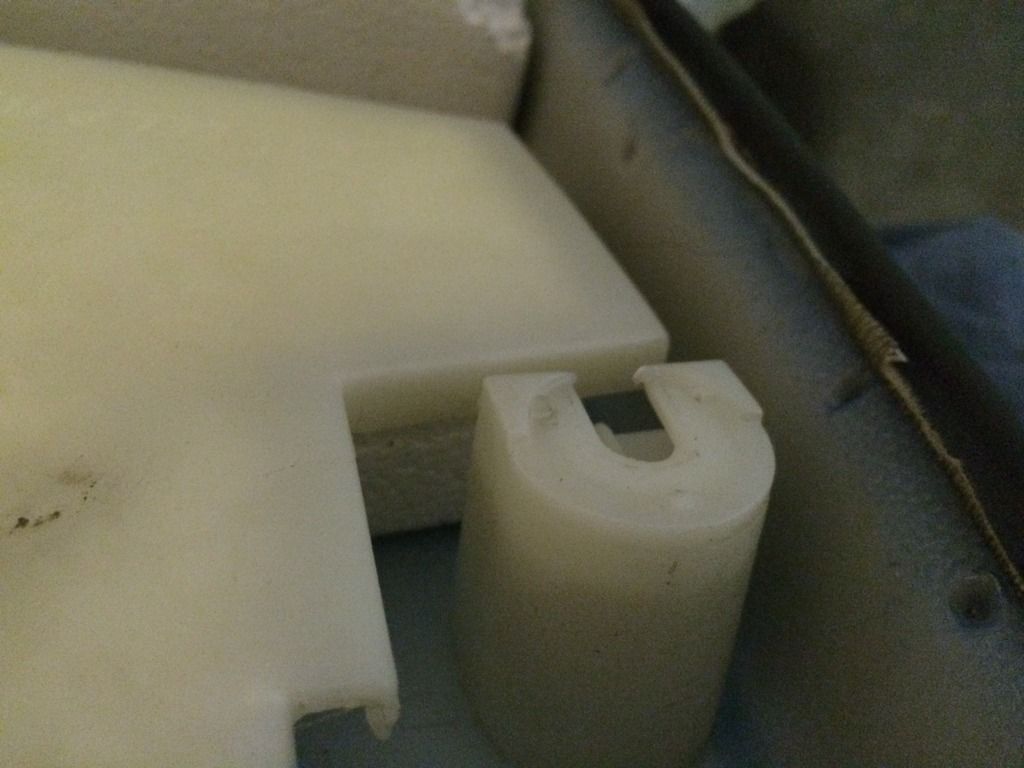
These are the little slots the heads of the clips side into.
Now for the reinstallation of the door panels.
Step 5 - With your new clips in and your panel ready to be installed, reconnect the connector for the door light on the bottom. Once that is done, line up the ends of the clips with the holes they go in, and firmly push them into place. Push the panel until it can't be pushed in anymore. Do this all the way around. Until it's firmly in place and can't move.
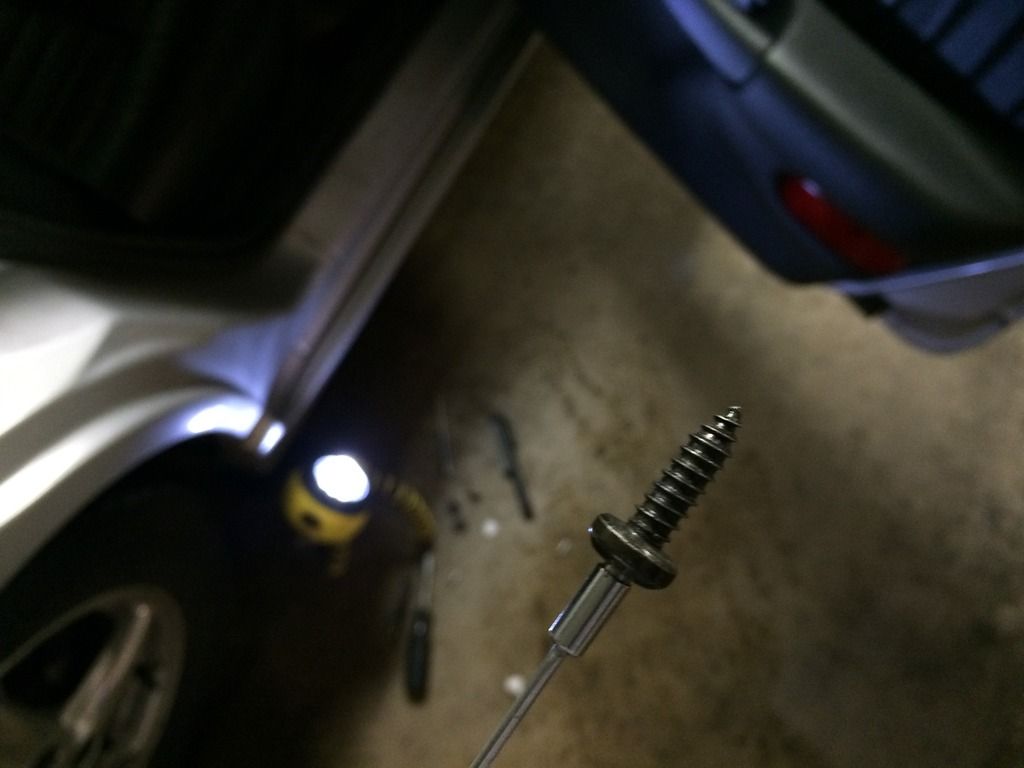
Step 6 - With the panel in place, take the 2 screws and screw them back into place. This is where the magnet comes into handy. Since the bolt holes aren't perfectly level, it makes it tricky to get the screw in without it falling down. Put the head of the screw on the magnet and use that to get the the screw started. Once it's in a couple threads, pull the magnet off and use the torx bit to screw it in the rest of the way. Put the 2 hole covers back into place.
This is what I did. The magnet on the end of my screwdriver happened to perfectly fit in the head of screw.
Step 7 - Take the window switch and plug it back in. When reinstalling the switch, put the top portion in first, and then snap the bottom part in. It's easier to do it this way.
And that's it. Turn the key to the ON position and hit the lock buttons and window buttons to make sure they worked. Second time I did this, one of my switches didn't work. So I just unplugged it and plugged it back in and it worked.
And there is the door panel all put back together.


