So i am finally putting back the engine together to stock form all i wanted to do was replace the gaskets from the heads up and took it apart from till there, i will be doing oil pan as well but for now i want to put it back together up top.
This is my first time putting heads back on usually i never take em off since i dont know how complicated it is. I already have the head gaskets and everything else needed, i am putting back together a stock L67 on a gtp to sell soon and keep my other two 40th's. I can put the rest without a problem i have done so already its just the heads i worry about. since i've heard a lot of stories of leaking coolant, or didnt seal right.
1. Do i put copper spray on the head gasket? i have the felpro gaskets.
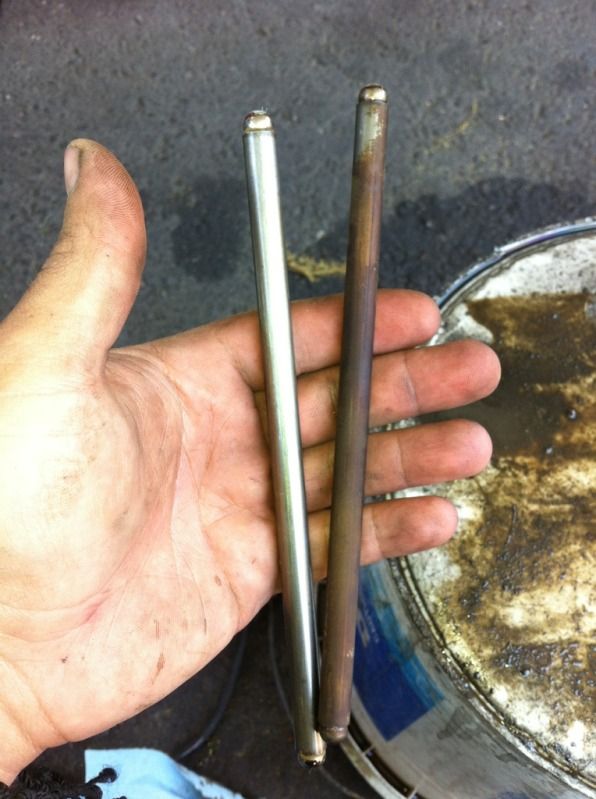
2. How do i know which push rods go were i took them out to clean them and idk were to put each of them or if there even different in size?
3. What do i use to clean the surface of the heads and block? degreaser?
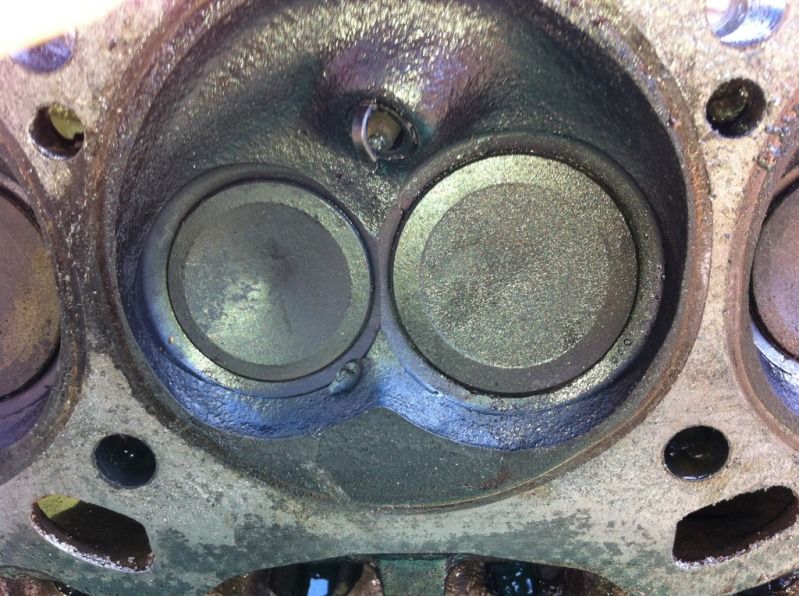
4. One of the heads has a small chip by the valves should i worry its a junk yard pulled motor from a 97 gtp.
5. I have the torque to yield bolts for it with a paste on them idk if those are ok for the heads, since i've heard debates about paste and teflon tape and i dont want my heads leaking coolant or anything at all.
6. Any other info is appreciated and thanks in advance.
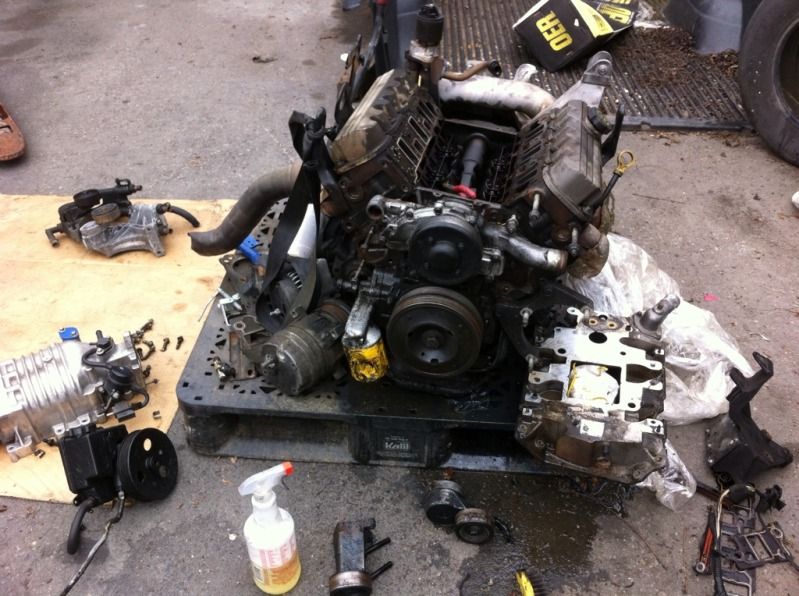
The car i pulled it out of
The small chip
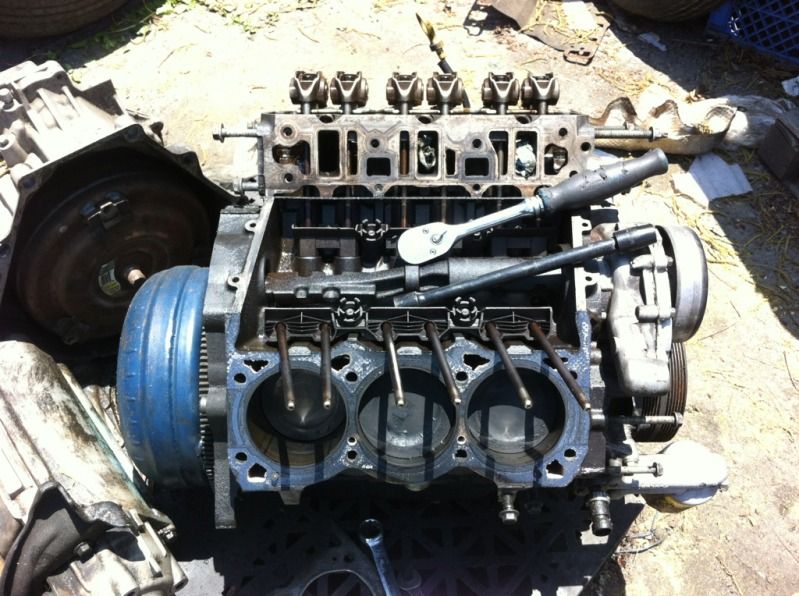
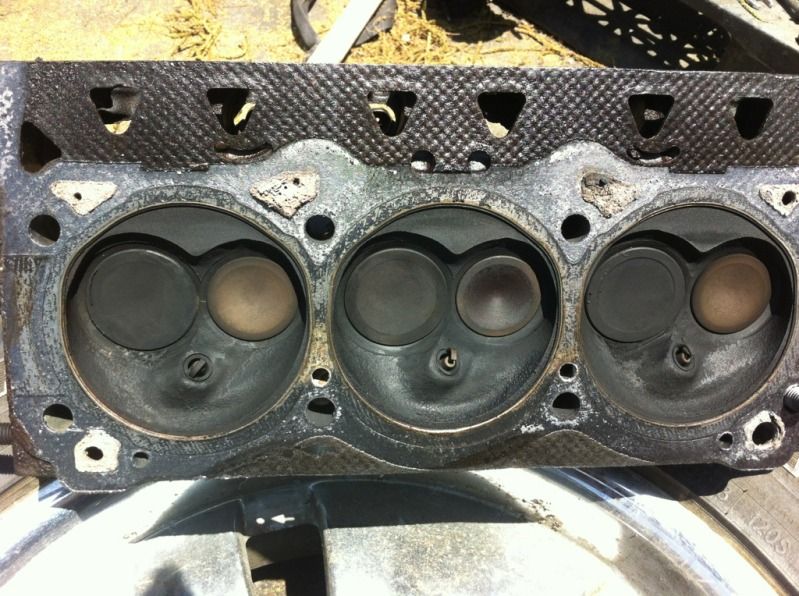
cleaned the pistons up the best i could.