photobucket man! or just upload them direct on here..

|
|


photobucket man! or just upload them direct on here..
 hogan 3inch DP u bend delete ,180*tstat, autolite 104s, LED interior, 4" FWI, 2000watt system, bullitt rims, zzp pistons, pems, alt rewire, thrush muffs, 3.4 zzp mps, transgo shift kit, triple edge performance trans. autometer triple pod :SOON: urlosn HPT PCM tune, HEADERS, 1.9's
i got a loud system that beats my trunk up so will this make loud vibrations?

I just pulled my spoiler off, and the center rear bolt stripped out of the spoiler and then I dropped it INTO the spoiler, so now I will hear the rusty stuff and the bolt rattling every time I raise the trunk...). There was plenty of pollen and vibration damage to the paint, but no actual nasty rust (thank goodness). I ended up using an entire 1/2 oz bottle of touch up paint on the bad spots and there is the outline of the spoiler etched in the paint.
My questions: #1 Do I need to put a small amount of foam padding on the ends of the spoiler to prevent it from "dipping" at 70 mph if I put about 1/8" rubber washers in between the spoiler and the trunk? #2 Do I need to worry about the missing rear bolt, or should I rig something such as one of the butterfly lag bolts for sheet rock(plastic "wings" and stainless bolt, so rust is no issue!)?

1: i did not use any padding on mine... its seen passes over 100mph and never had any issues...
2: if you can easily rig something up it is def. worth doing... on my stock spoiler i was missing the same one, and didnt do anything about it. the other ones held good... but if you can rig something it would only be added protection

Has anyone tried to raise a Daytona or Special Edition type of spoiler yet? I am thinking of doing this since the water collects on the trunk lid there.
i have not seen pics but it would be the same concept... i would do it soon as possible to avoid any further damage
I had not read anything either but the reason I was asking if anyone else has done it is to see what the spoiler is being held on by. I already tried to unbolt the 2 or 4 bolts that are going straight down into the truck, but are there alignment dowels or just tape holding the backside on? The spoiler did not want to come up and I did not want to force it and bend the sheet metal. A pic of the underside of the spoiler would help also...
it is possible there was a type of foam padding below it... and it is just stuck to the decklid? but i am not sure...
try posting up in the visual/body modification section and see if you can get someone who knows or has pics?
I seen in the pic of the normal spoiler it looked like there was some double sided tape holding it down and I was thinking that might be the case with mine but I wanted to make sure before I just started pulling...lol.
i had no double sided tape on mine...
These are the pics that looked like tape but it may be rubber gaskets or something...Originally Posted by Egleone6


i took mine off today... and i pulled the loose tape off and replaced it.. then i just put some double sided tape in places... seems to work well, i poured some water through and no leaks and it works!!!
yea it is just a foam peice to keep water out... but it never worked...
and ftbll coach... if its not too late... i would take that tape off soon... the purpose of this mod is to raise the spoiler slightly off the decklid. by it touching it makes a space for dirt and water to sit and mold/rust...
by doing the mod, you slightly raise the spoiler (not noticable) so that water/dirt/debris can make its way out from under it...
o ok, i probably will then... just heard the water in there and figured that would help for a little bit, ill probably do that this weekend thanks
its sooo simple and drains perfect guys DO IT!
hogan 3inch DP u bend delete ,180*tstat, autolite 104s, LED interior, 4" FWI, 2000watt system, bullitt rims, zzp pistons, pems, alt rewire, thrush muffs, 3.4 zzp mps, transgo shift kit, triple edge performance trans. autometer triple pod :SOON: urlosn HPT PCM tune, HEADERS, 1.9's
This is a great idea because when I had my gtp painted we found that the bolt holes on the trunk were starting to rust. I did this mod using rubberized cork sheet because it does'nt compress as much. I now have a quarter inch gap that allows water to flow freely. Also my spoiler does'nt vibrate now when my sub woofer is pounding.

Has anyone heard any wind noise / whistling after this mod? I'm in the middle of doing this myself. It was supposed to be a quick fix but the paint damage and rust was extensive in my case. I'm in the process of repainting sections. I'll post pics when completed. Wish I had done this several years ago.

My wing was pretty bad underneath...here was my little writeup on our local boards just to add...
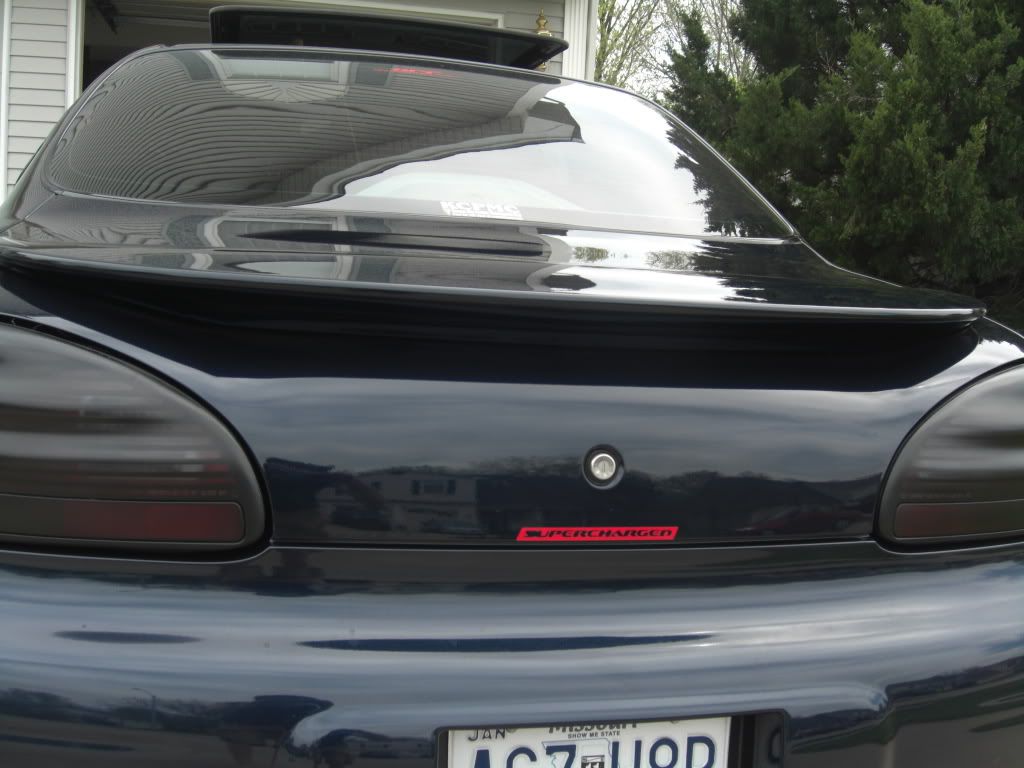
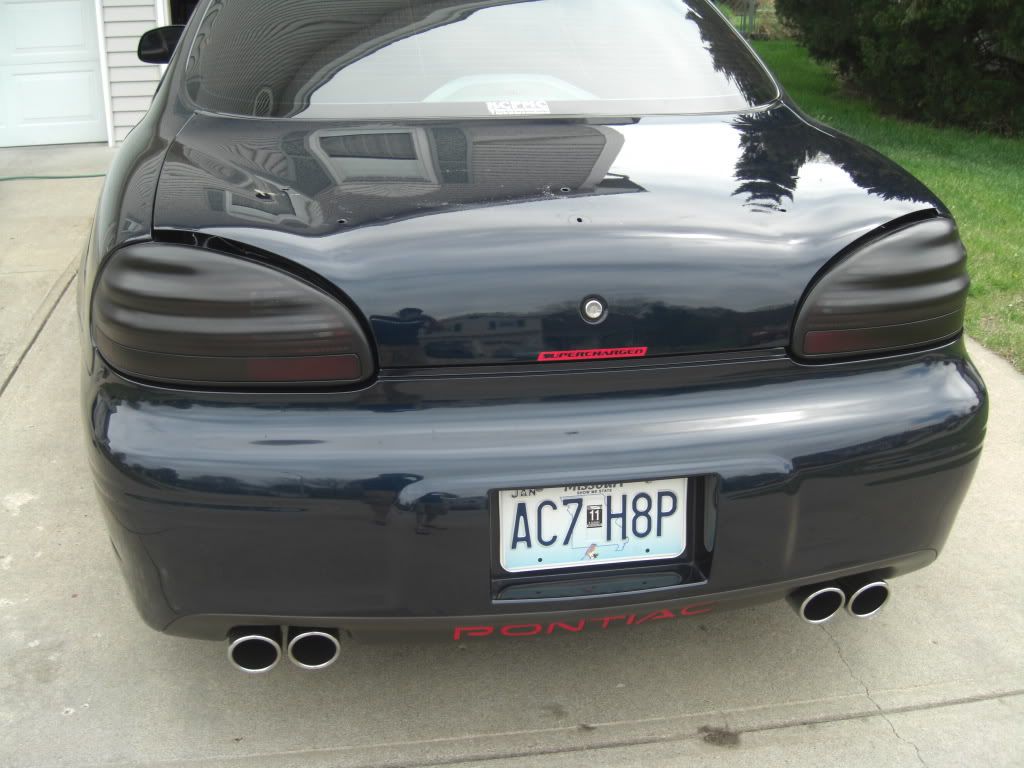
I've been wanting to do the raised spoiler for a long time since I heard about it draining water better and I knew what a pain in the ass it is to have a awesome-ly clean GP then you drive off and water trickles right out from under the spoiler...drive me NUTS. Here is how she sits stock...
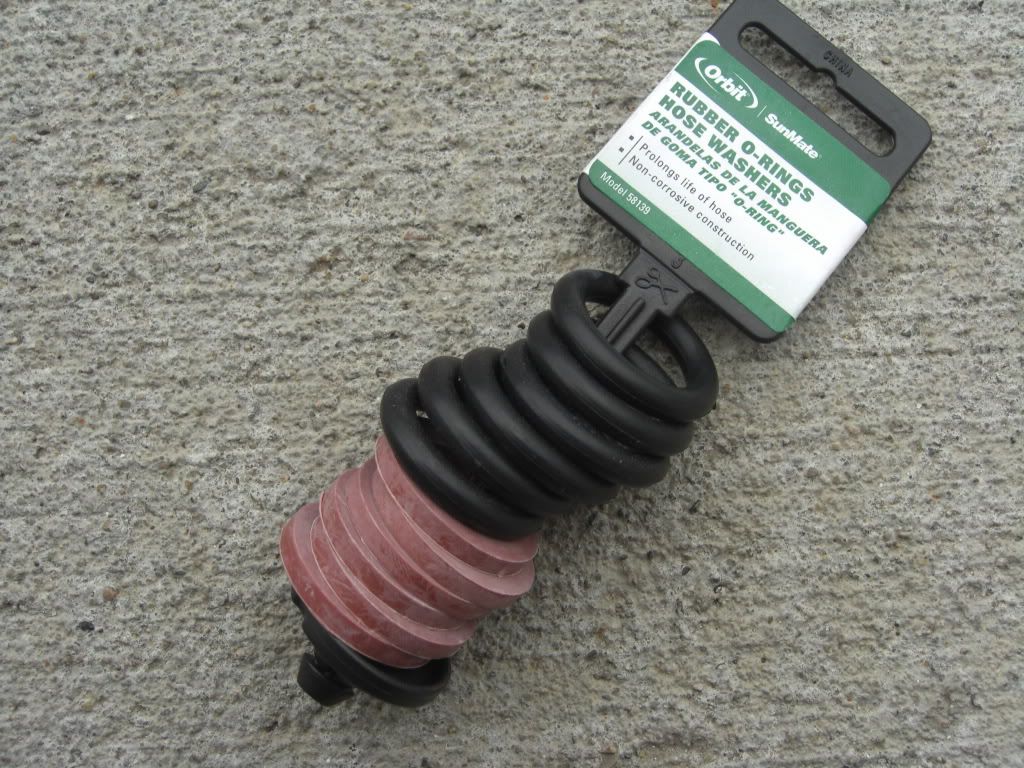
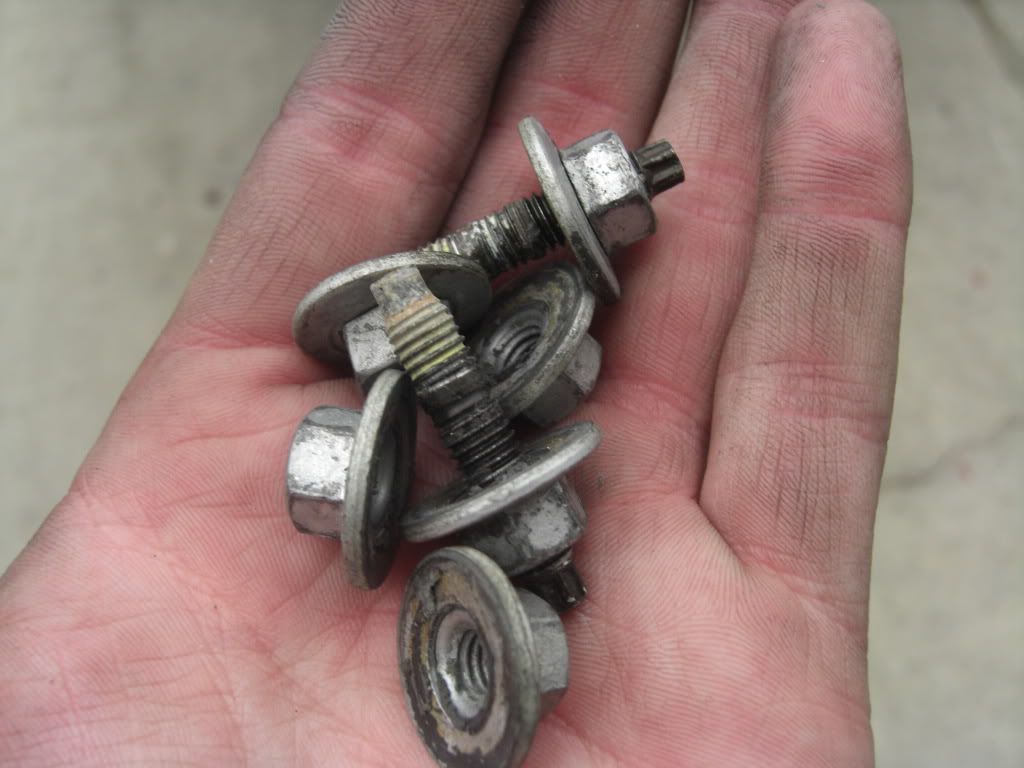
The only tool you will need for this mod btw is a 10mm socket with either a 1/4" or 3/8" drive ratchet and some sort of extension (your call I used a small one and it worked just fine). So I had a little bit of time on my hands today and figured why not get it done. I went to Sutherlands and bought me some of these for 1.67 I think...but under 2 bucks (I used the red-ish looking ones on the bottom)
First thing you want to do is position the trunk half way between being all the way up or all the way down, that way you still have access to the bolts/nuts underneath it, and so when you you remove them the spoiler won't slide damaging the paint, or worse, your window...
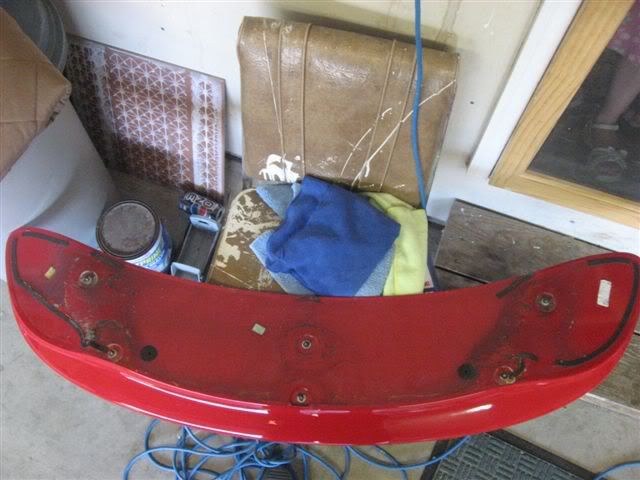
Here are the 4 nuts and 2 studs I removed from the spoiler...
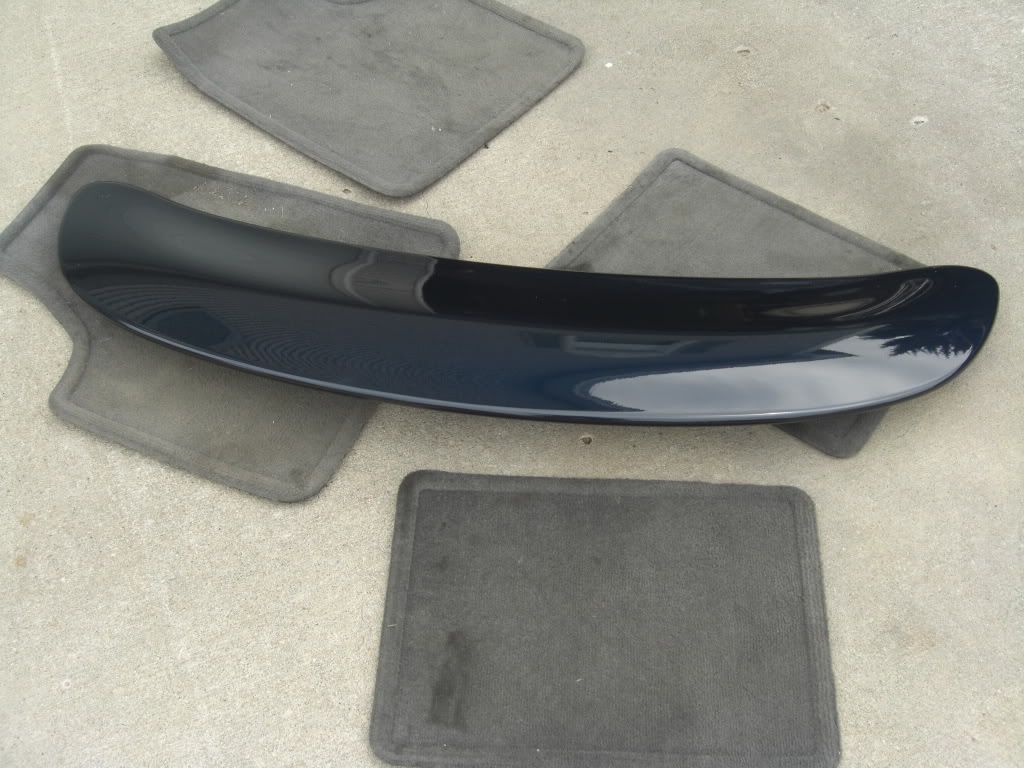
Next, I moved the trunk back down (but not closing it) and lifted the spoiler off of the trunk and set it down on a softer surface than concrete...looks like my floor mats will work since I am cleaning the car too!!
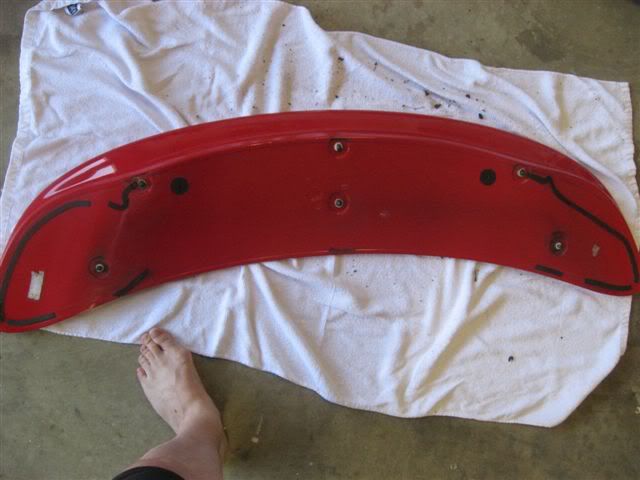
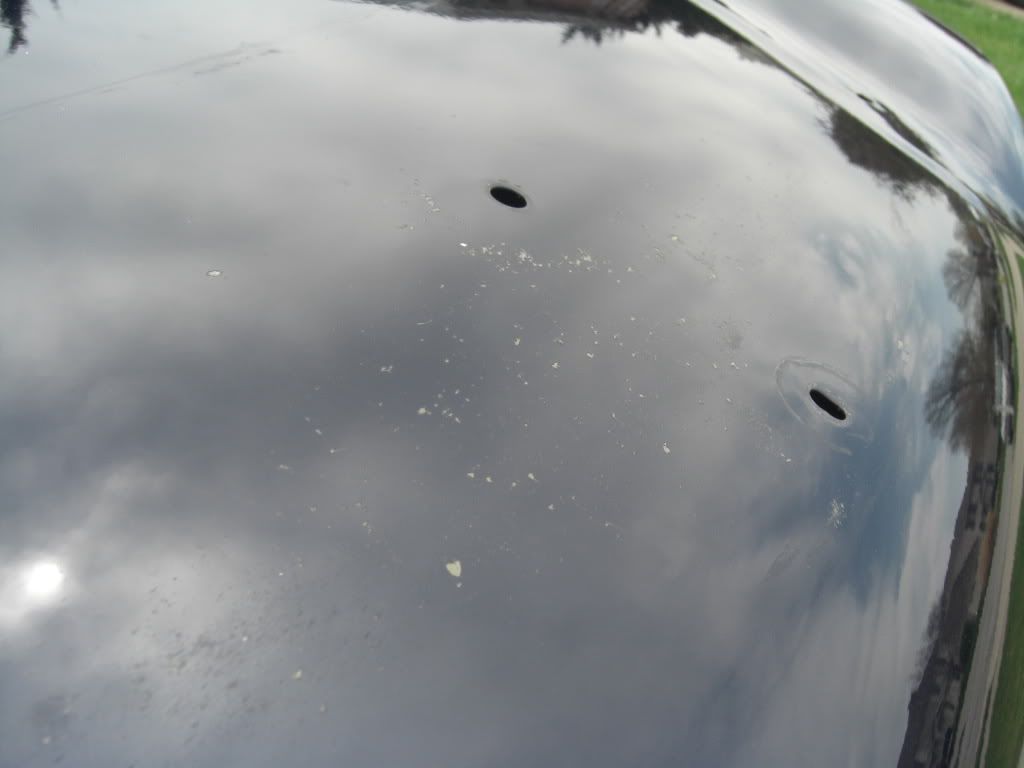
Here she is...all naked
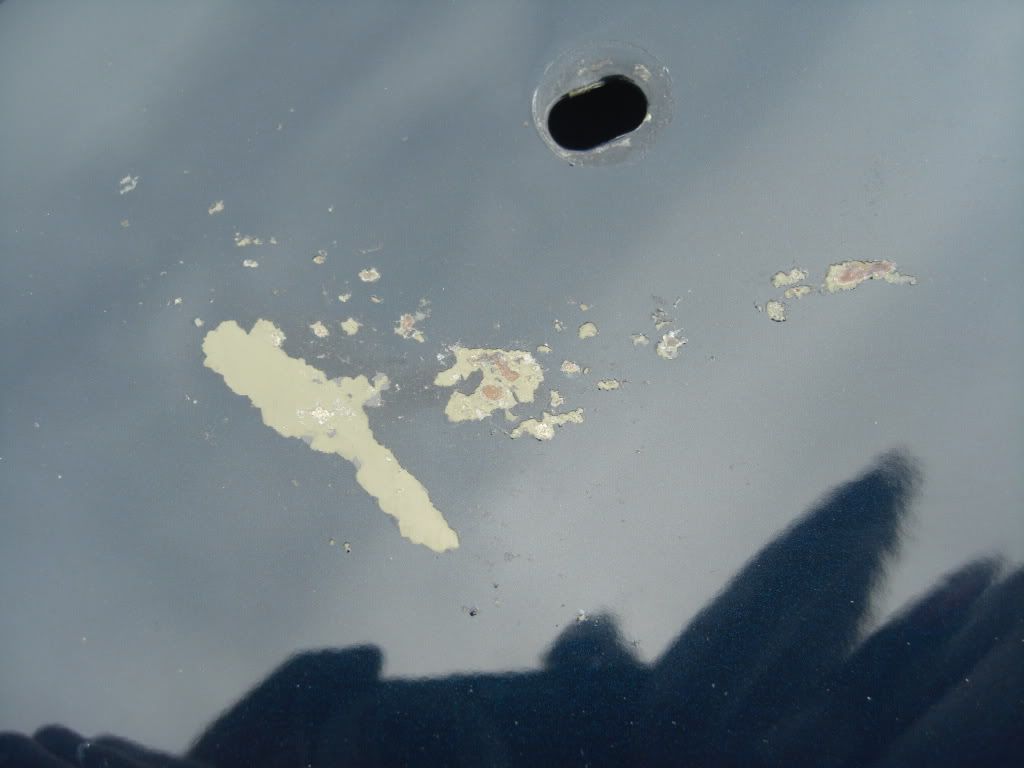
You'll notice how nice my trunk looks without the wing attached to it...all that paint...gone...awesome. Way to go GM. That is caused by water sitting from the poorly designed draining system in GM's factory spoilers.
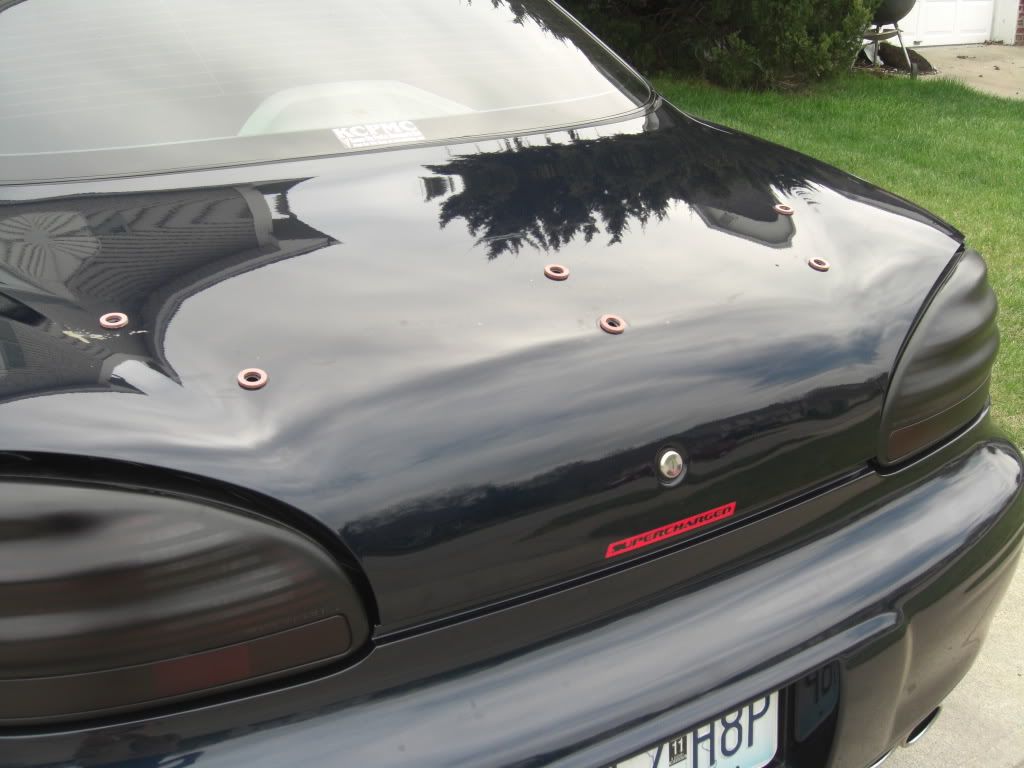
I took the 6 washers I needed...added a DROP (very small) of any regular glue, just to hold the washers in place while I set the spoiler back on...
Here is the spoiler installed without being really tightened down...should look about like this...
After tightening all of the nuts/studs back down to the spoiler it looks pretty much STOCK.
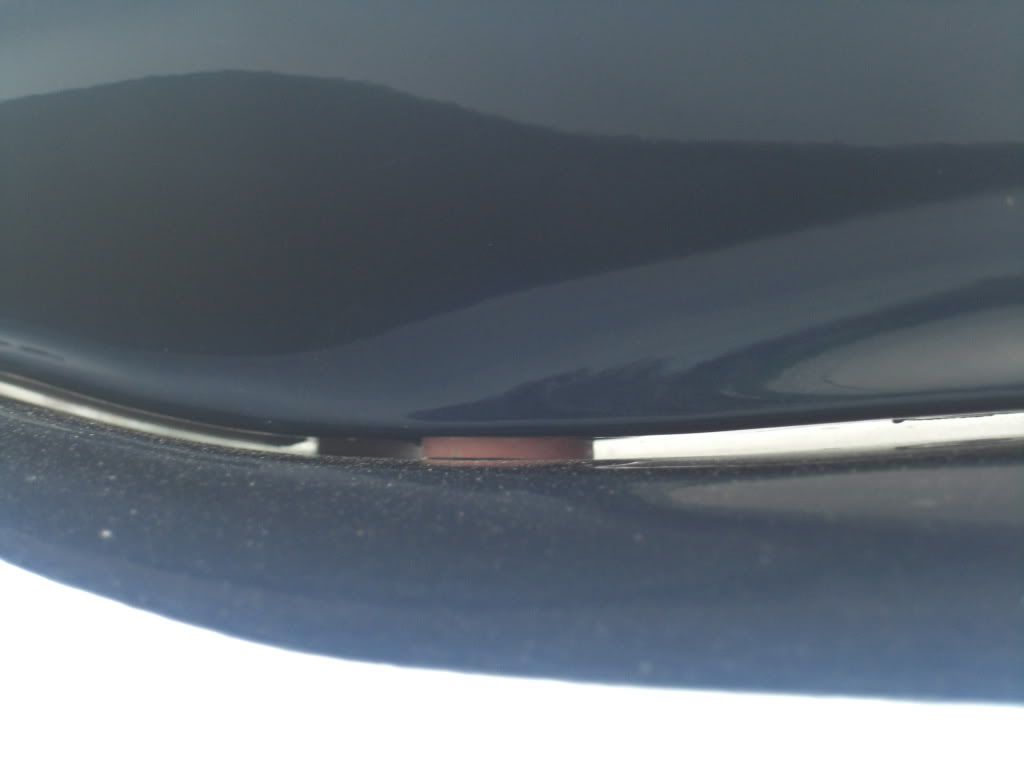
And here is a shot after all is said and done...sure don't look like anything has changed but when you run water on top of the trunk it just completely drains EVERY BIT of water that normally sits underneath it.
And lastly...laugh at everyone when it rains knowing water isn't going to be draining out still 5 hours after it got done pouring!

I can hear water sloshing around when I raise the trunk after a good rain or washing the car. I'll try this next weekend. Thanks.

finally got a round to doing this
not that bad under the spoiler just took an hour to clean it and the wing
i used 1/16 washers and i doubled them up and some clear waterproofing silicone on the under side around the nuts
snapped a few pics didnt realy think about take pics at the time
this pic was taken before i tighted them down to much so its not that big of a gap
but i tested it after a was done and it works great, thanks for coming up with ways to get around the manafacturer cheapness
| « Previous Thread | Next Thread » |
| Tags for this Thread |
| Bookmarks |
Bookmarks |