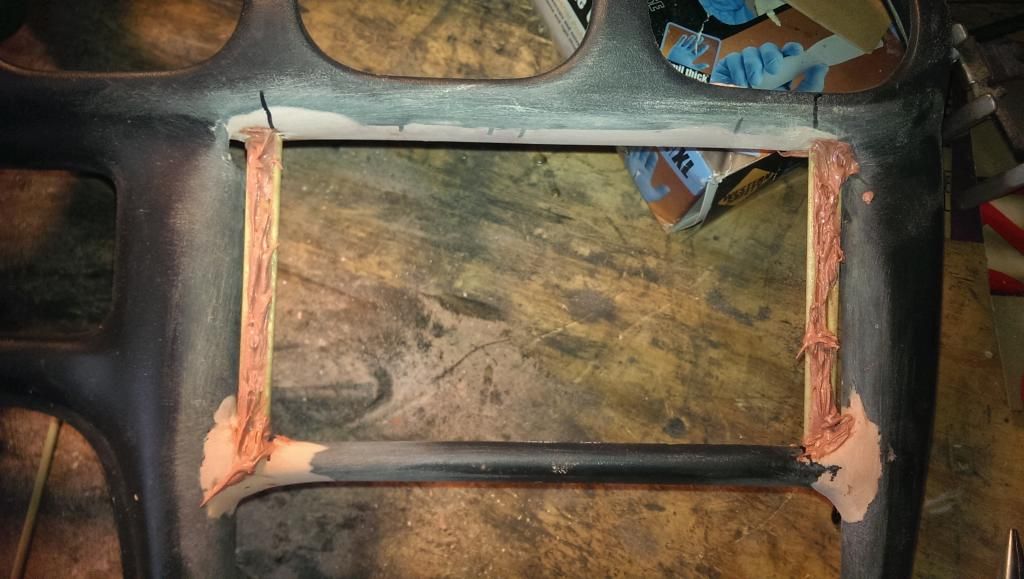
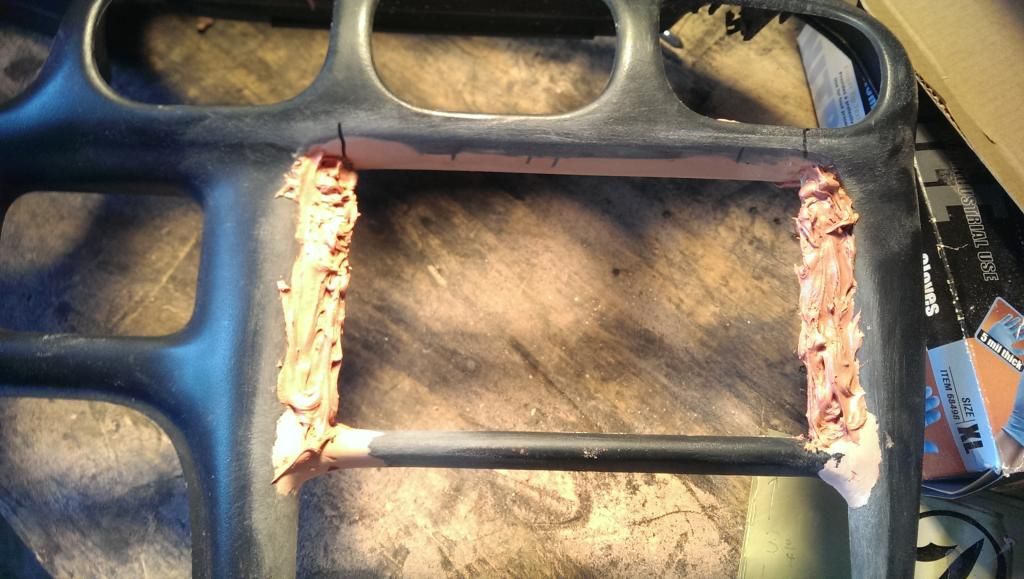
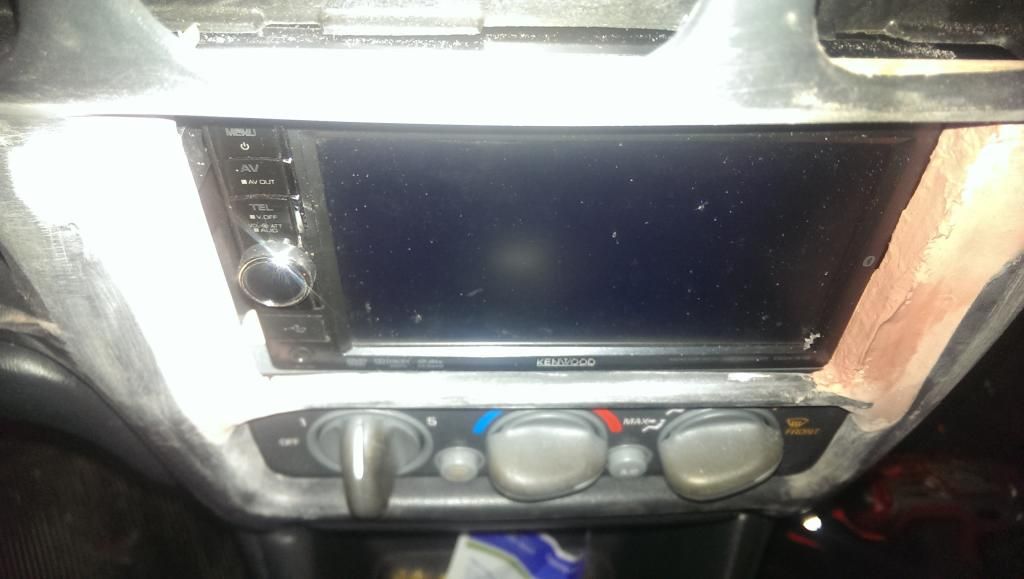
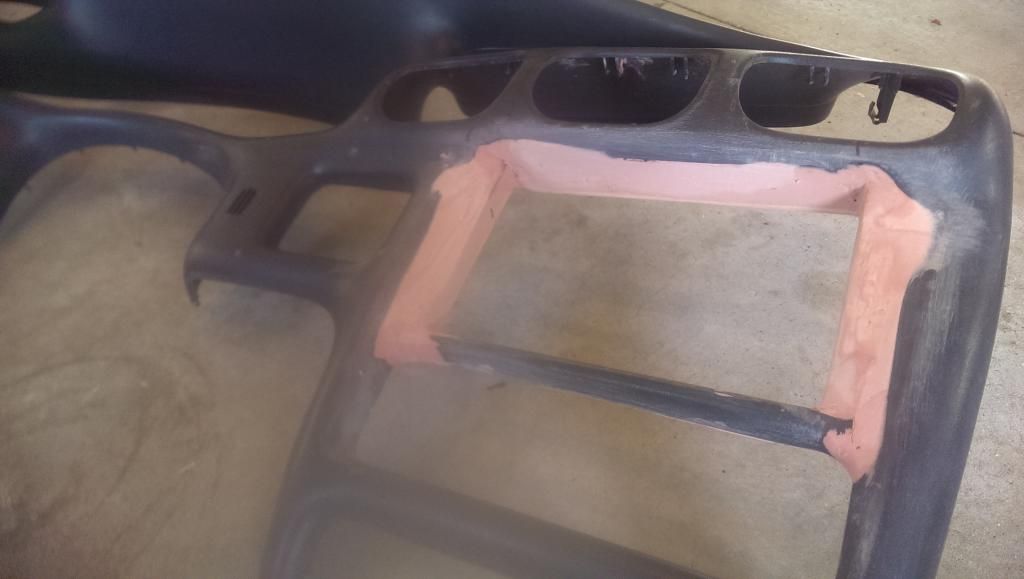
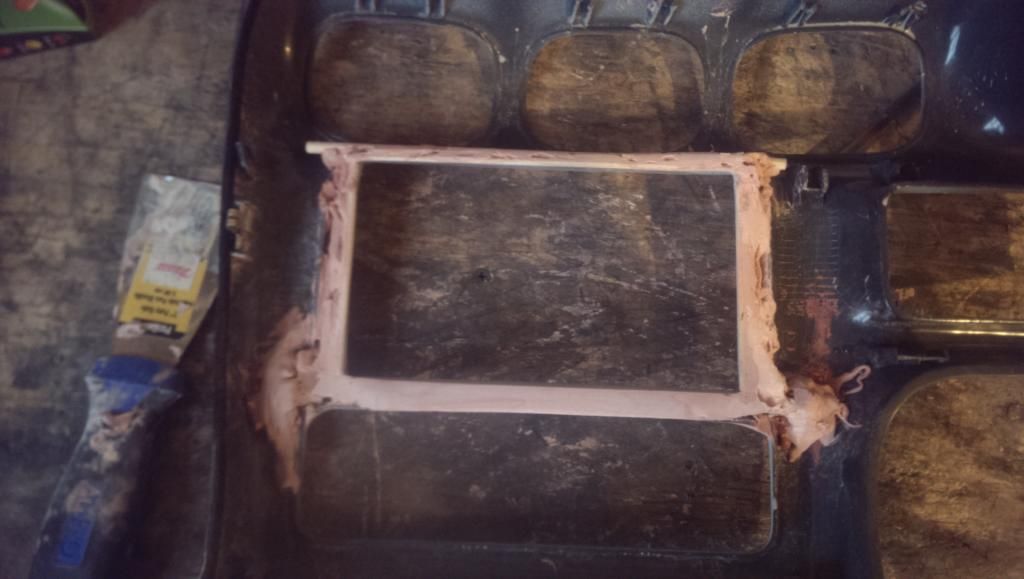
I super glued dowel sticks on the sides like seen (Smallest size I bought from Lowes) and added some bondo for reinforcement.
More Bondo filling the gaps.
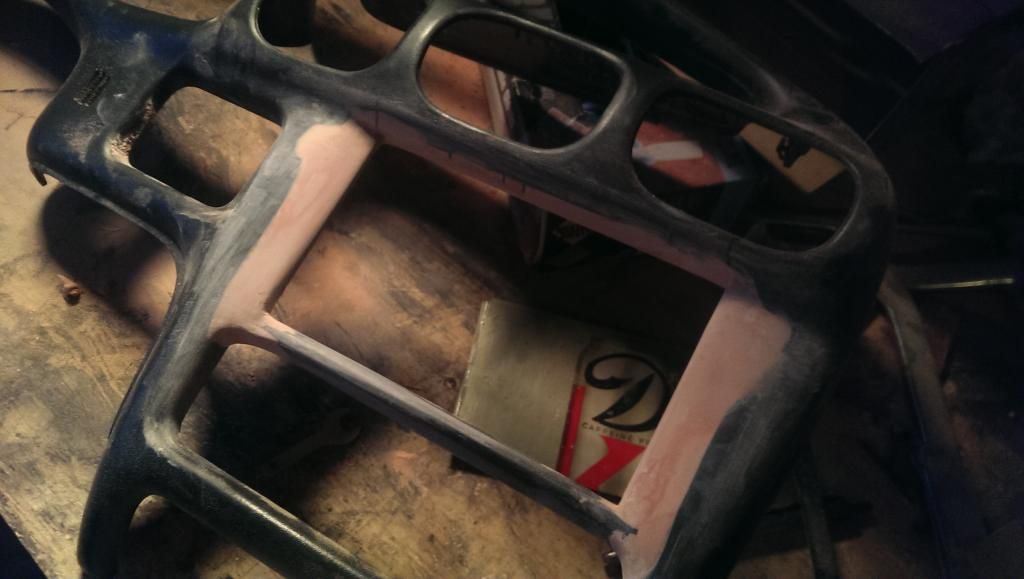
Sanding smooth and starting to take shape:
More bondo with a putty knife to fill in holes:
Like a baby's butt:
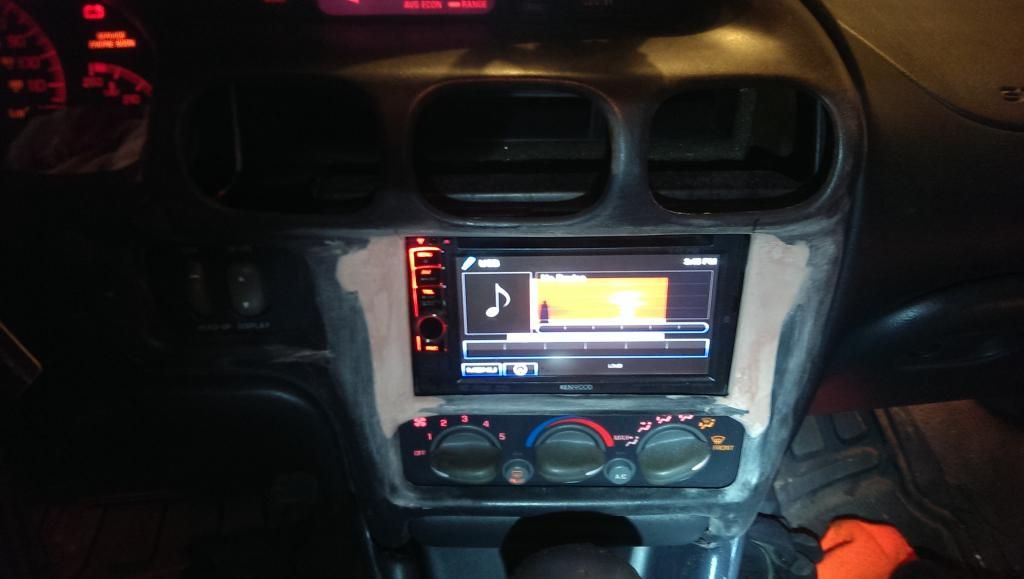
Checking fitment:
At this point, if you are satisfied with how it looks, well begin painting. But I was not and wanted it as close to perfect as possible. Mine had large gaps on each side, like seen in the pictures:
This is how I fixed it. Doing what I have been the whole time, I made marks on each side where the dowel stick needs to go:
Took the dash back off, added bondo and fit the dash back on to check my work on the right side:
Did the same for the left side:
Here is what the back of my dash looks like. Not very pretty because no one will ever see it. Plenty of bondo so its strong.
At this point you are just about complete. Every double din is different shape / size so modify it to fit your radio. This is just how I did it to fit mine. Feel free to tweak the process I did and do what you want.
* When your satisfied with the fitment, sand to get it extremely smooth. If you feel an edge from the bondo to the dash itself, IT WILL show up on paint. The paint does not hide your imperfections. So fix them the best you can before you paint. My final sand before primer was 600 grit.
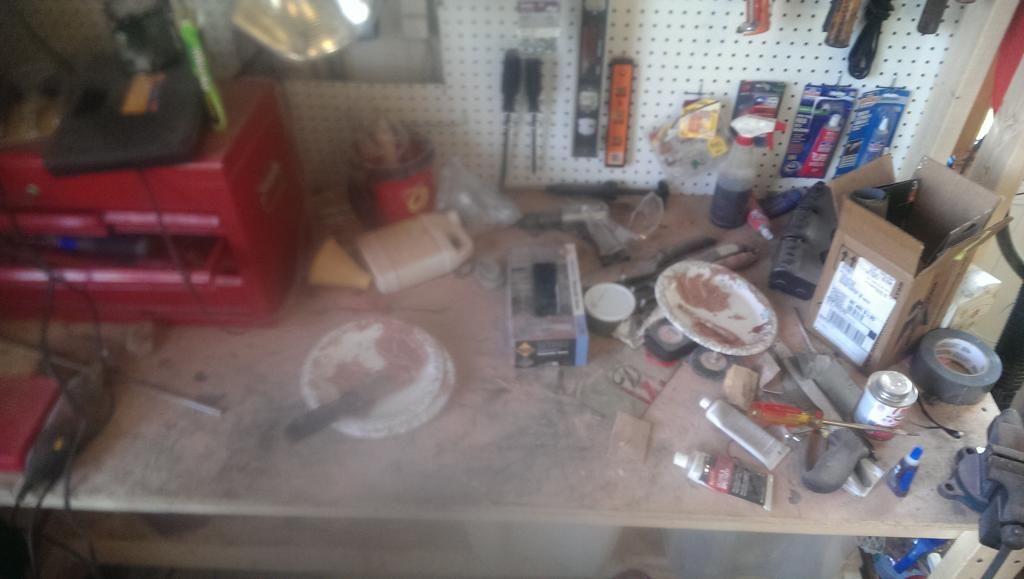
Your work bench will also be a mess like mine:
This is with four coats of sandable primer. Which I wet sanded with 600 grit to get it completely smooth after drying over night.
- At this point I'm still waiting for the Plasti-Dip to come in the mail, Dip the Dash Bezel and install on the car. Pretty self explanatory from here on out, but I will include pictures when I'm completely finished.


