First off, I would like to thank Lawngoose for this writeup. He walked me through this whole installation, and i basically wrote down everything that I did. He was a huge help to me, and hopefully this helps some of you...
Speed Daddy Header install plus tips/problems etc.:
Please keep in mind that this header install was done on a N/A 2007 grand prix. Some changes may be evident with 97-03. If there is anyone that wants me to add anything that I forgot, PM me and I will make the changes…so, enjoy!!!
Parts list:
Jack, Jack stands, spark plug socket (5/8), various 10mm,13mm (deep wall), and 15mm sockets and socket wrenches, open ended wrenches in 13mm and 15mm, hammer, felpro manifold gaskets (optional), breaker bar, copper rtv, and last but not least PRISON SHANK FILE.
Installation:
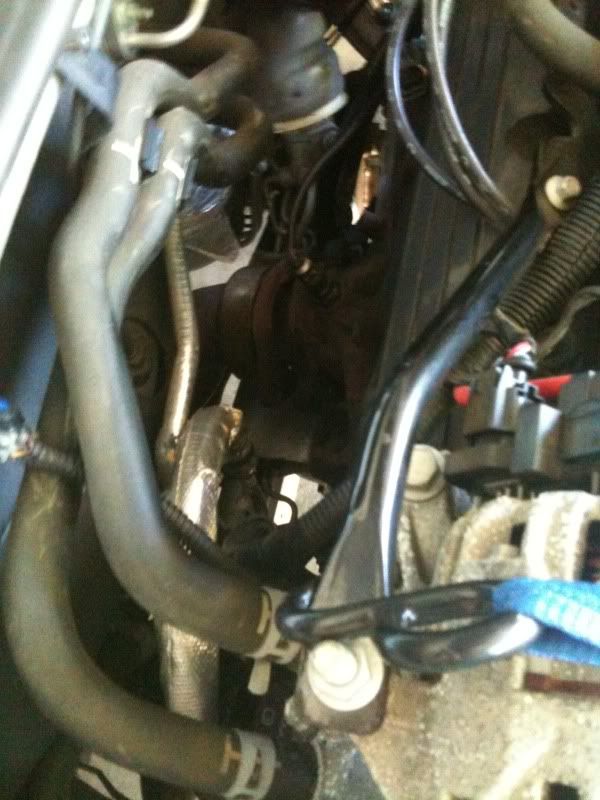
First things first, remove dogbones by ratcheting the motor forward slightly to take the pressure off of the mounts. (I hear that the S/C guys use the snout of the S/C, and I used the bracket that connects to the alternator and one of the holes in the frame next to the dogbones.) Should be 15mm bolts and you will need either 2 sockets or a socket and another wrench to hold one of the nuts/bolts in place while you loosen the other. Remove front spark plug wires and label as needed, and take out the spark plugs as well. 5/8 spark plug socket.
After this, we took off the front manifold. The first thing that we had to do with this was remove the oil dipstick. It just pulls out. It seems like it should be in there a little better, but make note of where it attaches, and just pull it out. The heat shield must be removed next. On 04+ there are iirc 3 bolts that are 10mm holding the heat shield over the manifolds, and I heard that 97-03 just pull off of the manifolds. Remove these bolts and just pull the heat shield off in any fashion. Next, you will be unbolting the crossover flanges, and the front manifold. 13mm bolts hold it on. There should be six bolts that you remove, and there are two along each primary. One bolt is low and the other bolt is high. Make sure to keep these bolts as you will be using them later to use on your new speed daddy headers. Also, when removing the front manifold, be sure to remove the gasket and inspect it if you plan to reuse it, toss it if you don’t. I know that some people just buy felpro gaskets, and some reuse the stockers. That is a preference choice.
You can now ratchet the motor as far forward as you can in order to get the rear as far up as possible so that you can work more easily. Remove the spark plug wires, and plugs in the same fashion as the front, and label them if needed. The next thing that you will do is loosen the bolts that connect the rear manifold to the stock downpipe. Don’t remove them because they will hold the downpipe up so it doesn’t fall. These can be a pain, so make sure to have some PB blaster on hand in case they are rusty. Remove the heat shield in the rear the same way as the front. Remove the six manifold bolts just like you did for the front, and remove the gasket and inspect it for cracks, etc. if you plan to reuse it.
Now, jack up the front of the car. Make sure to use jack stands as the jack itself can fail. We used it as a support in addition to the jack stands though. After you have reached the proper height, you will crawl under the car and remove the pipe that comes from the catalytic converter to the resonator (the long tube about mid car). This is also a PITA to remove, so spray it with some PB blaster, and have a breaker bar handy, a hammer, or some other method. We had to beat the crap out of the wrench with a hammer before it would break loose. Keep the exhaust hangers on if possible so that when you remove the downpipe from the rear manifold, it won’t fall.
The next thing that we did was put the rear header in place. This is very tricky and takes some finesse. Also, in order to do this, you must bend your trans dipstick tube. This can be bent quite easily. Bend it toward the driver’s side of the vehicle. The next thing that you will do is lower the header from the engine bay. Lower it straight down facing the way that it is supposed to be mounted and try to get a couple bolts in with the gasket in place to hold the header there. Don’t tighten it down yet.
At this point, you can go back underneath the vehicle and rtv the joints and use the clamps provided, or use band clamps from NAPA or some other parts store of your choice. One thing to note about the pipe that connects to the resonator is that the holes may not line up 100% perfectly with the bolts. We actually used a “prison shank file” to make the hole in the flange a little bigger so that the bolts would fit through. This took quite some time, but was much more effective than when we tried to use the power drill to drill it out a bit. After you get this all done, reinstall the exhaust hanger donuts, and head back up to the engine bay.
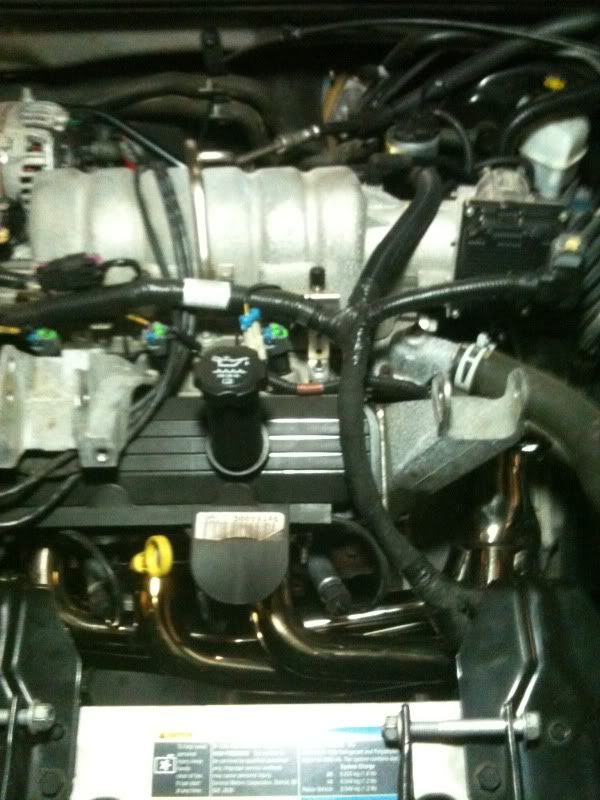
Now, your downpipe should be properly connected to the resonator, and to the rear header. I recommend tightening down the rear header now. Make sure to torque these down. Try to make sure that each bolt has equal pressure. i.e., don’t just start on one side, tighten it like crazy, and work down the line. Try to get them all in a little bit, and tighten them each down a little bit at a time until they are all so tight that they will not go any more. You will feel a point where it just does not want to go any further. Do not try to push them past this point! Now you can reinstall your spark plugs and attach the wires in the proper fashion.
After the rear header is in completely and your plugs and wires are connected and are away from the pipes, let your ratchet strap loose. Check again to make sure that your plug wires are not touching the pipes because we don’t want you to fry those (I used some zip ties to hold them up so that they do not make any contact with the headers.
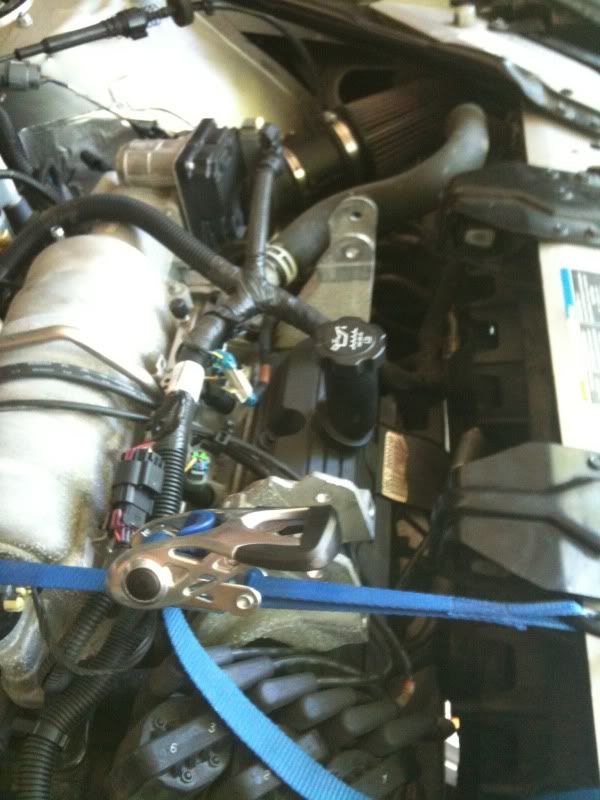
Now, begin placing the front header in with the crossover. It should make a nice arch over the trans. Make sure that the crossover is in good and tight. Again, make sure that you put a gasket in because you don’t want to have to go back and do that. It is advised that you try to put a couple bolts in the front header after you get your gasket lined up. If you notice that your header is going to touch or be anywhere close to your AC line, try to bend the line down a little so that you can get some more clearance. Be careful not to crimp the line though. Just bend it enough so that you have some clearance. After you fit in the crossover and the front manifold, tighten down those bolts the same way that you did the rear. Install your clamps over the joints, and then you will reinstall your spark plugs and wires. Reinstall your oil dipstick tube in the proper location.
Now, you are ready to start the car. Have someone else do this so that you can start to feel for leaks. You will inspect the front and rear headers first, and then move to the crossover joints next. If those are free and clear of any leaks, have your friend give it some gas so that you can hear if there might be a leak in the downpipe. If not, try to wait a while to let them cool down, and try to tighten down the bolts again. You may find that you didn’t get one quite tight enough. You will be able to tell if you have a leak by noticing soot on the pipes. There will be small streaks of black soot where there are leaks. You should be able to hear them at ¼ to ½ throttle. This is a very important step. If you have leaks anywhere, make sure to get them welded. Even if you have to pay $100 for welding a few joints, these headers are still cheaper than SSAC’s and others.
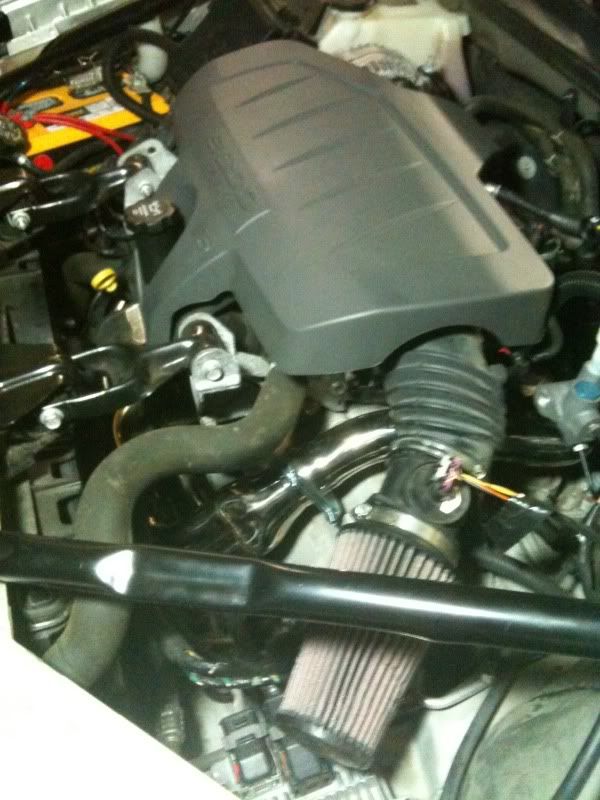
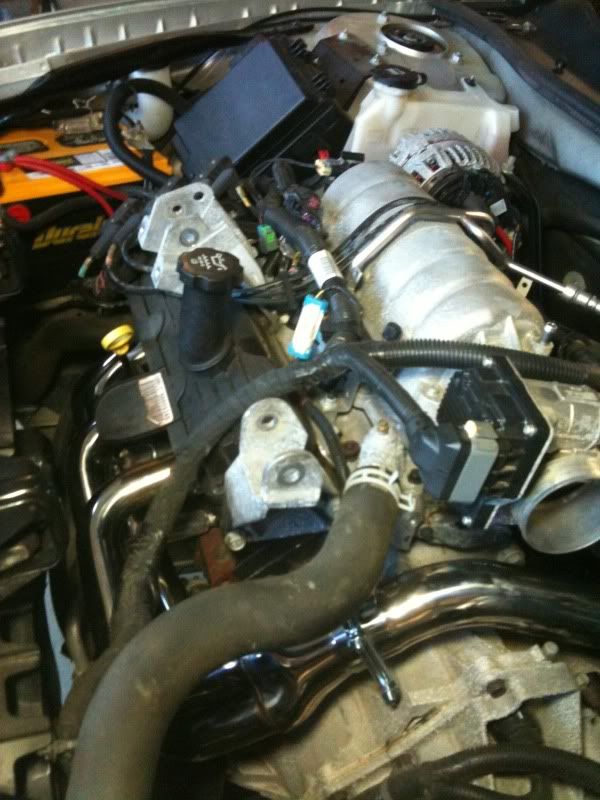
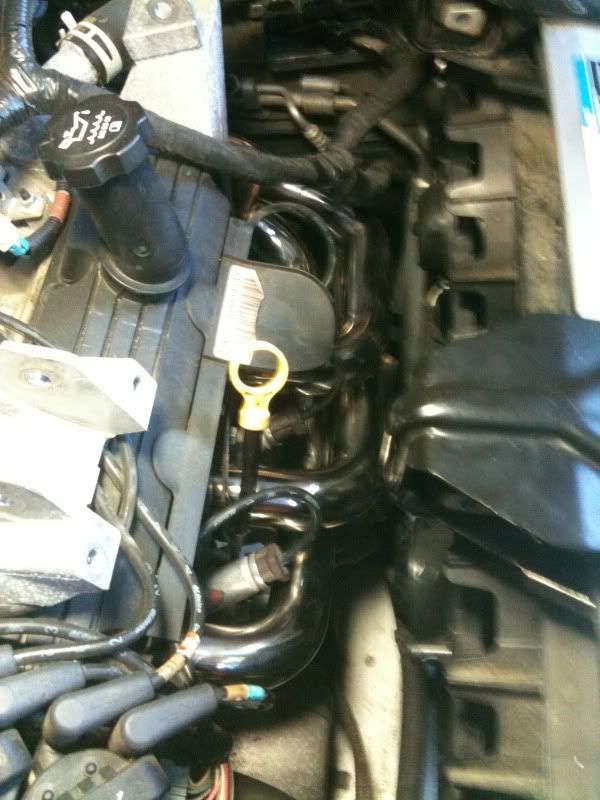
and here are some pics of my header install...sorry for the crappy iphone quality pics