CorrectOriginally Posted by Below Average Joe


|
|


Correct

ik haat ruimte lol

Nothing lately, I have no money for things. Just enjoy the car and the time.
Sounds like almost all of us.
peeled off the rest of the blue pontiac vinyl that was on the front windshield, put the sunroof back, and rolled down the windows in preparation to go to work. got my system working again a few days ago now i just need a better amp.

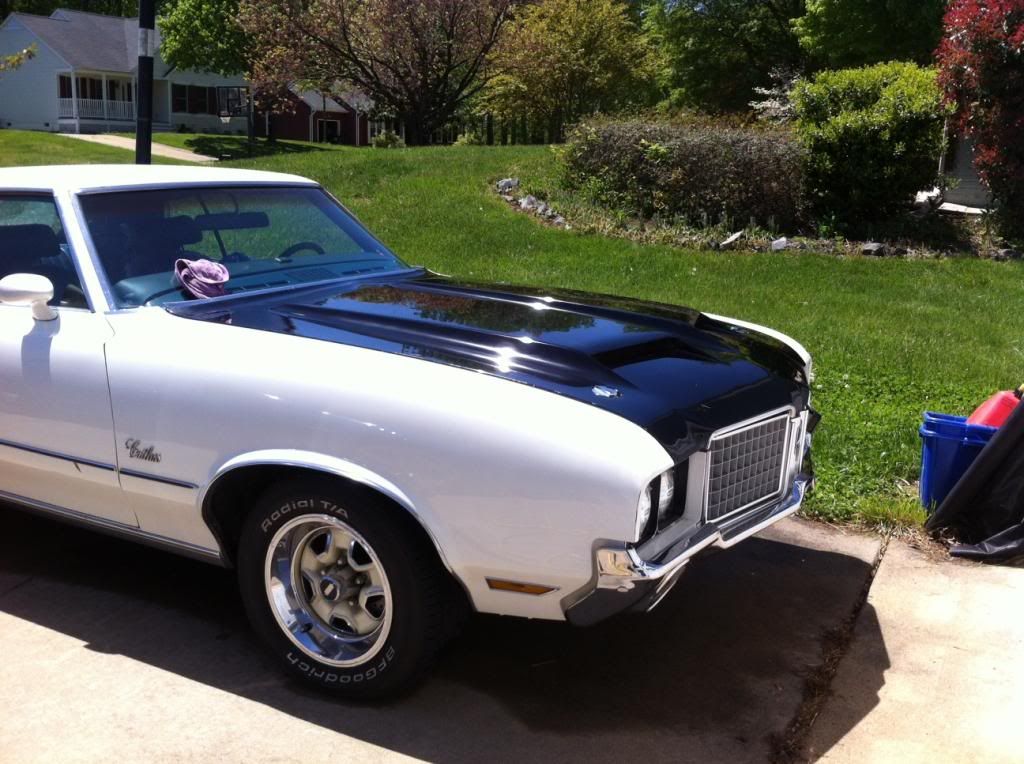
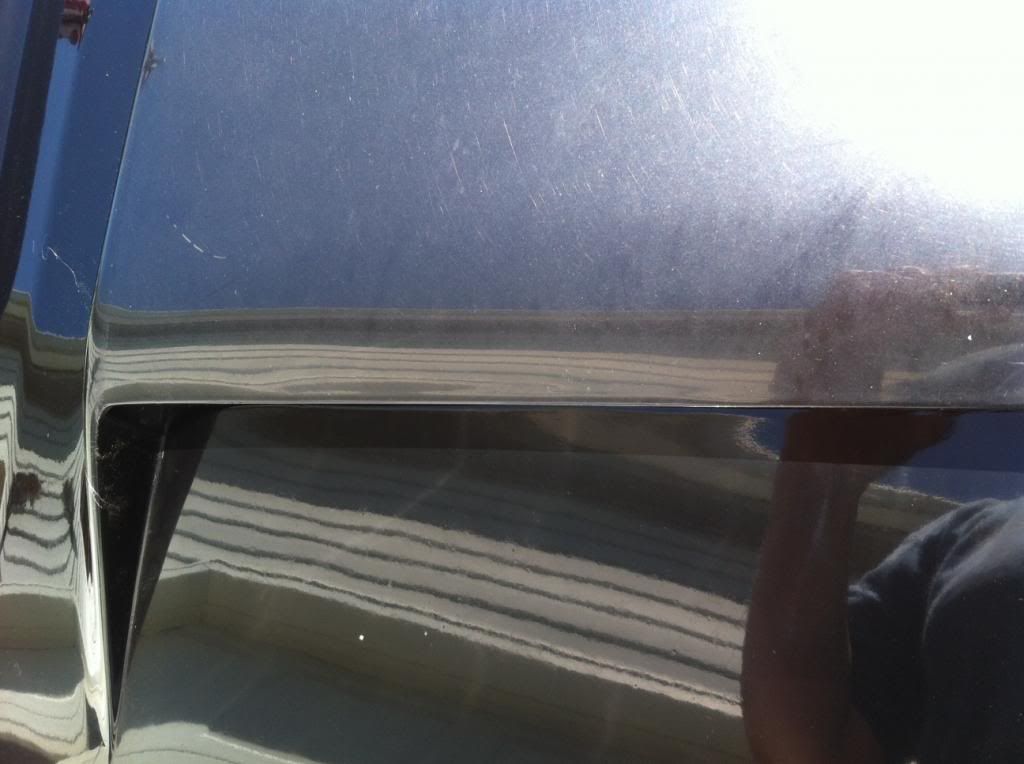
Buffed out the ram air hood on the '72 Cutlass. It's not perfect, but better than it was. I can't see worth a damn now either lol. It was basically flat black, I was too lazy to go get my camera for 50/50's, but I do have a lousy 50/50 to share.
It's eventually going to be painted, but its vinyl top is a priority.
Done:
The lousy 50/50: (The scoop is how the whole hood was)
Wolfgang FTW.


that by hand or PC?

Yes, you're right about both the hose and size. This was indeed a 2 minute deal. It was way too big for bleeding brakes, making it use too much line to get it to the bottom, so I made it work until I get a better container. A glass jar is what my uncle uses since it won't collapse from the vacuum. Oh and I just used my shop vac as the supply of vacuum, it worked great.

Anyone got diagram or know how ... for taking off the gas tank on an 07 gp gxp?
It says 5.3, except 5.3... Idk
3.5L, 3.8L, 3.9L & 5.3L Engines (Except 2005 5.3L Engine)
CAUTION Clean the fuel and evaporative emission (EVAP) connections and surrounding areas prior to disconnecting the lines in order to avoid possible system contamination.
- Relieve the fuel system fuel pressure.
- Drain the fuel tank.
- Raise and support the vehicle.
- Loosen the fuel fill hose clamp at the fuel tank.
- Remove the fuel tank fill hose from the fuel tank.
- Disconnect the EVAP vent solenoid hose on the tank from the EVAP vent valve solenoid hose.
- Disconnect the EVAP vent pipe quick connect fitting from the fill pipe EVAP vent pipe quick connect fitting.
- Disconnect the fuel feed, and the EVAP lines from the fuel tank lines.
- Support the exhaust system.
- Remove the rubber exhaust pipe hangers in order to allow the exhaust system to drop slightly.
- Remove the fuel tank shield retainers.
- Remove the fuel tank shield.
NOTE Do not bend the fuel tank straps as this may damage the straps. - Support the fuel tank with a suitable adjustable jack.
- Remove the fuel tank strap bolts.
- Using the jack lower the fuel tank.
- Disconnect the fuel sender jumper harness electrical connector.
- Remove the fuel tank and place the tank in a suitable work area.
- Disconnect and remove the fuel pressure sensor and fuel sender jumper harness electrical connectors.
CAUTION Note the routing of the lines for installation. - Disconnect and remove the fuel feed line and the EVAP lines.
- Remove the EVAP canister.
- Remove the insulator pads from the fuel tank. Note the location of the insulator pads for installation.
To install:
NOTE Do not attempt to straighten kinked nylon pipes. Replace any kinked nylon pipes in order to prevent damage to the vehicle. Do not attempt to repair sections of nylon pipes. Replace damaged nylon pipes. Replace the vapor pipes with original equipment or parts that meet GM specifications. Replace the vapor hoses with original equipment or parts meeting GM specifications. Use only reinforced fuel-resistant hose identified with the word Fluoroelastomer or GM 6163M on the hose.
- Install the insulator pads to the fuel tank.
- Install the EVAP canister.
- Install and connect the fuel feed line and the EVAP lines.
- Install and connect the fuel pressure sensor and fuel sender jumper harness electrical connectors.
- Install the fuel tank onto a suitable jack.
- Partially raise the fuel tank until the electrical connections can be made.
- Connect the fuel sender jumper harness electrical connector.
- Completely raise the tank.
NOTE Use the correct fastener in the correct location. Replacement fasteners must be the correct part number for that application. Fasteners requiring replacement or fasteners requiring the use of thread locking compound or sealant are identified in the service procedure. Do not use paints, lubricants, or corrosion inhibitors on fasteners or fastener joint surfaces unless specified. These coatings affect fastener torque and joint clamping force and may damage the fastener. Use the correct tightening sequence and specifications when installing fasteners in order to avoid damage to parts and systems. - Install the fuel tank strap bolts to 35 ft. lbs. (48 Nm).
- Remove the jack from the fuel tank.
- Position the fuel tank shield to the fuel tank.
- Install the shield retainers.
- Install the rubber exhaust pipe hangers.
- Remove the support from the exhaust system.
- Connect the fuel feed and EVAP lines to the fuel tank lines.
- Connect the EVAP vent pipe quick connect fitting to the fill pipe EVAP vent pipe quick connect fitting.
- Connect the EVAP vent solenoid hose on the tank to the EVAP vent valve solenoid hose.
- Install the fuel tank fill hose onto the fuel tank. Install the hose over the orientation feature on the tank until fully seated to the tank. Tighten the clamp at the tank to 22 inch lbs. (2.5 Nm).
- Lower the vehicle.
- Add fuel and install the fuel fill cap.
- Connect the negative battery cable.
- Inspect the fuel system for leaks by performing the following steps:
- Turn ON the ignition for 2 seconds
- Turn OFF the ignition for 10 seconds
- Turn ON the ignition
- Inspect for fuel leaks
- Install the fuel injector sight shield.
Thank you sir. The cars throwing P0446 code. The tank moves back and forth when u take off from stop. Im guessing thats messing it up. not sure. Anyone know y?

Isn't that just the evap solenoid or something like that. I don't think u have to take the fuel tank out
Think so. But the tank moves up and down. Its moving around alot. Guess thats where the knock is coming from.
Last edited by atj8; 05-01-2013 at 02:39 PM.
PC ThankfullyThat was prior to wax too. Single stage paint no less lol.


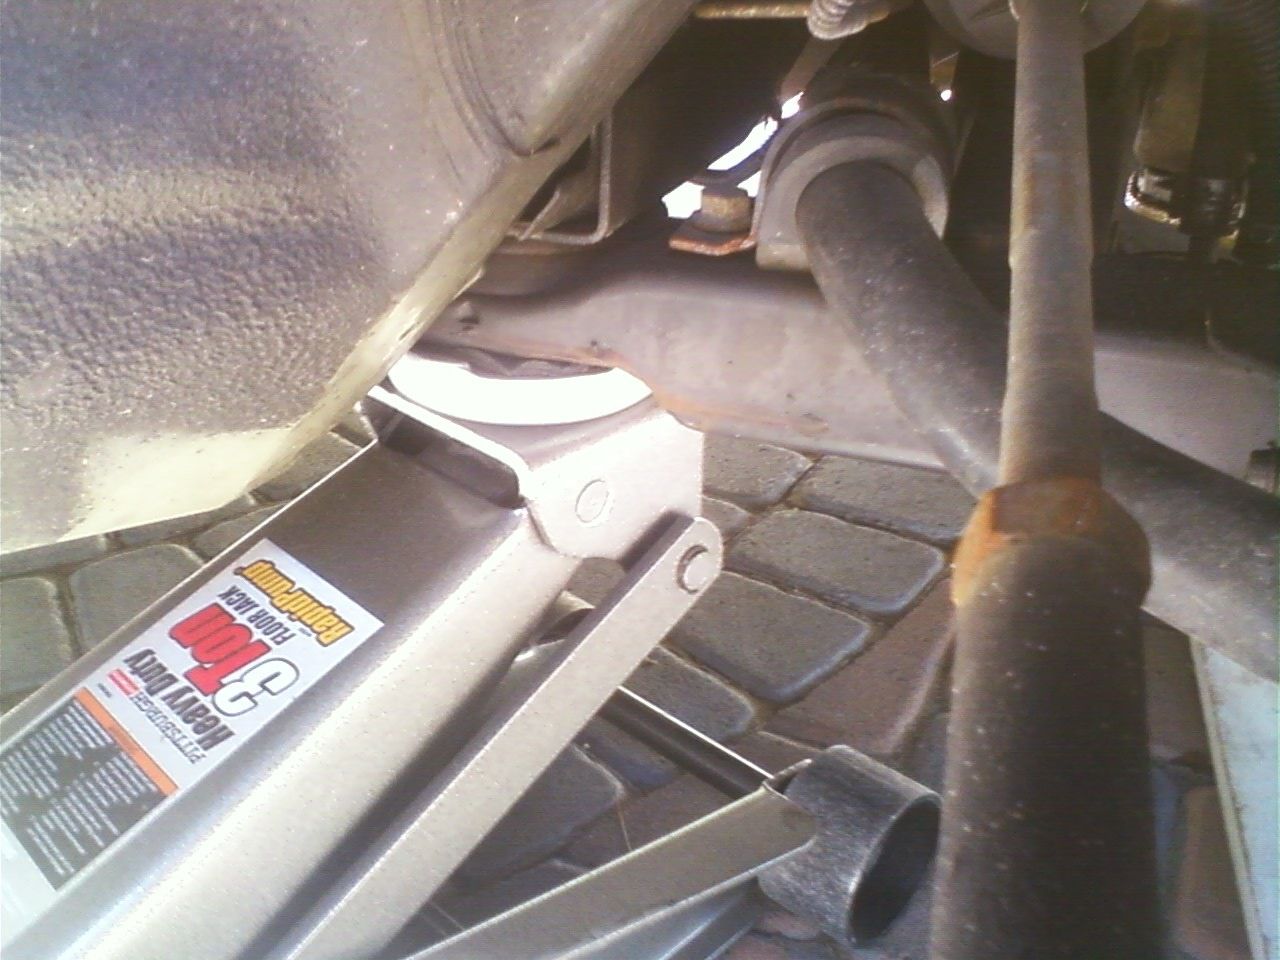
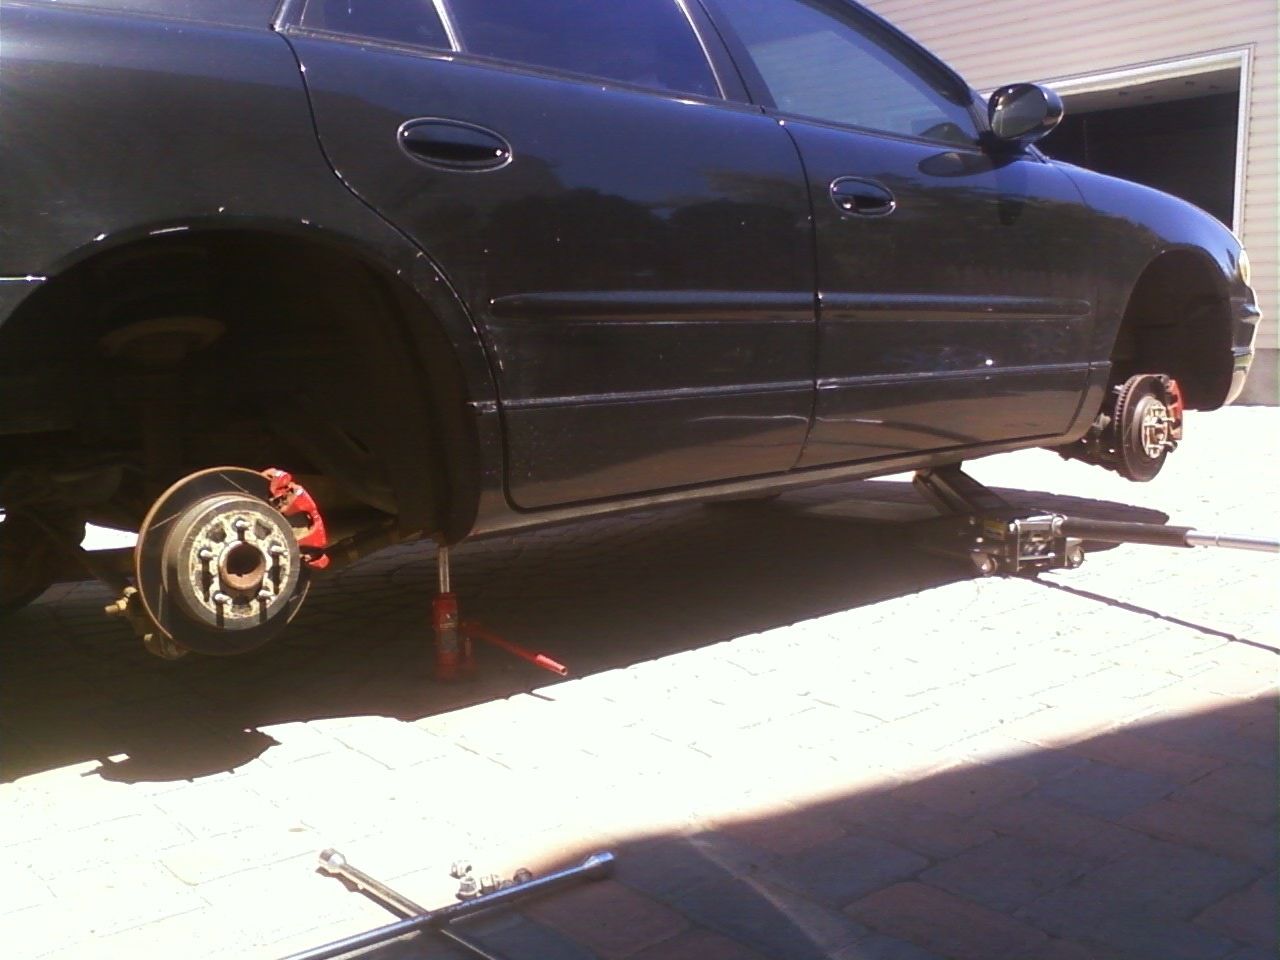
rotated the tires again. took some pics of the jack location for the front, as well as some failed parts that are to new to look this way.
some one wanted these a while back, so i hope who ever it was see's them lol
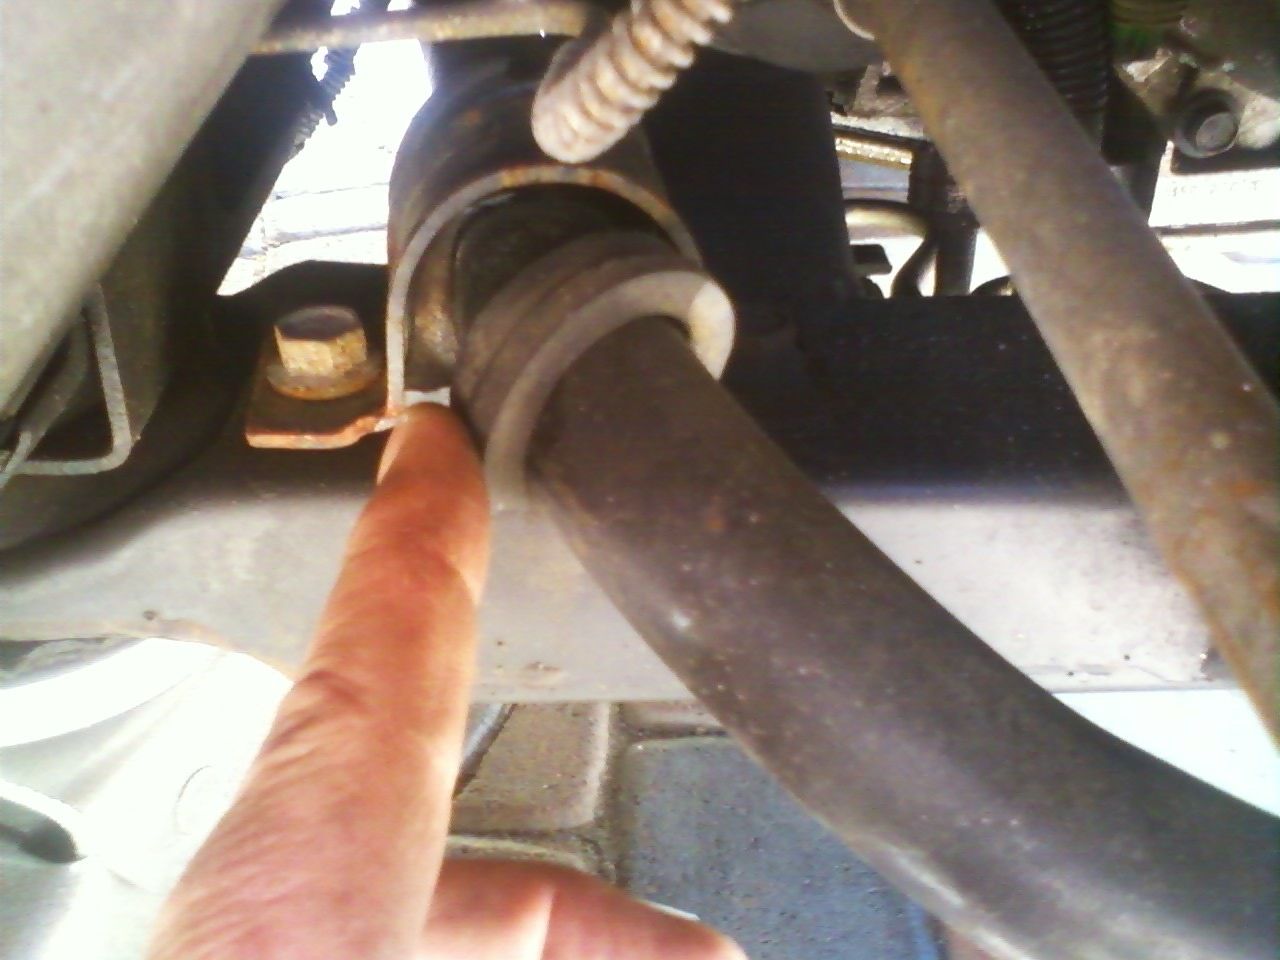
rear of sub frame bolt and bushing.
jack on bushing, the cup on the jack fits over it.
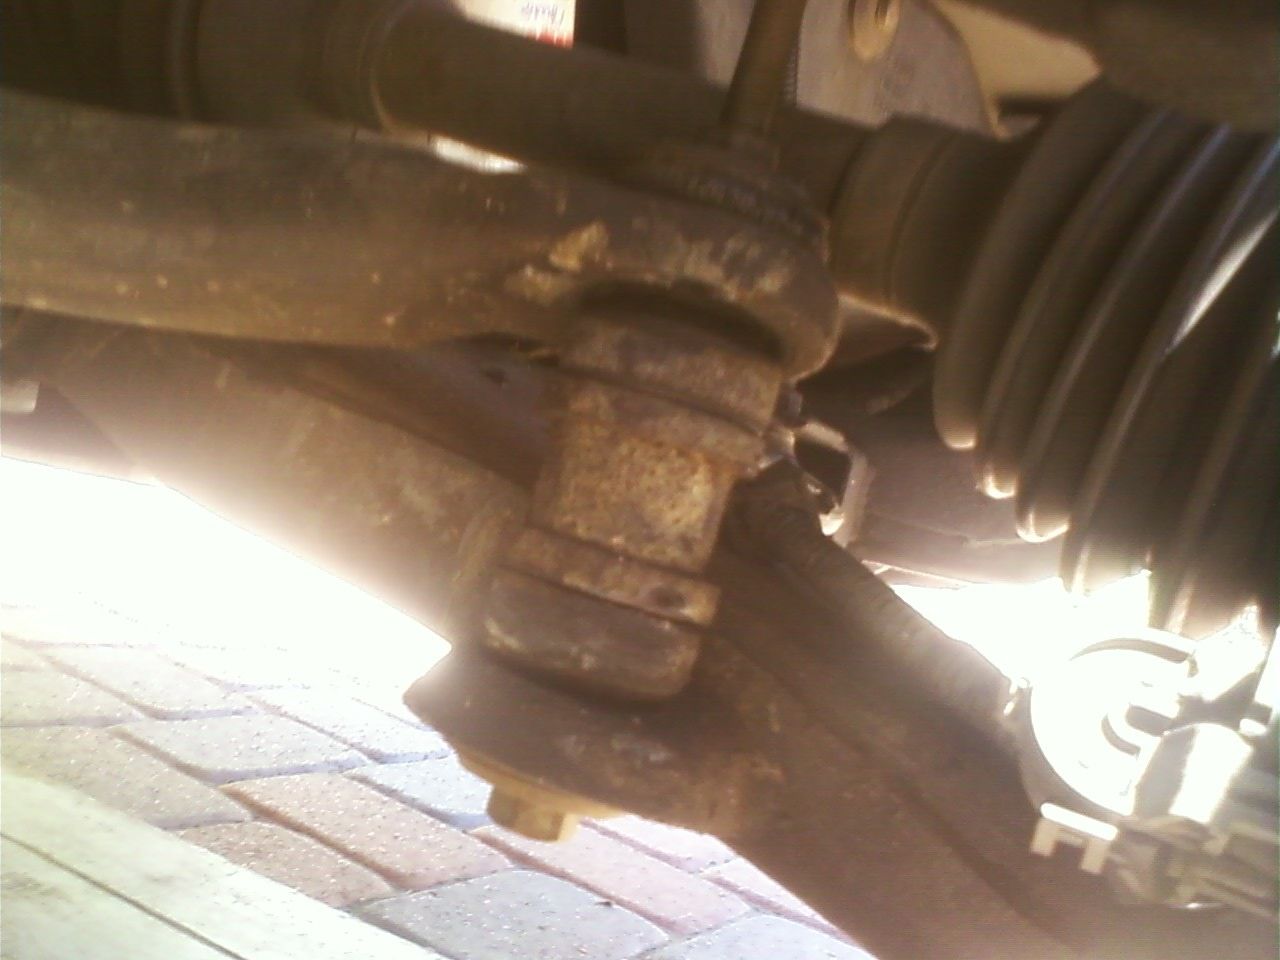
little over a year old dorman sway bushing, shot, both sides.
dorman end links, same age, also on their way to shot. top bushing has a lot of dry rot going on.
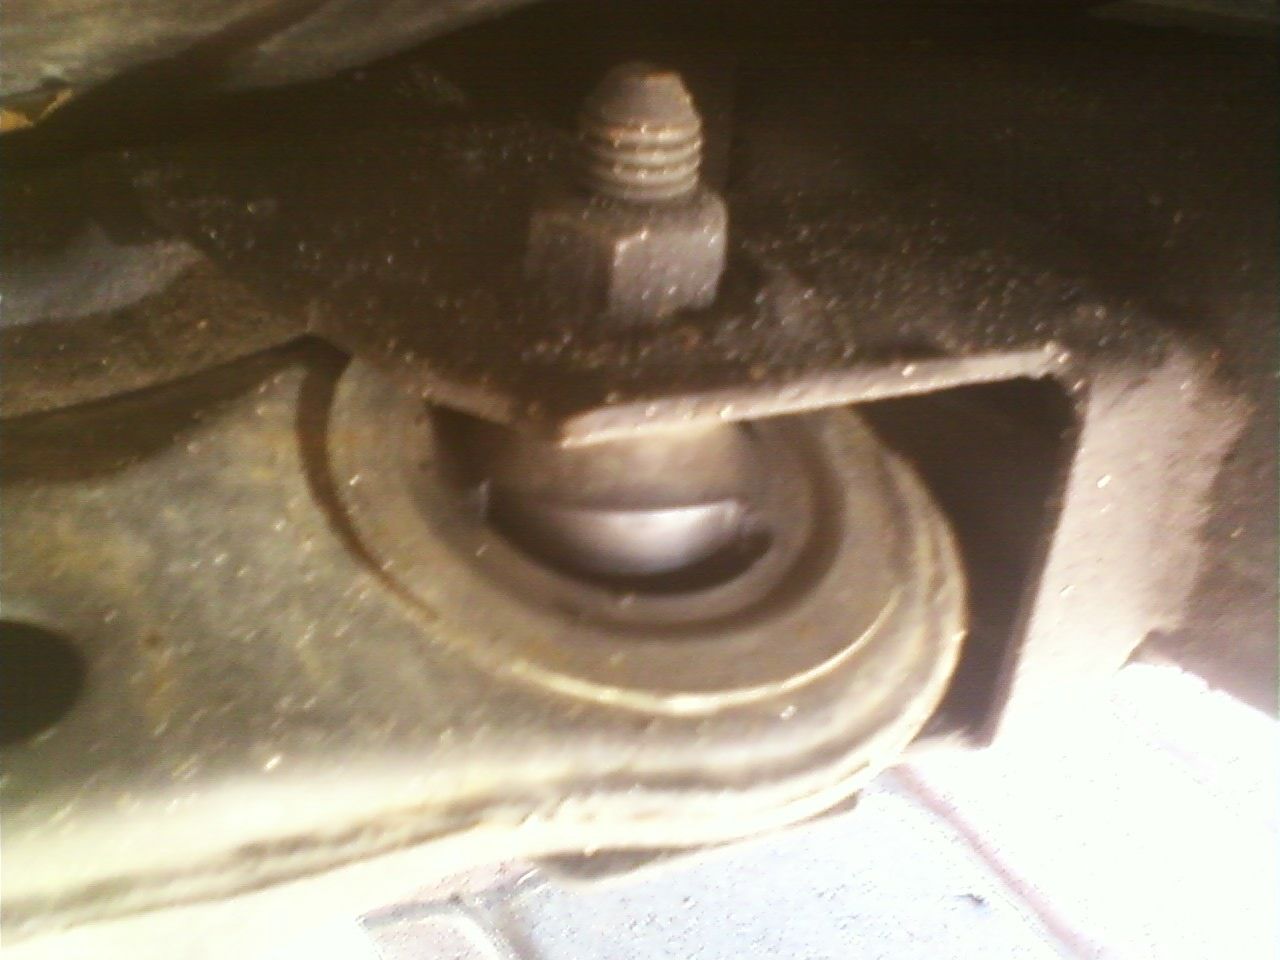
dorman lca's still look like new. over a year and a 1/2 old.
tires off, the rear jack is under the frame.
washed the car after this, then i fired it up, and dont ya know the cel went off, thats the 3 rd time in a row a car wash turned the light off. not sure what to think about it now.
and that "speedgrid" guy thinks hes got damage from the last owner, look at all then chips in the paint lol


Now you have to keep it clean. You know how the saying goes, a clean car is a happy car! lol
Sent from my Samsung Galaxy Note II
it seems happy for now, will be happier when it gets a few replacement parts put on so it stops setting the light off. lets hope the mail man has them parts tomorrow.
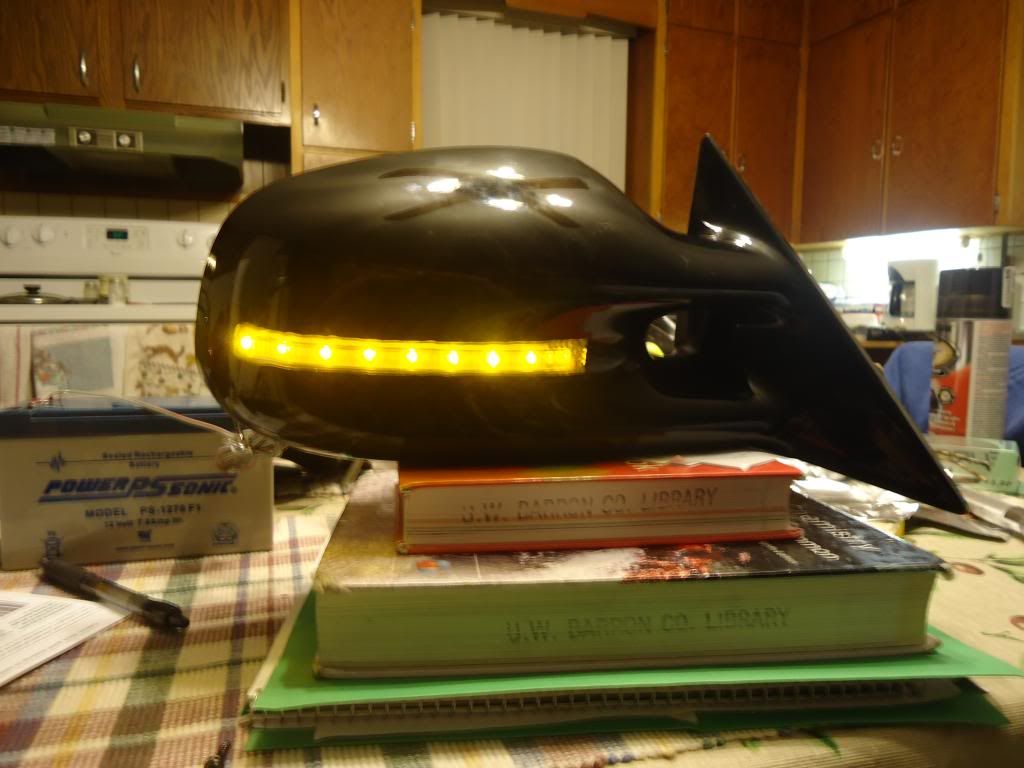
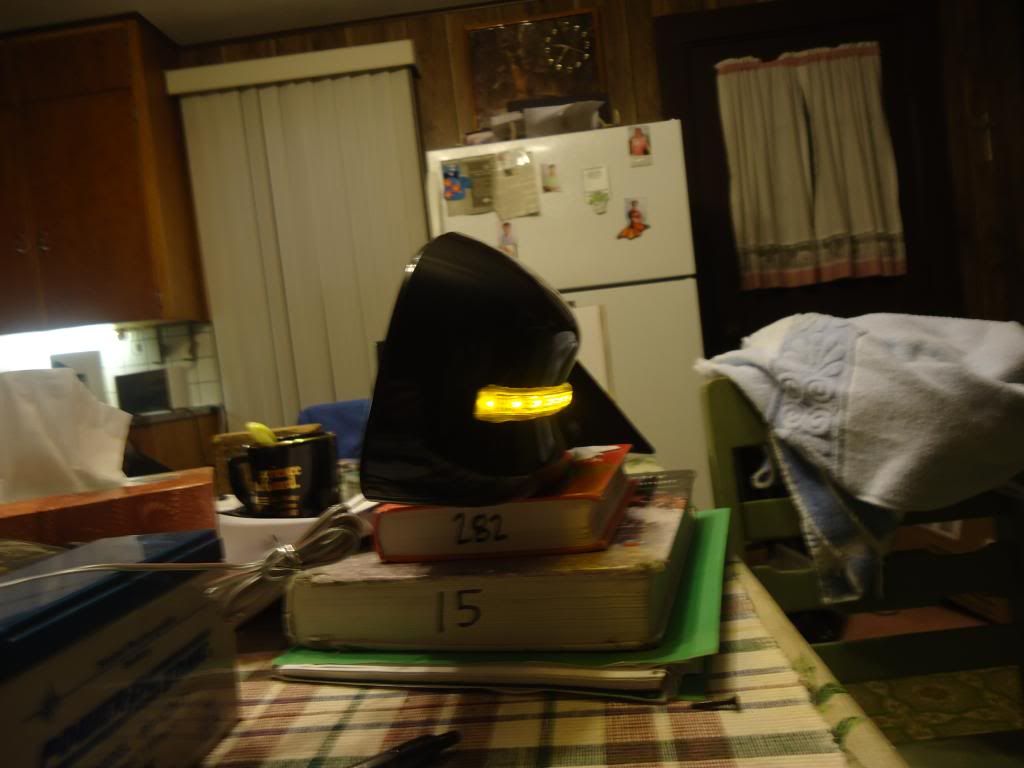
Didn't really do this today. It was like 2 days ago. But anyway for those of you that havent ventured into my members ride thread I am attempting to make some turn signal mirrors with all sorts of bells and whistles. This is the practice mirror and it seems to be coming along nicely. That strip will get tinted as well. It will have other features as well that Im still working on figuring out how to get them to look good. Anyway some pics with the strip on.

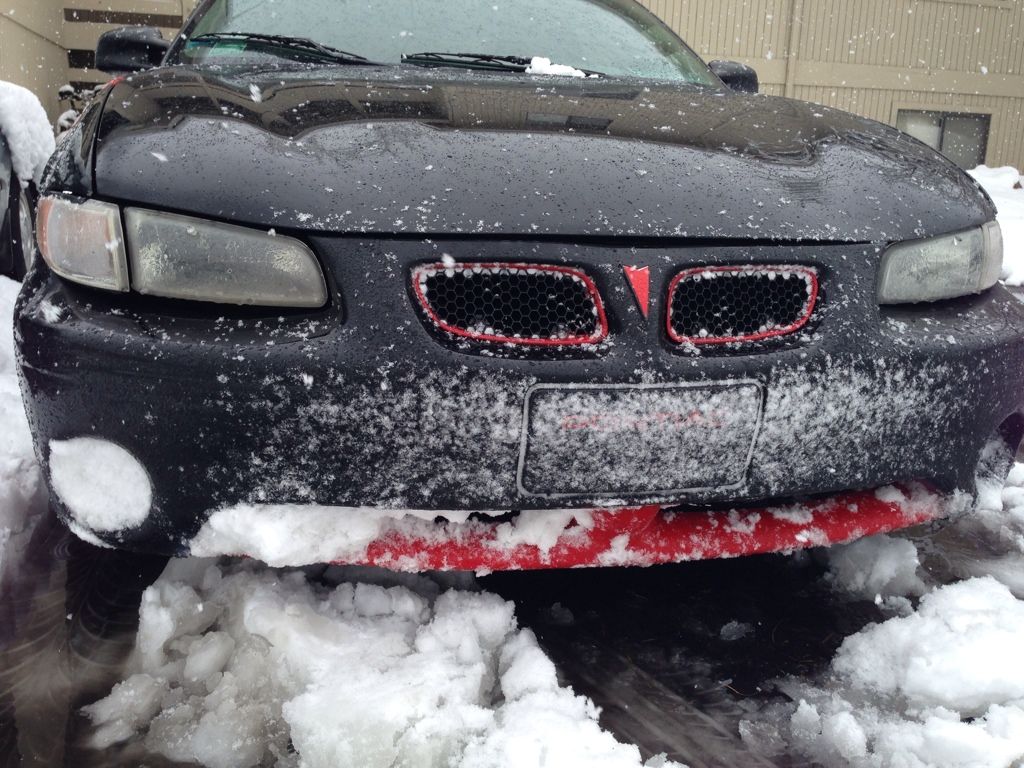
First drive of the Cutlass for 2013 and I'm greeted with a vacuum leak and some white smoke. LOL
This is the exact reason why every time I got to a junkyard I have to get at least one thing. No matter how silly it is because any good part is a part worth having.
This vacuum line did some melting today.
And it was torn here.
And the extra one.
After I got it back together she idled really nice and no problems at all.


took the drivers seat apart - still deciding on power or not.

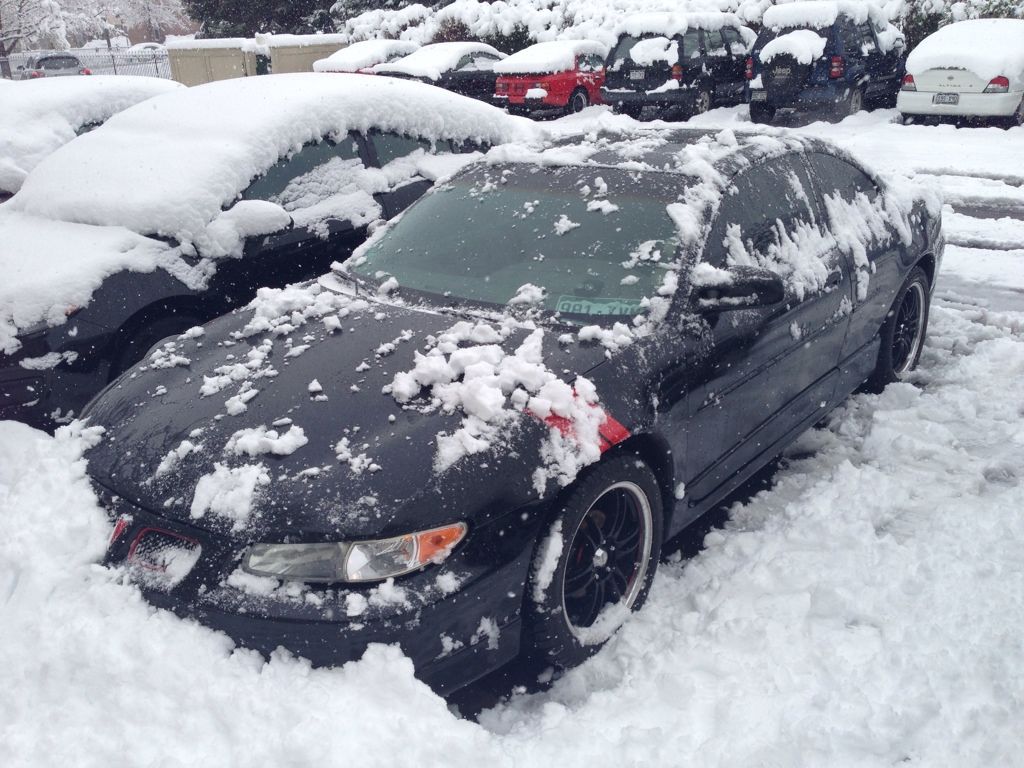
car look nice and it been hot and sunny up in ny lmao be jelly jk I like the cold better
| « Previous Thread | Next Thread » |
| Tags for this Thread |
| Bookmarks |
Bookmarks |