Since I've now done the swap I figured its time I give a little write up on what you need and how to do it.
In lieu of CTS-V calipers, you can use G8 GXP calipers or '10 Camaro SS calipers, they all are pretty much identical to each other.
This is a thread to branch of this thread of where I did my research and gathered parts:
http://www.grandprixforums.net/14-br...uss-41856.html
What you need:
-Tools (duh)
-CTS-V front calipers (4 Piston, and need to be complete with pins and brake pad bracket)
-F-body or CTS-V Banjo Bolt
-CTS-V Caliper bolts
-ZZP Extended SS Lines
-CTS-V brake pads
-2005 Mustang GT500 Rotors (Centric One piece will work well and are CHEAP)Get it on RockAuto Part # 12061089
-4 x 12mm Flat washers (buy 2 packs of 5 just incase)
-4 x 14MM bushing
McMaster-Carr
Part# 6679K16 Desc: Metric Steel-Backed PTFE-Coated Brnz Bearing for 12 mm Shaft Diameter, 15 mm Length Price: $2.45/each Qty: 4 (Grand Prix's have 14mm bolts and CTS-V's use 12mm Bolts)
Suggestions:
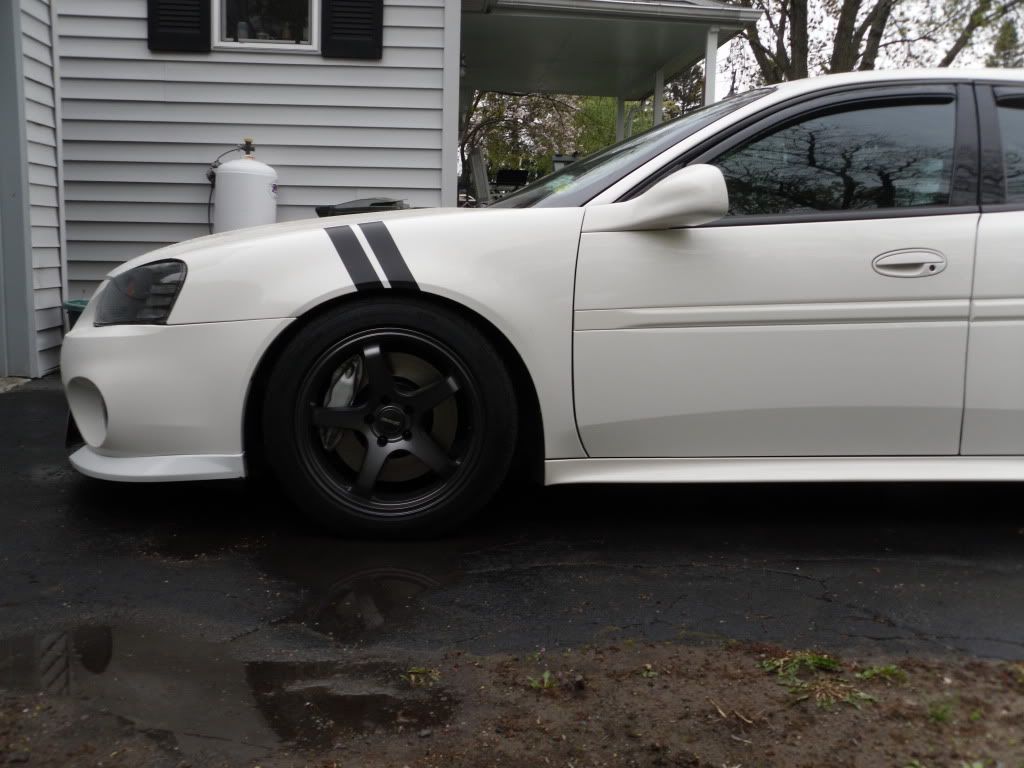
You MUST have 18" wheels for this upgrade PERIOD. You CAN NOT run 17s. I also suggest that the wheels be 35mm offset or less, 40mm might be close but it could be doable if the spokes are setup right. On my car the spokes are about 5-8mm away and I’m running a 32mm offset.
How-to do it:
Well lets start off getting all your old brake setup off the car. Rotor, Caliper, Caliper Bracket, Pads...GONE!
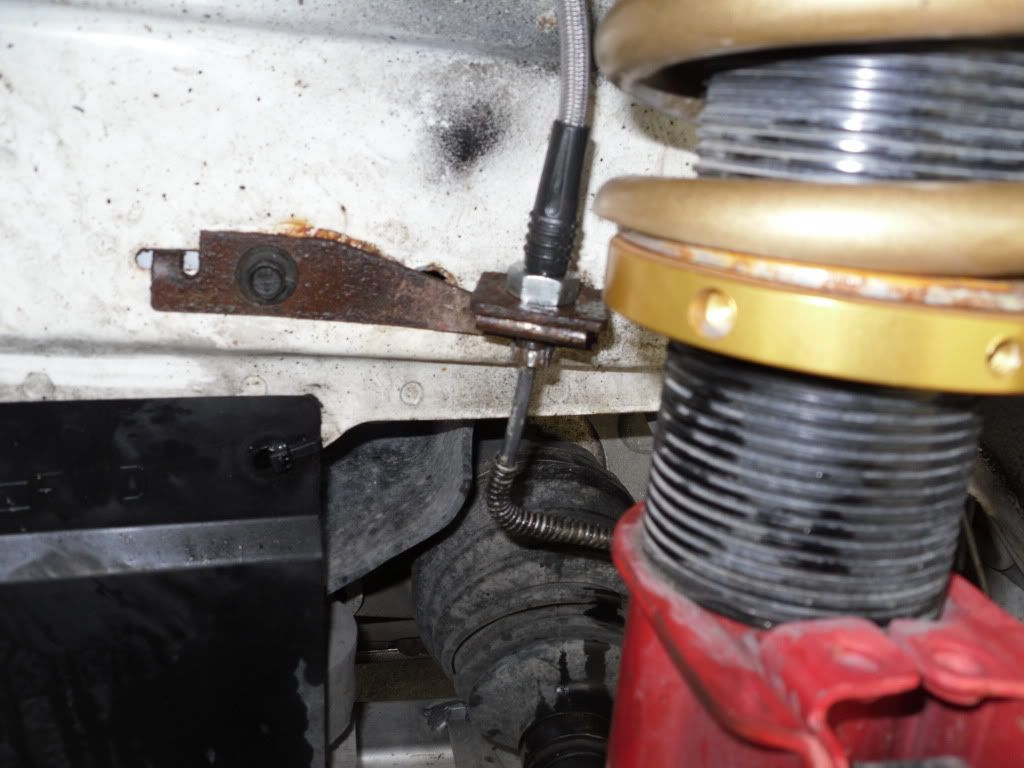
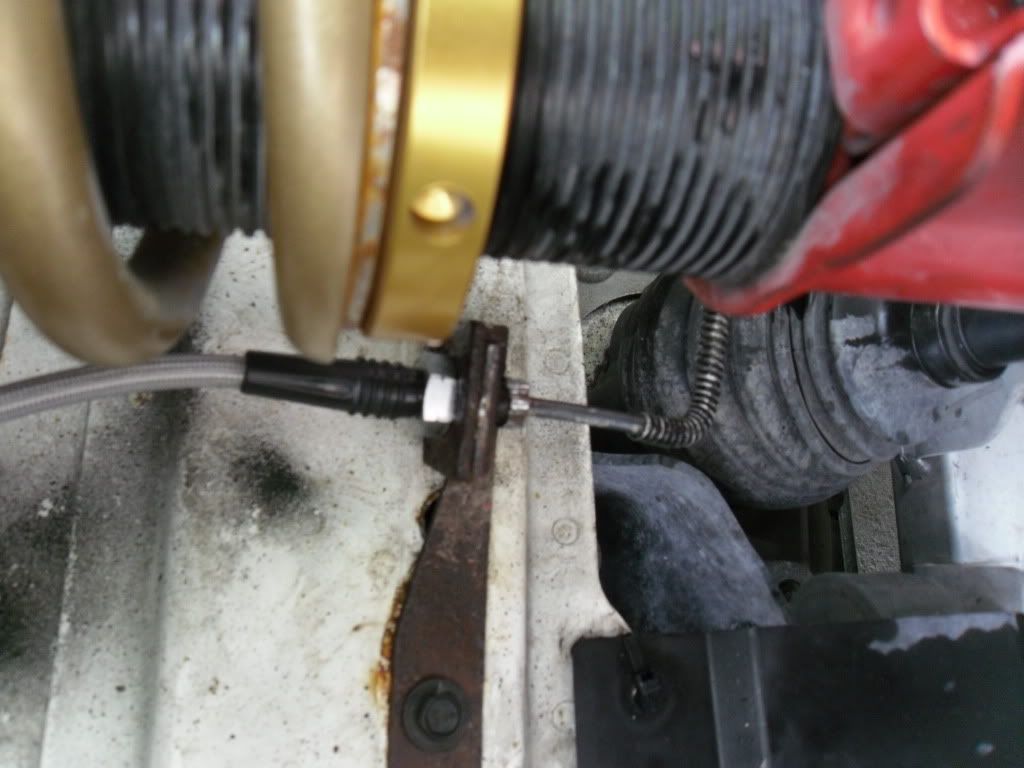
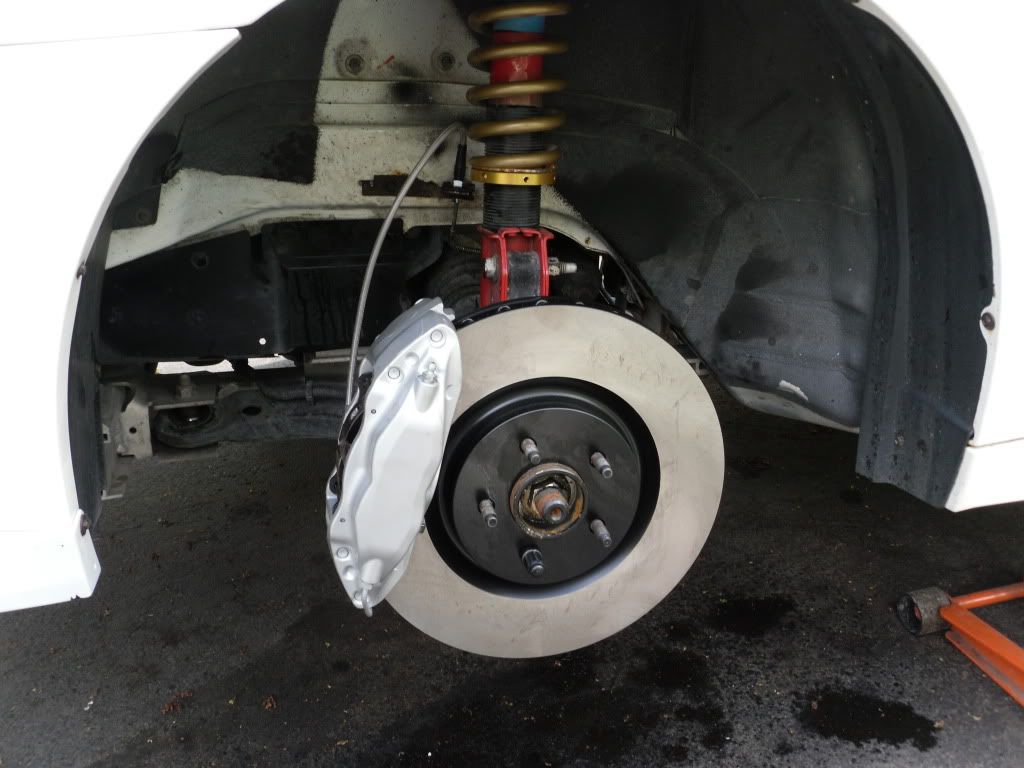
I Started by getting the new brake lines on first since for most of us this part suck, mine were so rusted on that the nut shaped end on mine is completely gone. Vice Grips work wonders with a spray of PB Blaster (Thanks Bill). On the passenger it’s easy since your turning it a direction that won't bend the flimsy bracket. On the Driver’s side the bracket will bend easy, so bend it out a little and jam a flat head screw driver between the strut and bracket and start turning. Sorry I don't have a picture of the demonstration of brake line change out, but it’s pretty obvious when you are doing it. One you do get the hard line removed, take bracket off, pull the clip (I used a thin screw driver and worked it one side at a time) and then install the new line in reverse order. Should look like this when done:
Okay so now the new lines are in. Time to move on, put the rotor on and use a lug nut to hold it on.
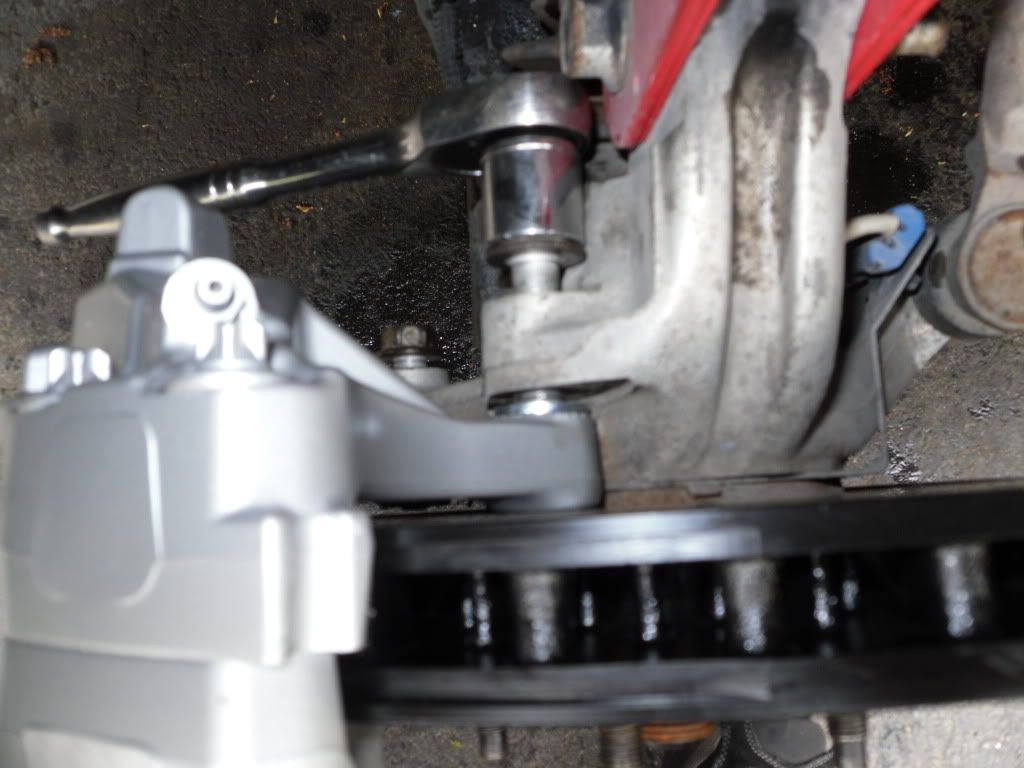
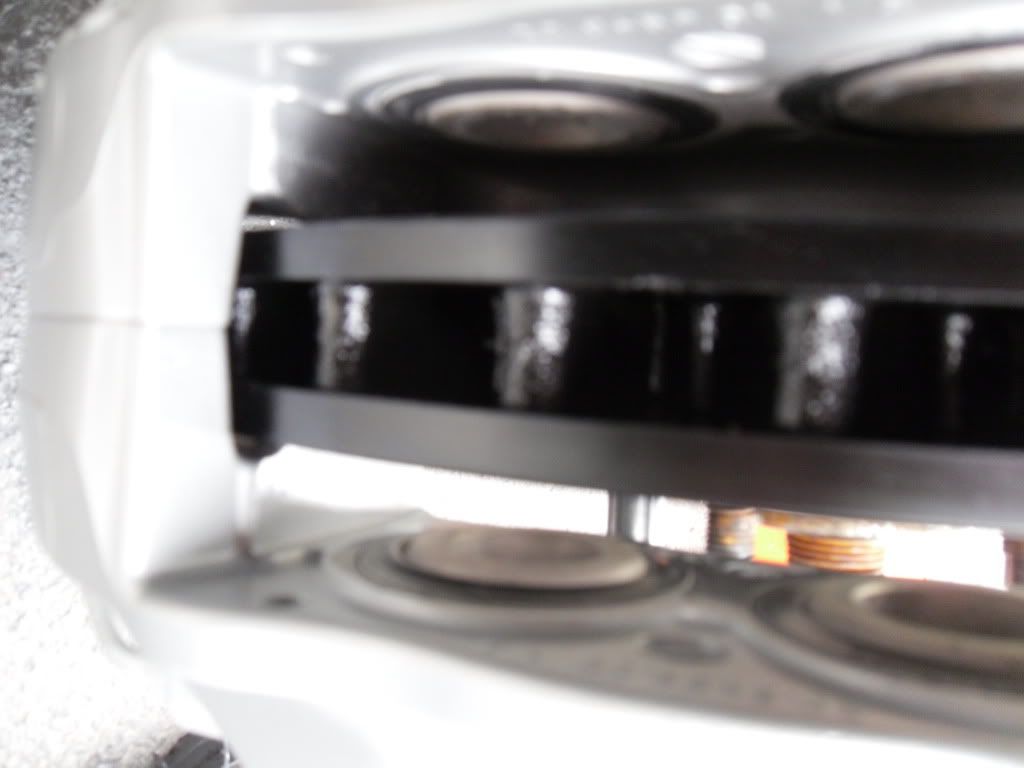
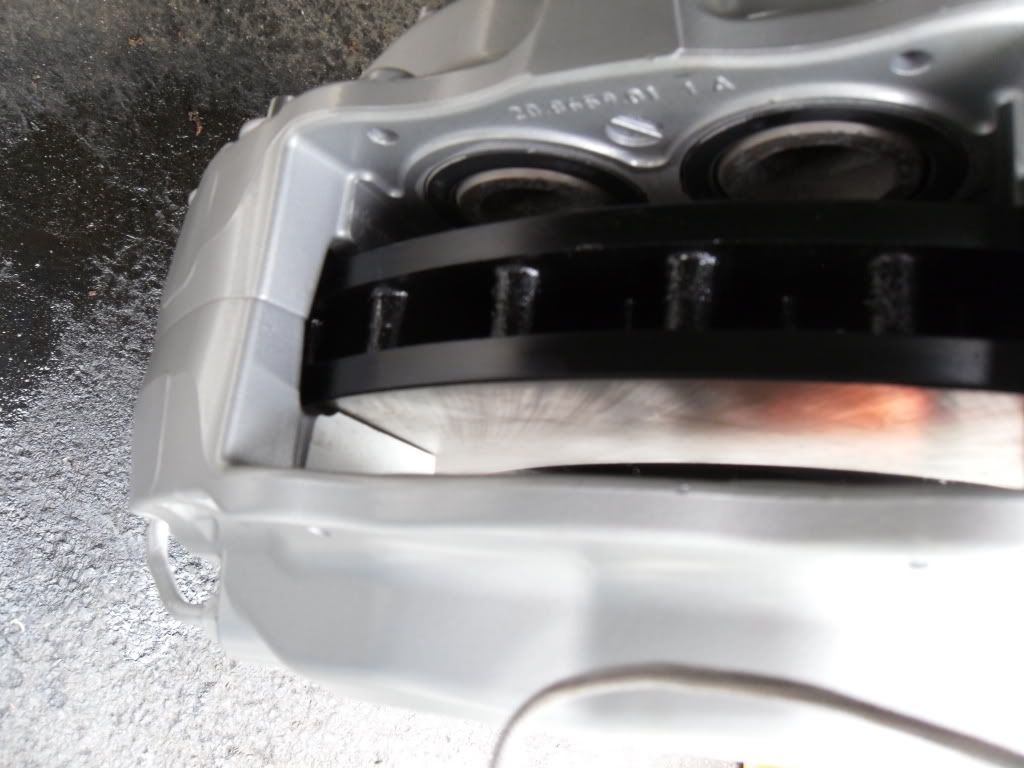
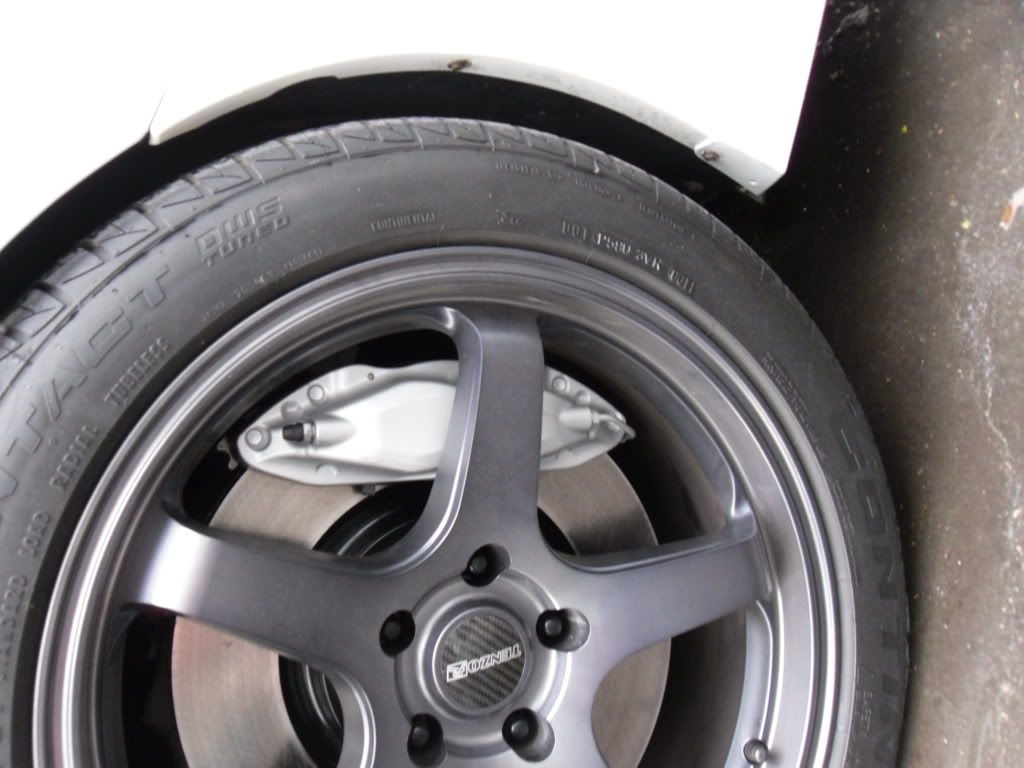
From there, I already had the Sleeves for the caliper bolts from my last brake setup, but if you don’t now is the time to put them in. They slide right in real easy. At this point I then slide the bolts in and just had them poke out just enough that I could install the washer on them. Now my passenger side with one washer was the perfect fit, on my driver’s side one washer was enough but it wasn’t perfectly center over the rotor, maybe a hair off, so I suggest you use your best judgment and if you need to run 2 washers, run 2 washers. There is a narrow window for this rotor to slip between the calipers as the pictures demonstrate below. From there I put caliper on and finger tightened them as much as I could and then tightened the rest of the way with a wrench.
From there, I put the banjo bolt through the line and tightened it down. I wish I had gotten a picture, but these lines have only one way they can go. When you pull them in place you will see what I mean. Instead of the traditional way of doing it where the angled elbow piece points out, you want it to use that angle piece sort of upside down, I guess is the way to say it, it fits beautifully this way and keeps the line away from the wheel.
Now the next part is to get the pads in place, I don’t really have a write up for it, but I do have a link for it, this should get you going on putting the pads in and how to pull those pins. He also tells you in what order you should bleed these beauties in. I did passenger’s side first and then bleed the Inner than Outer bleeder, then did the Driver’s side next and bleed the Inner then outer bleeder.
Link here:
CTS-CTS-V FAQ: Brake Pad Change instructions
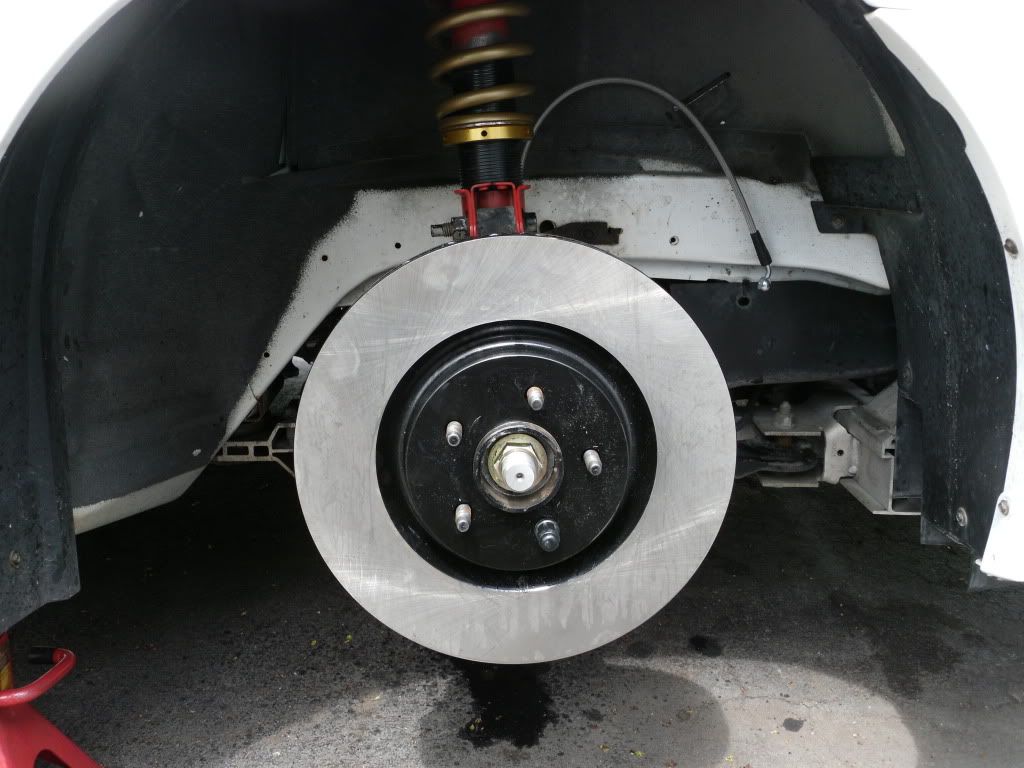
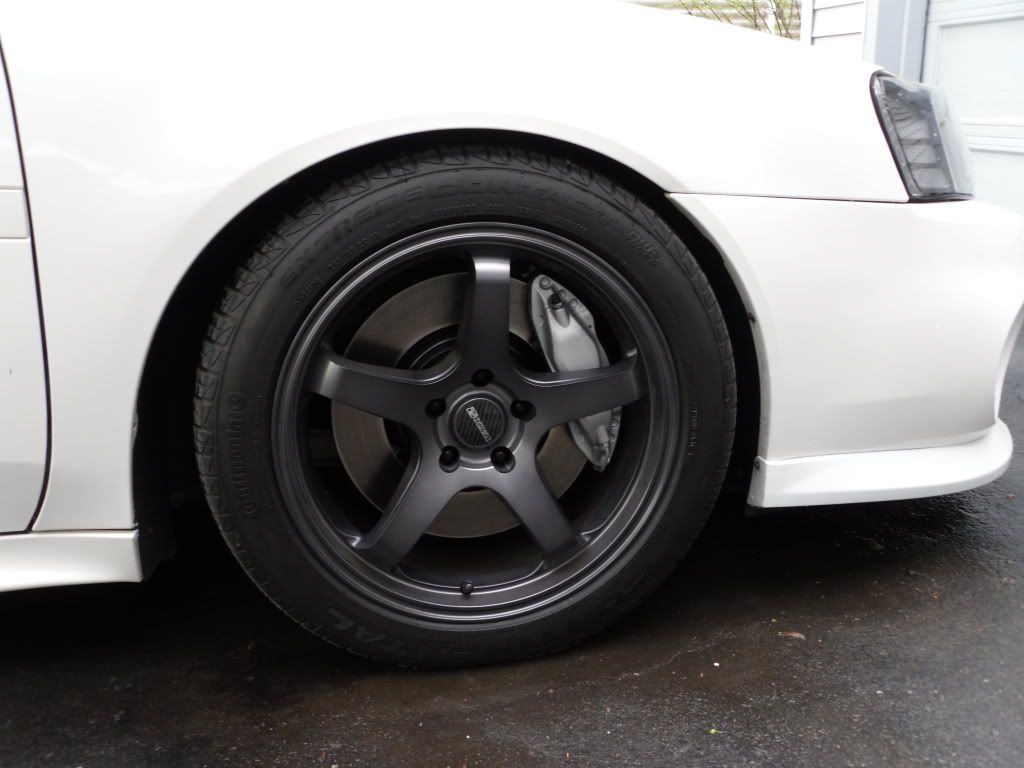
But when you are finished, you will have something like this:
I’m going to go out on a limb here but you could probably run Z06 calipers too with these same instructions, it’s just…have you priced Z06 calipers lately…they be expensive!
**Note: I didn't reread this and my grammar sucks on first drafts**