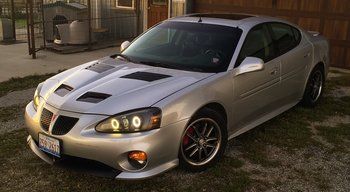
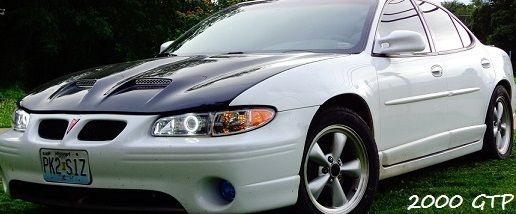
Alright all here it goes, so I acquired some slotted and cross drilled rotors from my buddy over at Rotorsonline. I also acquired the front caliper bracket from an Impala which uses the larger front Imapala rotors, also Fbody Rotors. So I decided to do a write up since it is pretty easy and straight forward. Plus I figure what the heck, why not.
All the goodies ready to go.
Tools Required
19mm socket
Breaker Bar
14mm socket
14mm wrench, I prefer gear wrenches if you would also like to use this
13mm socket
13mm wrench, I prefer gear wrenches if you would also like to use this
Brake Cleaner
Rags or Paper towels
Brake Grease
Parts Required
Front set of slotted and Cross drilled rotors (Unless you would prefer only cross drilled or only slotted)
Rear set of slotted and Cross drilled rotors (Unless you would prefer only cross drilled or only slotted)
Front set of Caliper Brackets from an Impala I believe this is from the 01-04 body style.
Front brake pads
Rear brake pads
So first things first, you need to jack the car up and get the wheels up off the ground, then remove those wheels with a 19mm socket and your breaker bar, unless you have air tools then impact those lug nuts off.
I started on the front, you want to remove the caliper from the bracket, these bolts are 14mm and are the closest to each other. I use a breaker bar when I do not want fight with the bolts. Once you remove the caliper it is a good time to inspect the piston, check the rubber boot around it for cracks or breaks, if they are damaged I would suggest replacing. Any ways, you can hang the caliper off the spring perch on the strut, or tie it up with some wire. GO ahead and remove the old pads, then remove the caliper bracket, which is 14mm as well.
Old parts on
Out with the old in with the new
Go right ahead and put the new rotors on. After all of that, go ahead and if you have not cleaned up your new caliper brackets go ahead and do it now. Paint them if you want as well. Go ahead and bolt the new brackets on, they just go right on using the stock holes. If you get new anti-squeal clips, install them then install the new pads (I chose Hawk HPS pads). Now get up in the engine bay and remove the cap from the brake master cylinder so that when you compress the caliper piston the fluid moves freely, I suggest getting a syringe and sucking out some fluid first. Now get back in position at the calipers and throw some brake grease on the backing plates of the brake pads, what I do is use an old brake pad and a large C-Clamp, do not use the pad with the indicator clip. Compress the caliper piston in far enough to get around the pads. Go ahead and clean off the slide bolts with the break cleaner, and go ahead and grease them. Put them in the calipers and start them by hand. Go ahead and tighten them down. I tighten all bolts down pretty tight, you don't want them coming off on the freeway now.
Here is the Caliper Bracket
This process works on both sides, and if you would like to take a break and have a beer do so now. If you are under the legal drinking age, then go have a water and a candy bar.
Now let's go tackle the rear.
It is the exact same as the front, except you need the 13mm socket and gear wrench. Just remove the Caliper, hang from the lower spring mount on the strut, or tie up with wire. Remove the caliper braket, then remove the old rotor. Install the new rotor after inspecting everything to make sure you do not need to replace the caliper, or any suspension parts. Install the caliper bracket. Compress the caliper piston, if you got new anti-squal clips go ahead and install them, install the new pads, clean off the caliper slide bolts with brake cleaner then add more grease, also add grease to the back of the pads backing plates. Get the caliper back over the pads and put the slide bolts in and hand tighten them. Get the socket and wrench out and tighten them suckers down.
For some reason I have no pictures of the rears, but the look similar to the front, but in the rear.
I have driven on this setup now for two weeks and the braking change is amazing, this car stops amazingly for its size. I recommend this to anyone who wants to have a decent upgrade. It is a straight bolt-on and gets some great stopping power.
If you want to add another challenge to this, use the syringe and remove all of the fluid from the brake master cylinder, then loosen the bleeder on the passenger rear caliper till there is no fluid left then tighten the bleeder, do so on the driver side, then the front passenger, then the front driver. Get some fluid and pour it in and continue bleeding the fluid out. Clear it all out, then make sure all bleeders are closed and fill up the brake master cylinder and pump the brakes to get all fluid back to the lines. Once you have the master cylinder filled, start bleeding starting from the passenger rear, then driver rear, then passenger front, then driver front. This is to make sure that the fluid is all clear and you now have flushed your brakes.


