My current bottle is from the Home Depot plumbing section. It's a thread sealant with teflon aka ptfe. Thing is ..it stays goopy forever. RTV dries and hardens, good luck cleaning that out.

|
|


My current bottle is from the Home Depot plumbing section. It's a thread sealant with teflon aka ptfe. Thing is ..it stays goopy forever. RTV dries and hardens, good luck cleaning that out.


Hey BillBoost...great writeup, especially about the coolant block off. I don't go quite as far on the bypass cut, but close...
I will add some insight into the inlet porting for all, as so far, this thread delivers well for LIM improvements.
I have done this for many people, and have tested many. I do porting of blowers and LIM's, but I also know exactly how much time and hardware it takes to do it, so I don't sell myself short on value. No, I don't do a quick job for $40 if you know what I mean....Porting takes alot of time, careful hands, patience and a real good set of files, grinding and sanding stones, power tools and even heavy machinist tools depending on what you are going to do.
I do want to mention to you all that aluminum particles will cause you serious issues with your respiratory tract. If you are going to file/grind/cut/sand aluminum on your LIM...use a dust mask please...please...please.
Inlet porting as BillBoost mentioned is depending on the blower you are putting on, and also the port level of that blower. For the most part, when people are porting a LIM, the are also doing a blower, thus the reason to open everything up to match.
When I do the LIM inlets, I always use the gasket on the base of the blower, mark it and modify it to match that opening, then I put it on the LIM and take it further if necessary. There are spots such as around the BBV opening at the base of a blower that parts of the gasket will not be needed due to the LIM porting having taken away a contact area.
Cutting a LIM can be done a few ways, and it is user preference how you wish to conduct it. I have used cut disks on die grinder or high speed drill/dremel, a metal blade in a jigsaw if you can believe will work wonders also, as long as you protect the blower seating surface properly from scratches and damages, or a conventional milling machine will do a real nice job. Any way you do it, take your time, mark the edges, and do it clean. The goal here is to open it up yes, but you don't want rough edges to heat up the air as it passes.
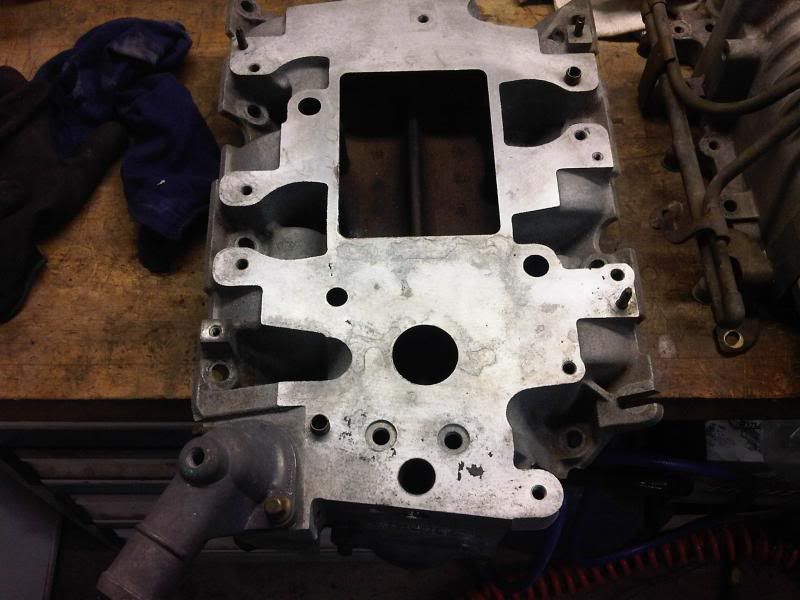
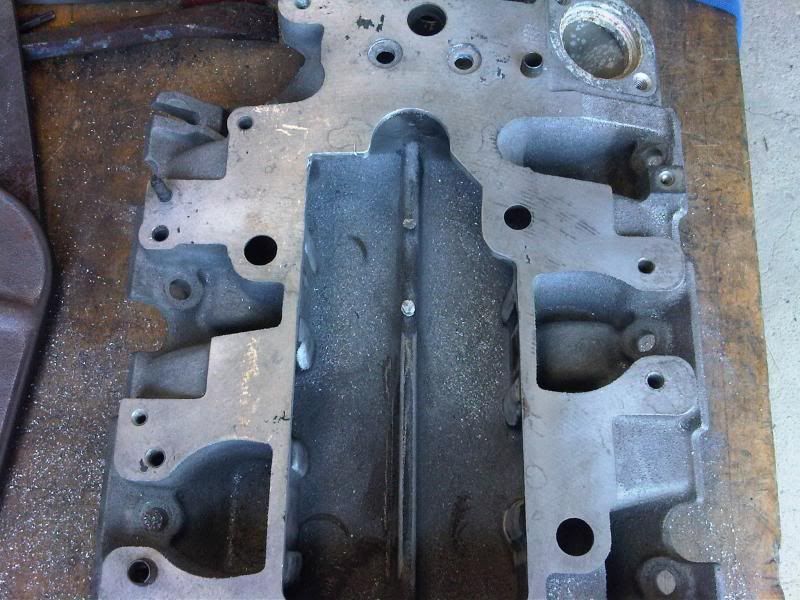
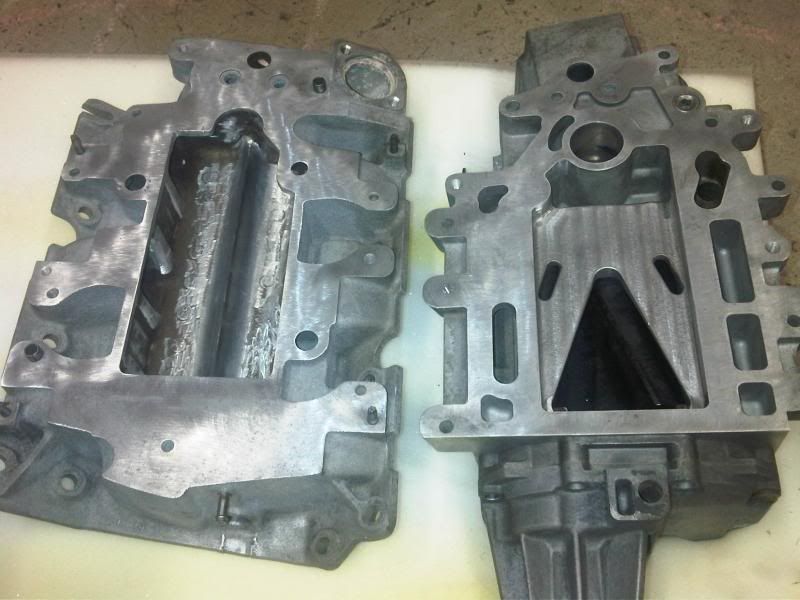
Here is a stock gen 3 LIM inlet...
Here is a stock gen v LIM inlet...
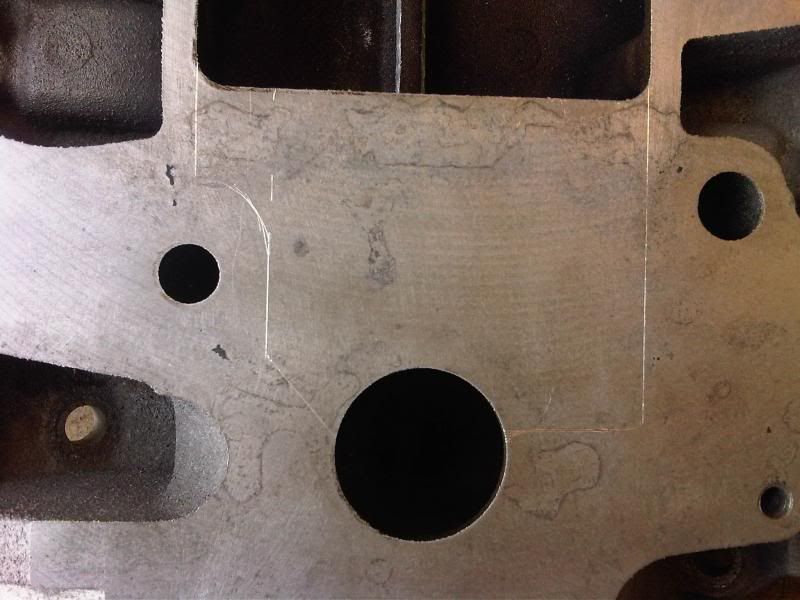
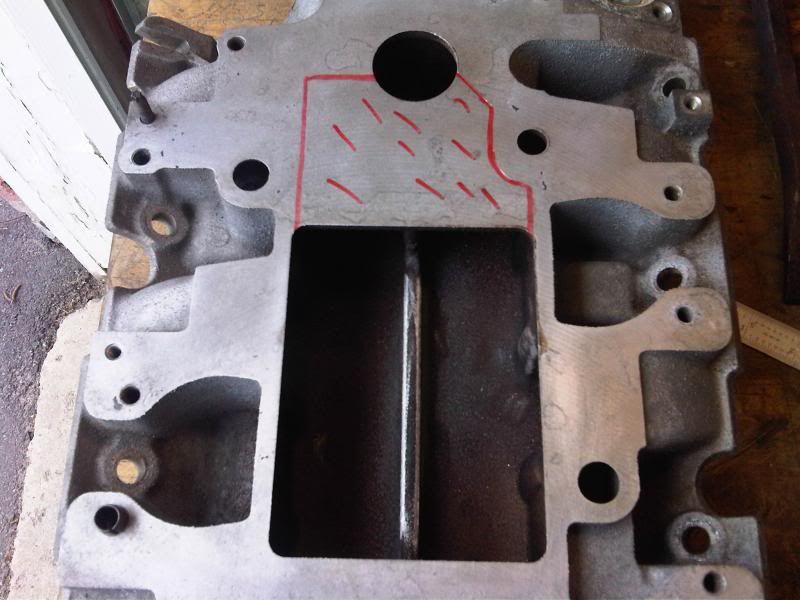
Measure by gasket...scribe your plan...
Mark it a bit clearer to have a good understanding of what you plan to do...
Get at it. I think in this one I used a jigsaw. It is very quick and easy, and I don't have to drive a half hour to the shop...
You will have to zip cut off the round pedistals under the LIM in a couple spots...and you will have to clean up the entire cut edge with a file/careful hand on a sanding disk or other ways, even if you use a milling machine. A half round file is your best friend quite often.
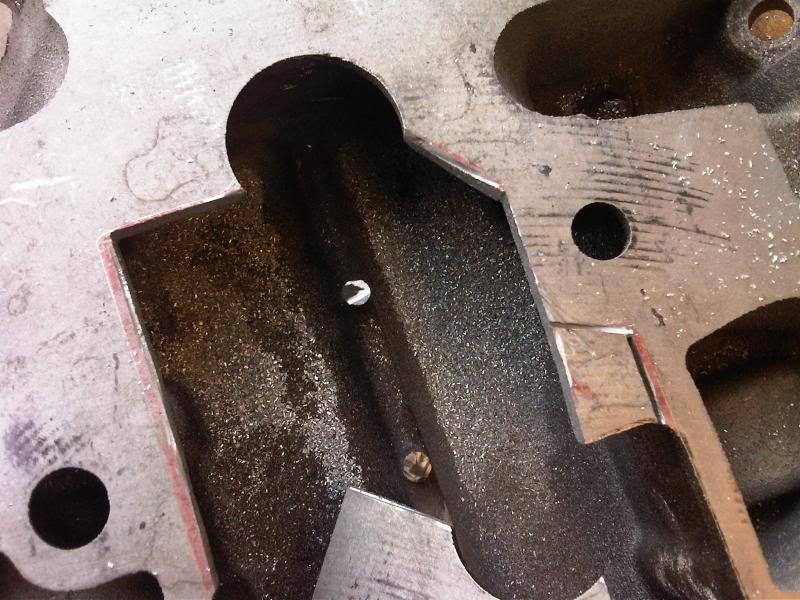
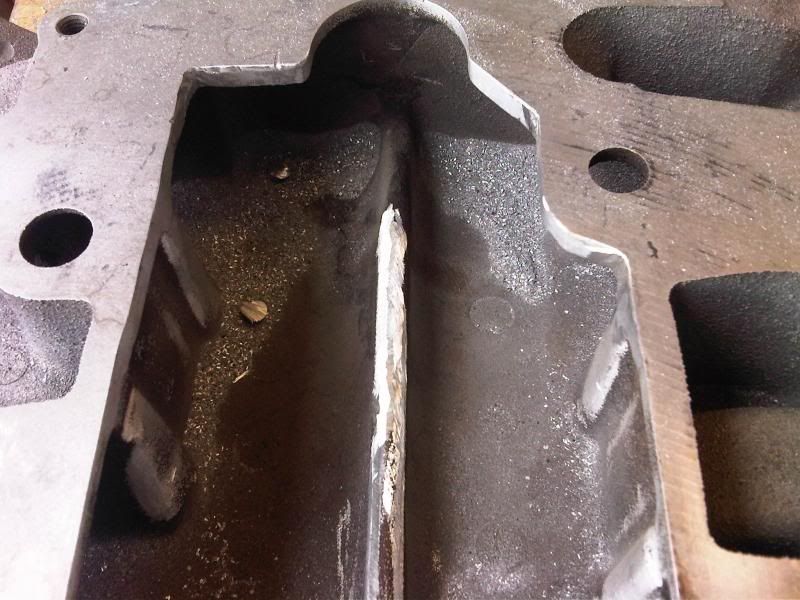
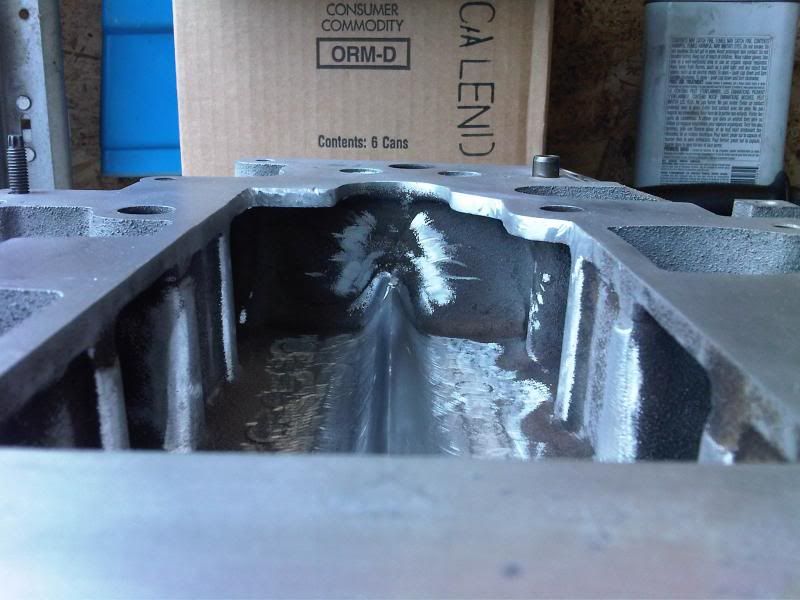
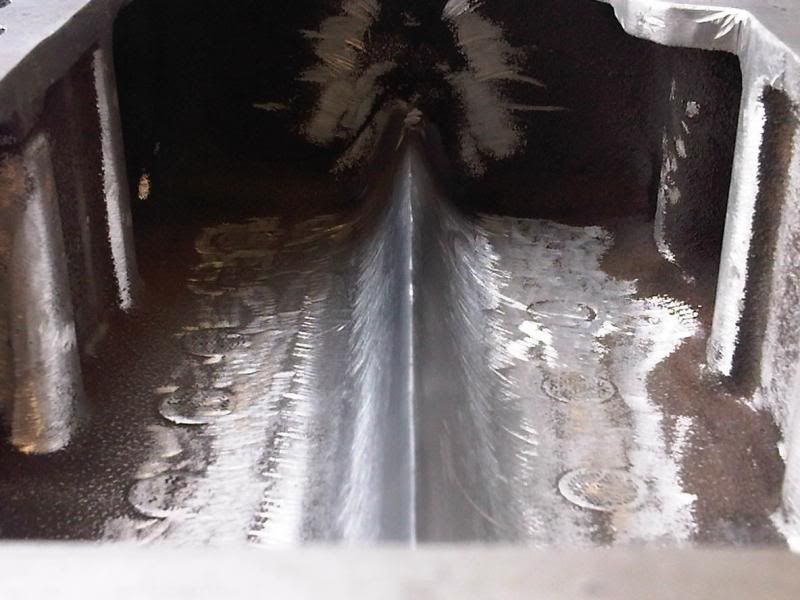
Another thing that I took pointers from a LIM I saw a long time ago, then perfected it with my own soft hands was a knife edge of the LIM bottom radius. This rounded radius to me was always a point where turbulent air was going to be created. When you see the ZZP ported LIMS that still show the rounded area where the pedistal was cut off, and it is rough in the bottom, I wanted to make a flow improvement to this part. You will need a steady hand, some grinding skills and a fair bit of sanding to get this done this way. Patience is the virtue here. What you see here is the knife edge from starting to finish...
I even do a little polishing on this when it is done...
For the most part, if I was some massive supplier, I would call an outlet cut and port match a "Stage 1" porting job. I basically clean up rough edges inside the LIM on the corners where it enters the runners, then do the outlets. A "Stage 2" job would be to push the limits on passages into the runners. For the most part, I have seen little improvement doing this anyways, so I save the 10-12 hours of hard work.
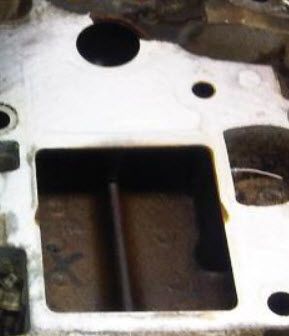
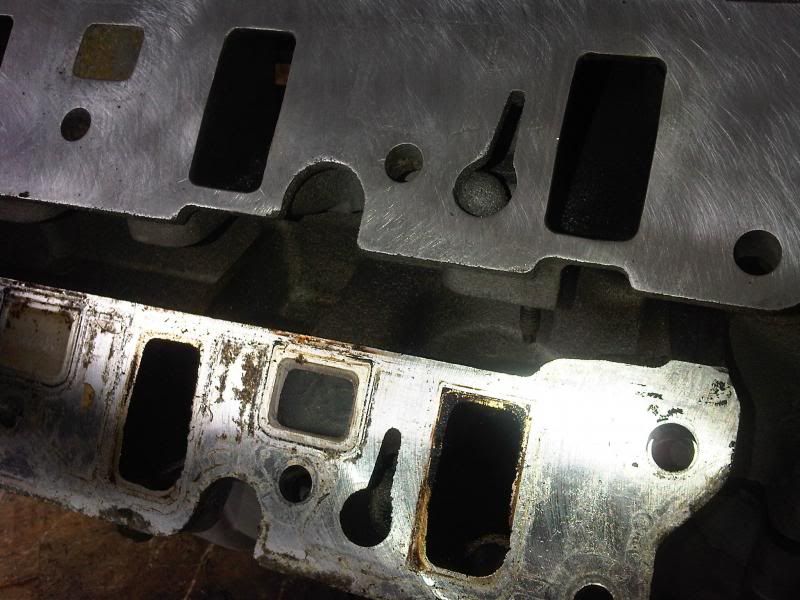
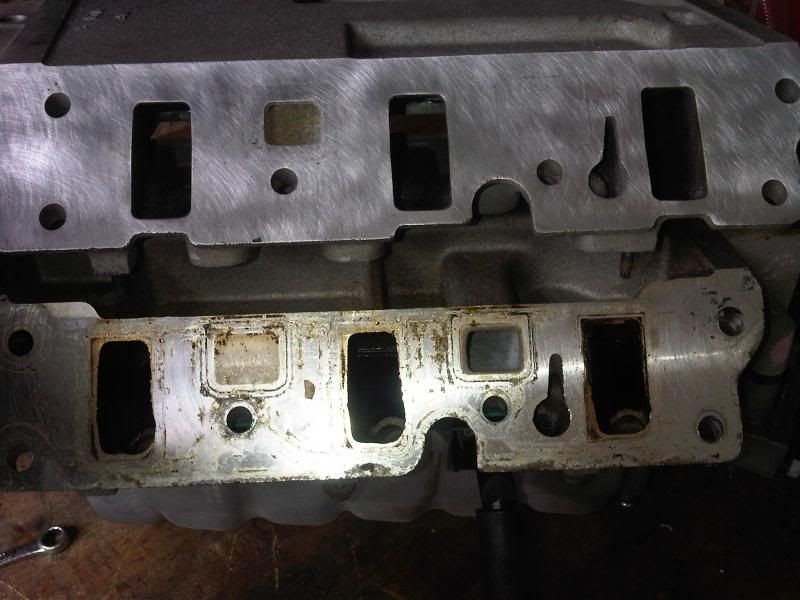
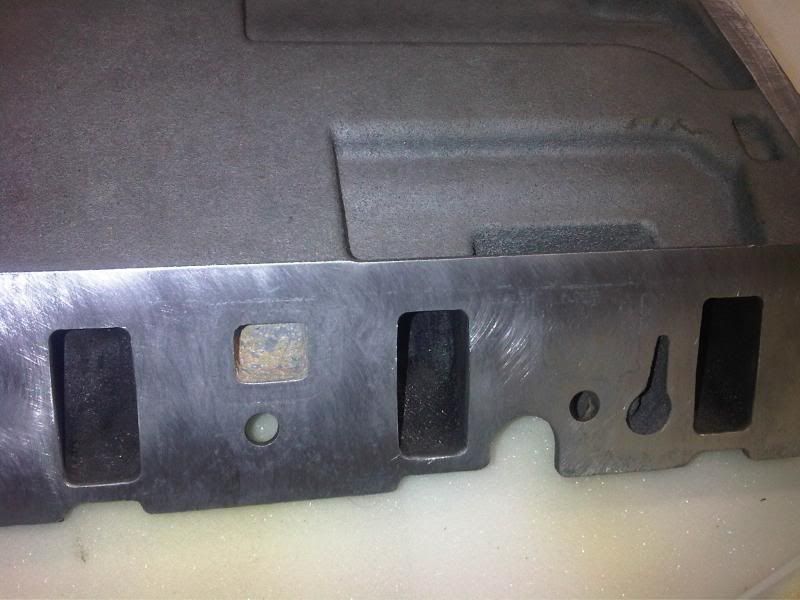
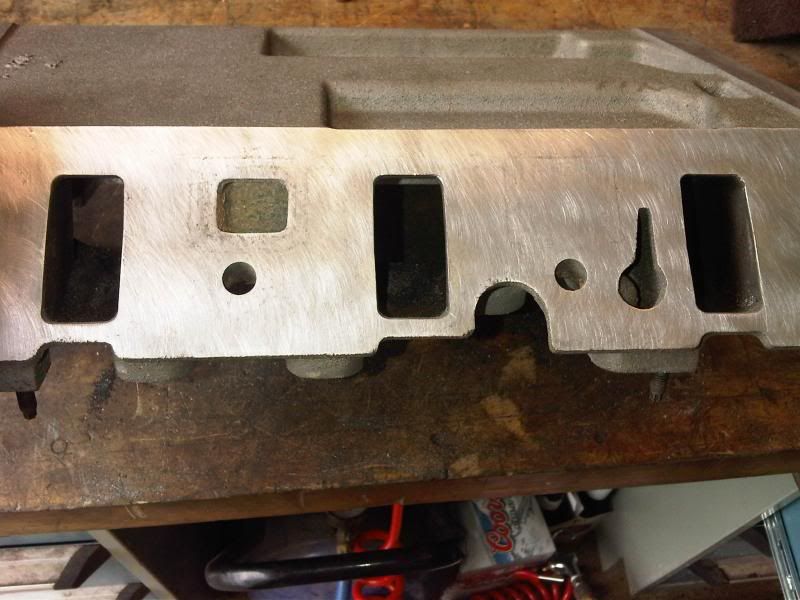
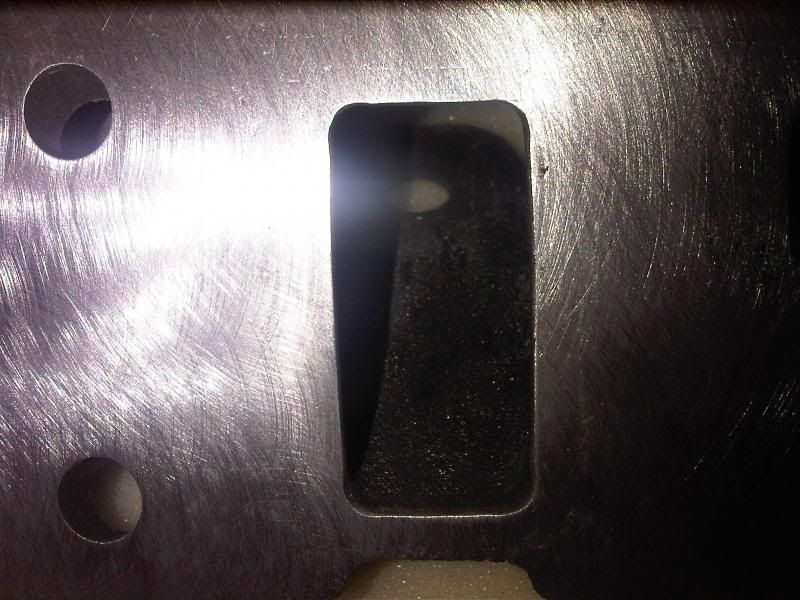
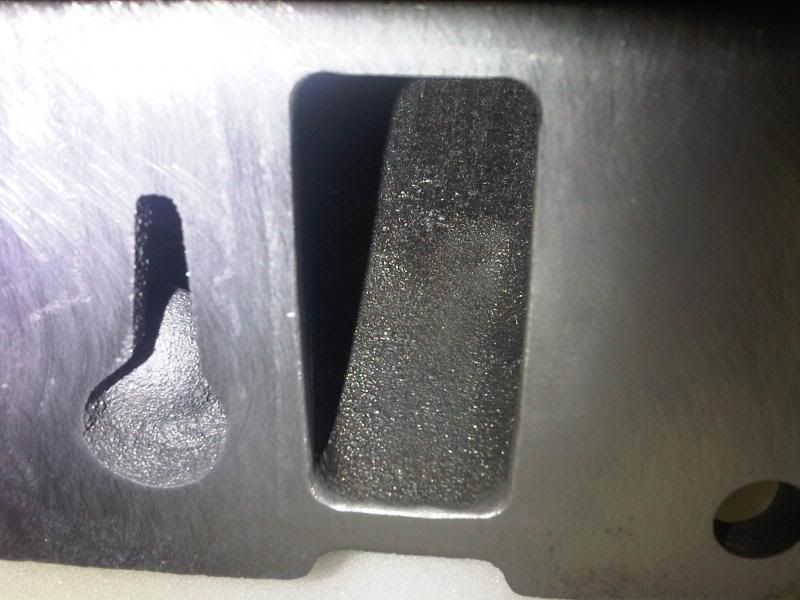
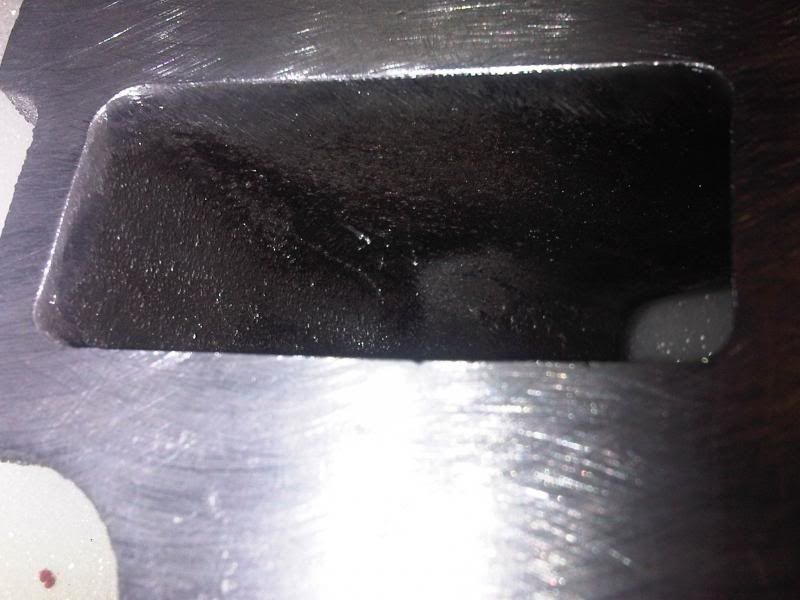
I did want to note that "au contraire" to what BillBoost has said, I am always a believer that the LIM outlets need to be at minimum port matched. The air flow that leaves this LIM is almost always under boosted pressure force. As it passes the rough casting edges before entering the heads, it is heated by all small particulate, and deformations before the gasket. Although the head may not be well matched to the gaskets, creating a slight issue with inlet flow from the LIM, you have to understand that the head inlet is much better condition than the LIM outlet. As you can see in these first couple of photos, even if you are not porting the LIM passages, you should always clean up this crap...
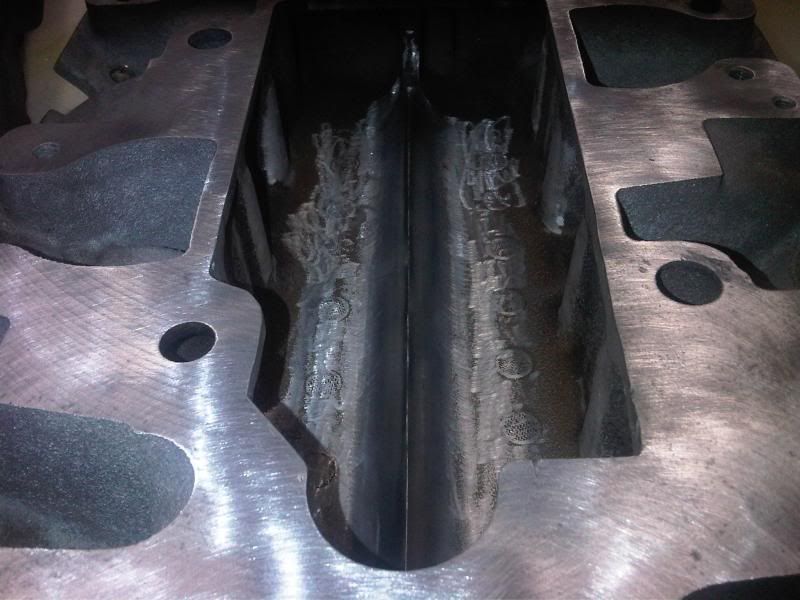
And this is a basic gasket matched porting that I do...
In this case, this is matched to this ported outlet on a Gen V...as a time reference guys...porting the inlet/outlet on this LIM and Gen V took 14 hours hands on shop work, and 2.5 hours of very careful work on a milling machine.
Happy porting....just be patient. Don't think you can just get this done in an hour on a Saturday. Most LIM's take about 5-6 hours work.
Last edited by FASGP; 06-07-2013 at 07:45 AM.


| « Previous Thread | Next Thread » |
| Tags for this Thread |
| Bookmarks |
Bookmarks |