This HOW TO write-up on how to Restore Your Headlights has been added to the How To section and can be found HERE.
by SyntheticShield

|
|


This HOW TO write-up on how to Restore Your Headlights has been added to the How To section and can be found HERE.
by SyntheticShield


nice, im going to try that with automotive clear, just like i do tail lights


Originally Posted by scooz14

wonder how easy it will be to do this with the plastic legs on the lenses... hmmm

I guess i should have read futher as i did not see this post..
Nicely done

Meh, its not biggie, you approached it differently than I did. I was planning on doing a how to using just sand paper and polish but it got too cold here and I havent gotten my hands on some spare headlight capsules.
So you carry one, we appreciate the contribution. In this case it worked out well because we did things using two different approaches. Thats better for the community.

May I assume the clear coat method requires less maintainance and will last longer? We have a set of lights that need to be done and will likely not get much follow-up once completed.
I also agree, two methods are better than one.
Last edited by IndeedSS; 01-20-2008 at 10:29 AM.
This is true. Look at it this way. The clear coat method will give you a barrier between the plastic of the capsule and all the debris and stuff that may hit your headlight. Furthermore, all the maintenance that would be required afterwards would be using the other method of just going over it with a few steps of sandpaper and then polishing. Just like you would for paint and such.
All you really have to watch for using my method is cracking in the clear coat. Its really best to just put it on several coats and build it up some. The high temp clear I was using seems to be thicker than Im used to, so it didnt seem to run very easy. However, it seems to want to crack. But Im also not convinced thats not due to temperature either. I was on the borderline of the cutoff temps recommended for painting. Once it warms back up here I'll try and do more sets. Id like to do this as a service locally. Ive also learned a lot in the few sets Ive already done and have been working on some improvements in the proceedure.
Could there be a way to continue with a smaller grit paper until it becomes clear w/o painting? We used to used Brasso to bring hazed or scratched watch crystals to life. This also worked well with CB radio power meter lenses.
I suppose you could. The 1500 grit sandpaper was still a little hazy but even that was better than what it started out as.
I guess I would see it as a point of diminishing returns. You could go to 2000, 2500 and possibly 3000, but you are adding in a great deal of time and still removing plastic material from the lens, albeit small amounts, but nonetheless material.
I like the idea of polishing the capsule because you dont have to worry about any runs, masking off stuff and so on. However, that too adds additional work. Whereas with the clear coat method, once you get done with the sanding, you clear coat, dry and your done (provided there's no runs or cracks). Furthermore, you have as I mentioned above, the barrier. With that barrier, any future damage can relatively easily be 'buffed' out for the lack of a better term.
Essentially just hit it lightly with some very fine sandpaper (1000 grit or so) and then polish it. There is pros and cons to each method. Personally I liked having that clear coat barrier. Id rather have dead bugs, dust and sand pitting and eating into that rather than the plastic lens personally. Additionally I was also thinking in terms of offering this as a service locally. In that thought it seemed better to me to have the clear coat on there so that would offer some long term protection for the customer. If they decided down the road to buy one of those headlight kits from the parts store down the road, it will work better with the clear coat than the plastic.
I have yet to see one of those kits work with any moderate to heavy damage to headlights. The ONLY time I have seen them effective is in extremely minor scratches or oxidation. If its pitted, forget it.
Anyway, thats my perspective on it. I hope to have a lot more data this coming spring as a friend of mine has talked about working with me on this and I hope to be able to do several sets of headlights and work on the process some more.
Oh, thought I would add something about the Brasso. You're dealing with different damage levels with watch crystals and the CB power meter lenses (My parents were big into CB at one point so I know what you're talking about there).
Brasso might even work on extremely light headlight damage, I dunno for sure, but it would be the same principle as the kits you buy in the parts store. Buy my perspective would still be that you are adding a fair amount of additional work to add in additional sanding steps and I think you would still have to polish it up at some point. Yes, you would reach a point where it would be really clear, but still not as clear as new.

I refurbished my lenses this past weekend. I wet sanded with 320 sand paper then 400, 600, 1000, 2000, 3200, 4000, 6000, 8000 followed up with a liquid polish and looks good now.

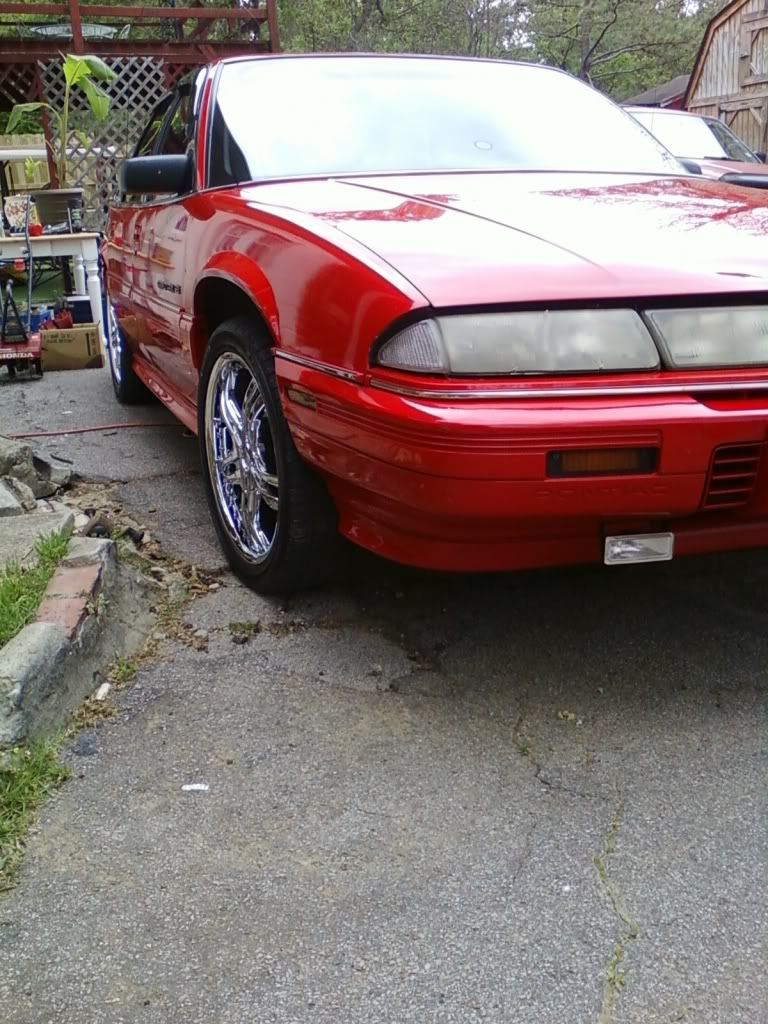
I think this by far is the best restore ive yet to try on my GP...its 95 sedan and ive tried cleaning them lights about 3 different ways now. This by far got the clearest and im satisfied considering it isnt easy to find replacements for my GP. Project took about 2 hours-Hence all the lenses i have.
before
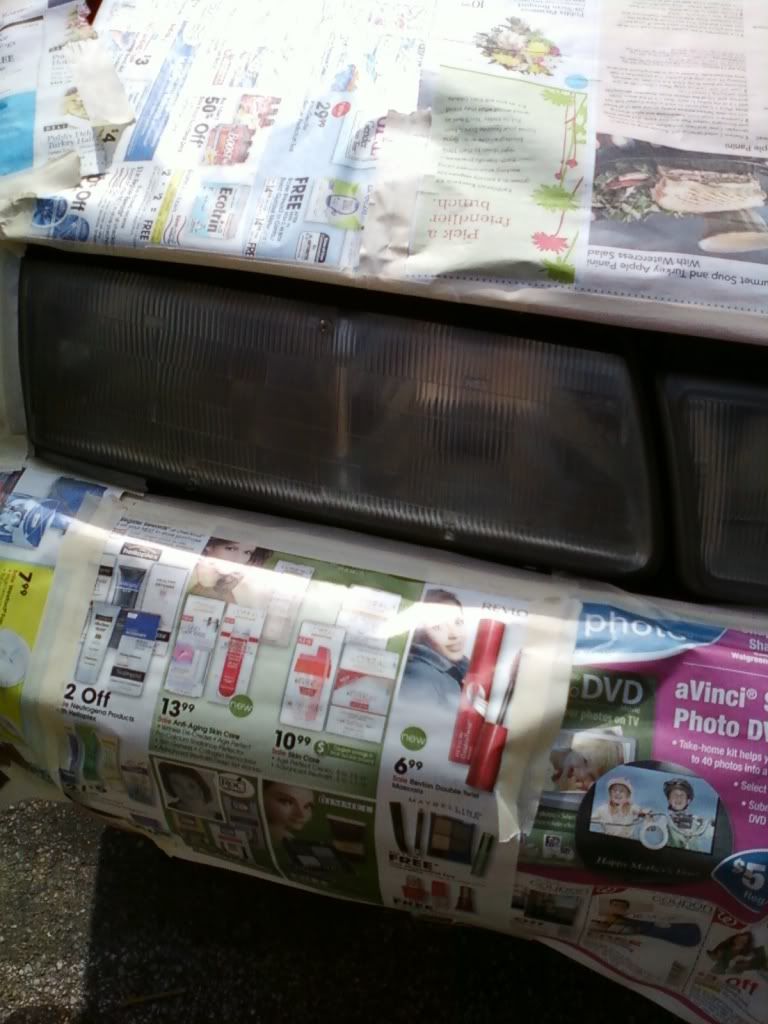
Masked off to be sure not to bump paint with sand paper and for no overspray when adding clear coat..of course u could remove the lights..but mine were just going to be a pain
After
Sorry about quality of pics..was off of my camera phone...but hope this gives people an idea of how foggy of the lense this works on
Last edited by grandprixboy; 05-16-2009 at 02:21 PM.

you think it would be cool if i did 400 grit- 1000, 2000? i couldn't find 600.
I would look for 800 to go with it then...400 to 1000 is a big jump..ud have to do alot with the 1000 and it may not come out right..so 400, 800,1000,2000...if u start with 400...did u go to like a auto parts store like Auto zone or Advanced Auto?? its where i was able to get my 600 at
3-m actually makes a quality kit for polishing headlamps. It costs about 300$ but it is good for many jobs. It comes with the air tools and all polishing and refinishing products in one kit. There is no coating when your done... It just polishes to a new clarity.
| « Previous Thread | Next Thread » |
| Tags for this Thread |
| Bookmarks |
Bookmarks |