The deed is done, steering feels tighter and a noise that plagued me for years is gone. Here's the procedure I used after reading various posts and watching You tube videos.
I did the usual put the car on jack stands.I placed the stands at the front of the sub-frame, most people said don't support the vehicle by the sub-frame since it needs to be lowered. I saw a picture where someone lowered the rear sub-frame with the front supported and decided to give it a try. My sway bar wasn't all that bad, but decided to replace it now rather than later. First I moved the drivers seat forward, put the seat belt through it and then moved the seat back to keep the steering wheel straight. I disconnected the sway and with a little finesse I removed it through the drivers side. Once the bar was removed there seemed to be enough room to remove the rack without dropping the sub-frame. The sub-frame bolts were unobstructed, so why drop the frame. I removed the steering shaft bolt, power steering lines, outer tie-rods, rack bolts and removed the rack through the drivers side. I counted the number of grooves on the inner tie-rods, to be used as a reference when placing the outer tie-rods on the new steering rack. I placed both racks next to each other for comparison and noticed the steering shaft connection wasn't oriented the same. So I turned the the shaft on the new rack to match the old one. This helps keep the steering wheel centered. Once mounted further adjustment may be necessary when attaching the steering shaft. The only problem I had during the removal was the power steering lines. They had to be removed from the top through the engine compartment. The wrench I had only allowed limited movement, stubby's would have been better. I plan on purchasing some in the future.
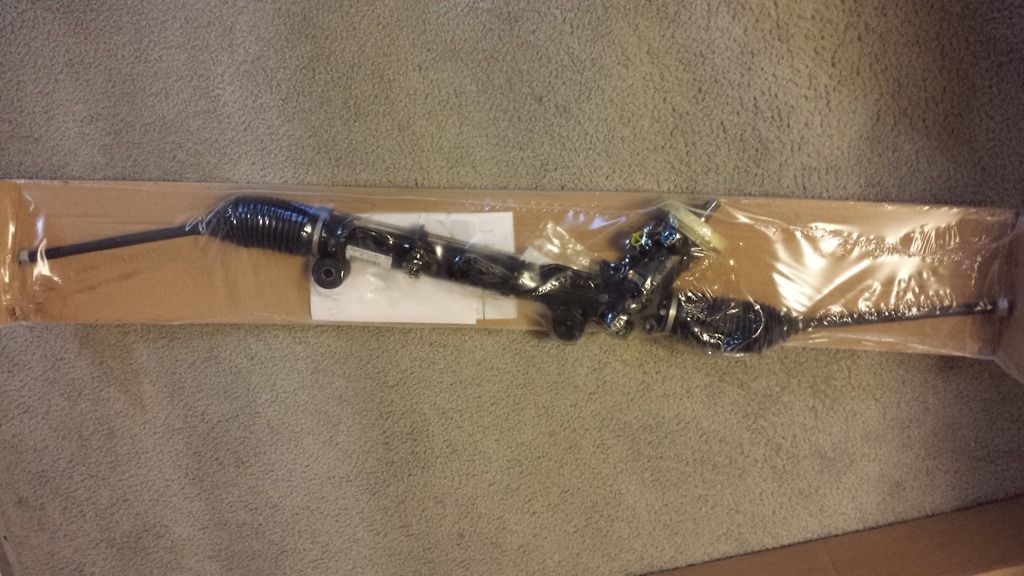
AC Delco rack;
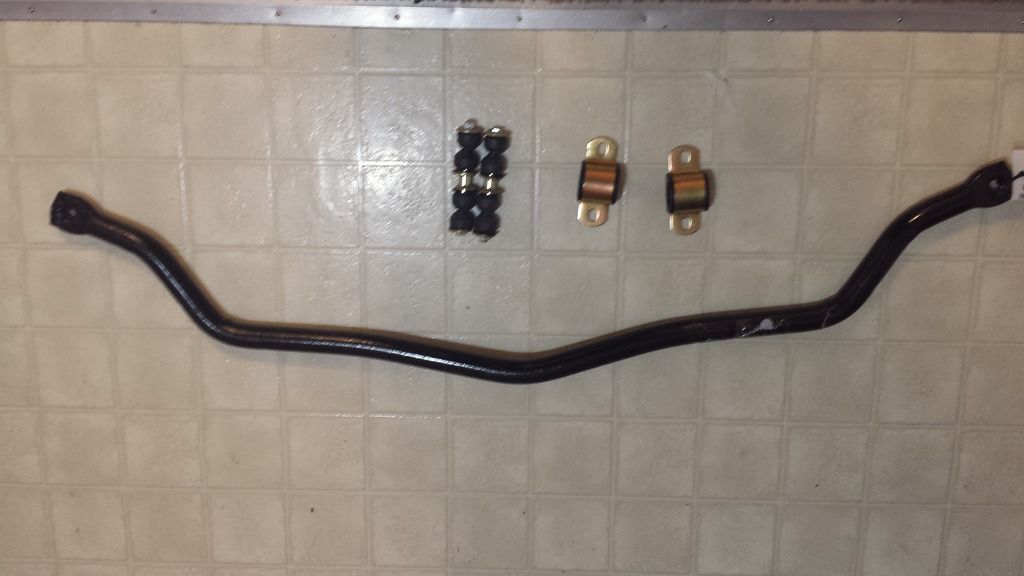
Dorman Sway bay;
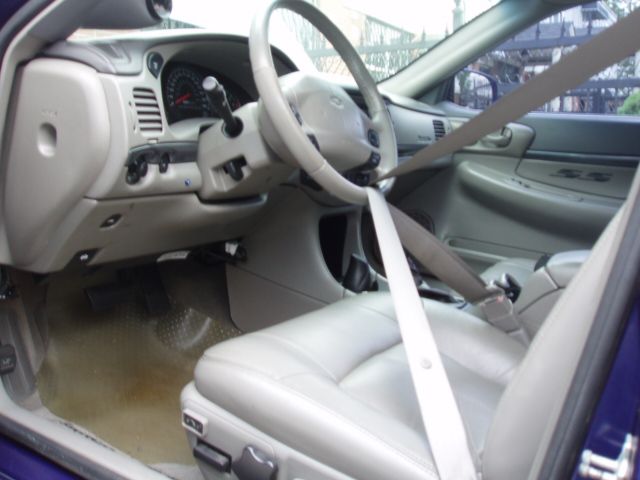
Seat belt around steering wheel;
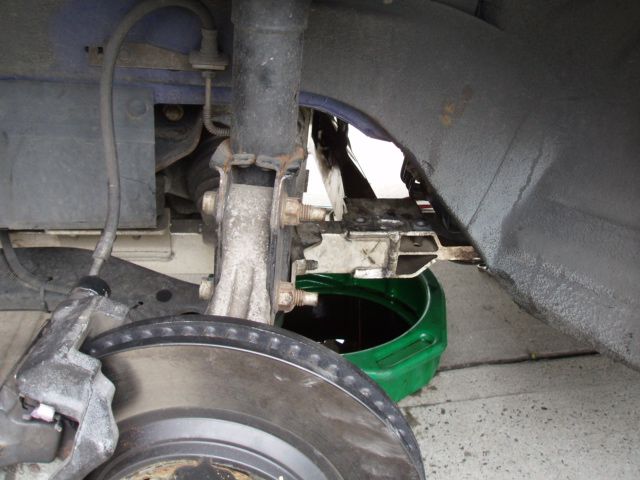
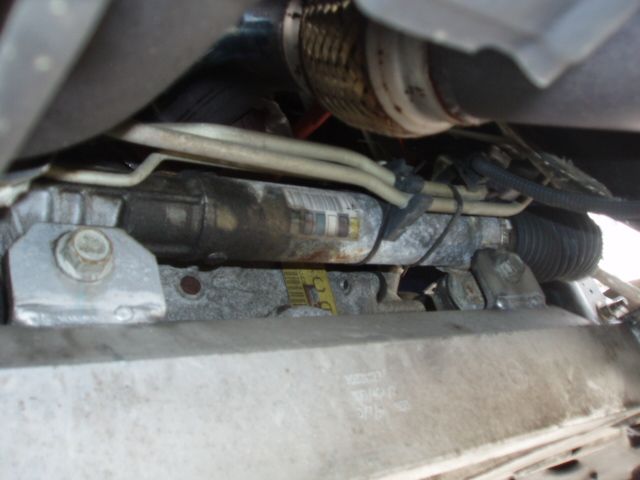
Leaking rack;
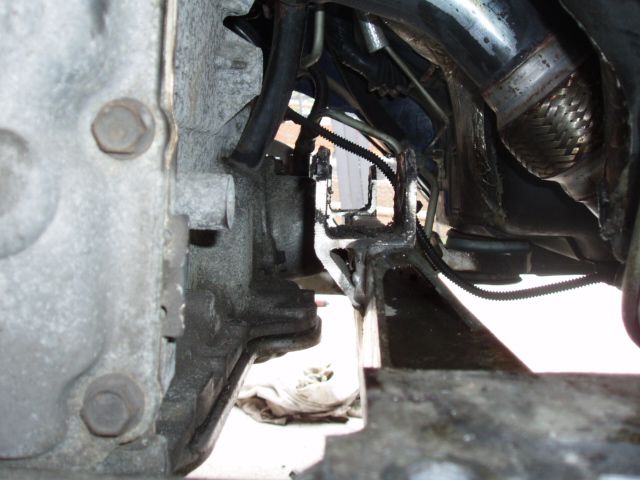
Sway bar removed;
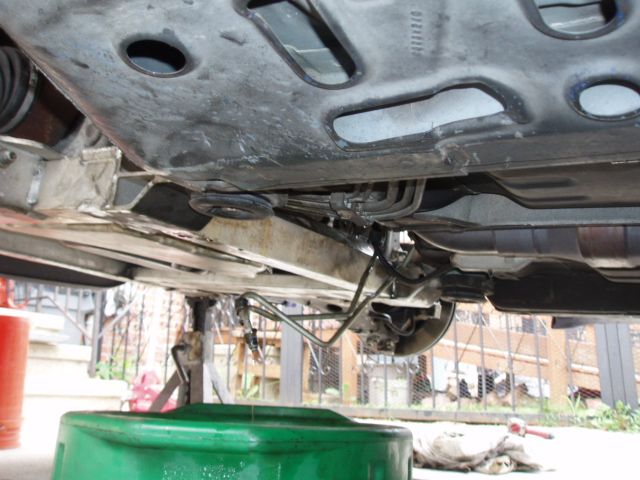
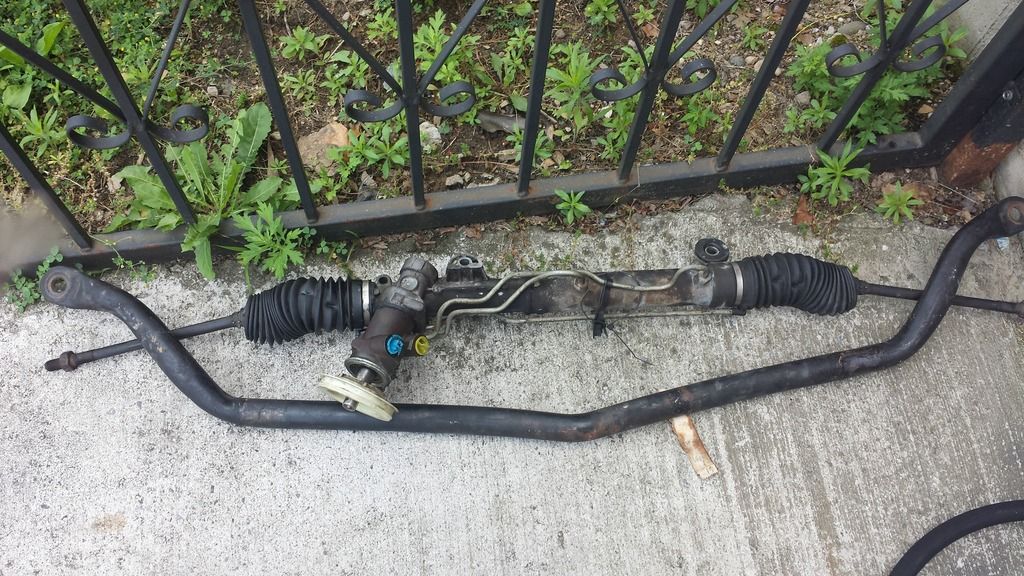
Sway bar and rack removed.Notice sub-frame is still attached;
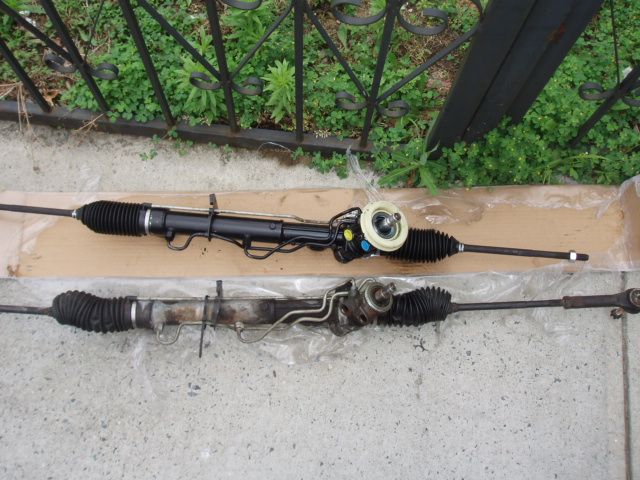
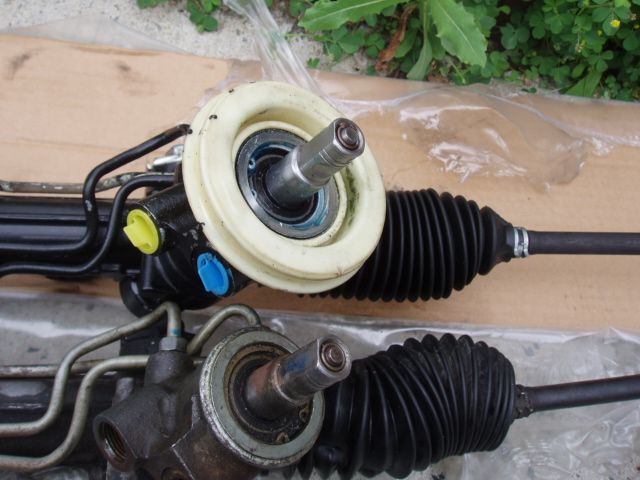
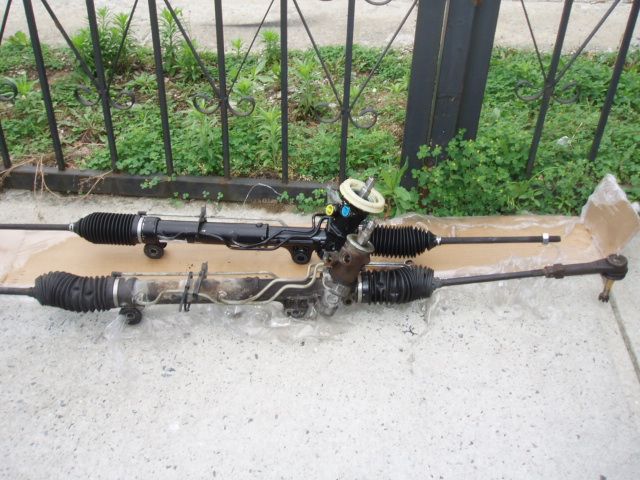
New and old rack. The plastic piece the boot connects to was no longer attached to the rack before I removed it. This appear to be the original rack as indicated by the sticker.;
Shaft orientation before;
After;
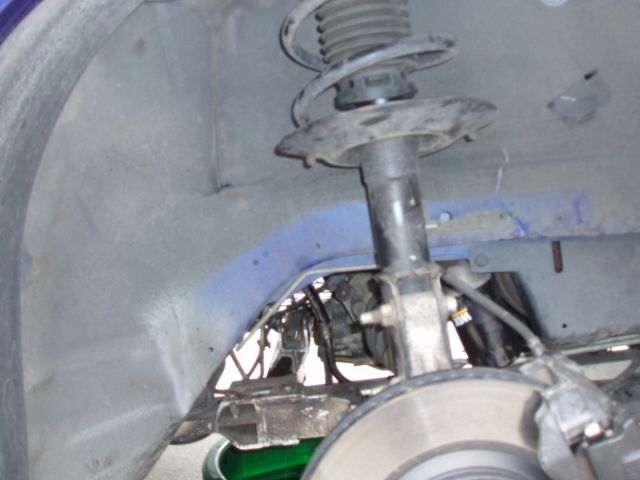
Various pictures;