Well, here is the very basics to this mod.
First I started out at Radio Shack and picked up a small variety pack of 5mm LEDs and a pack of 560ohm resistors. I got the variety pack because it was actually cheaper than buying the LEDs seperately and it had 4 red ones in it so in case I messed one up I would have a couple extras.
These first few sanding steps can be skipped if you want to order your LEDs from superbrightleds.com since they actually sell 5mm LEDs that are already flat on top. This would save you some work if you want to wait on them to be shipped to you. I had the means to make them myself, so I did it this way.
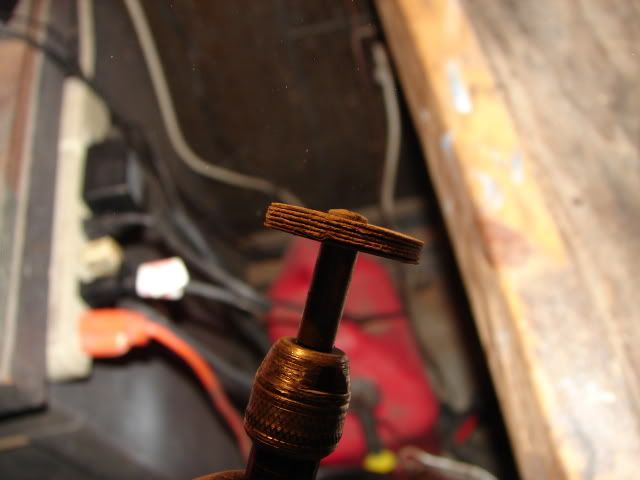
First thing I did was to take my dremel tool and stack a bunch of sanding disks on top of eachother. This was to make it more solid so I would end up with a more true flat surface on the LED.
Next I sanded down the rounded end of the LED so that it was flat.
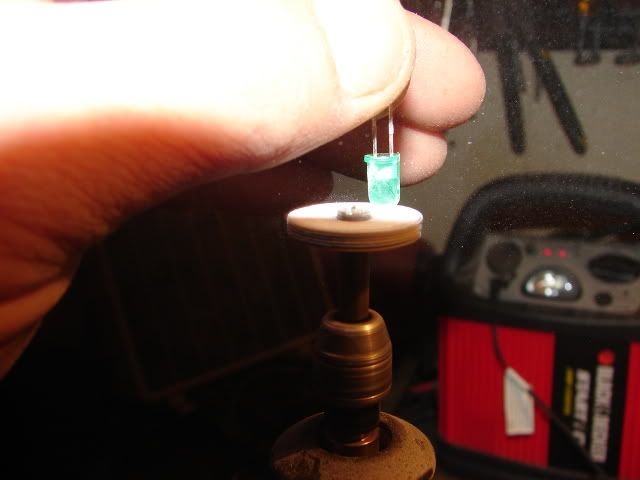
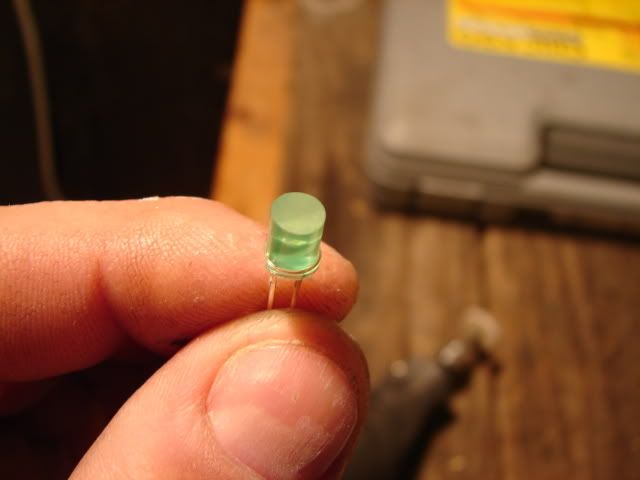
Here's after the dremel sanding. I used a green one just for these pics since I probably won't ever use it anyway and I already had the ones in my cupholders done.
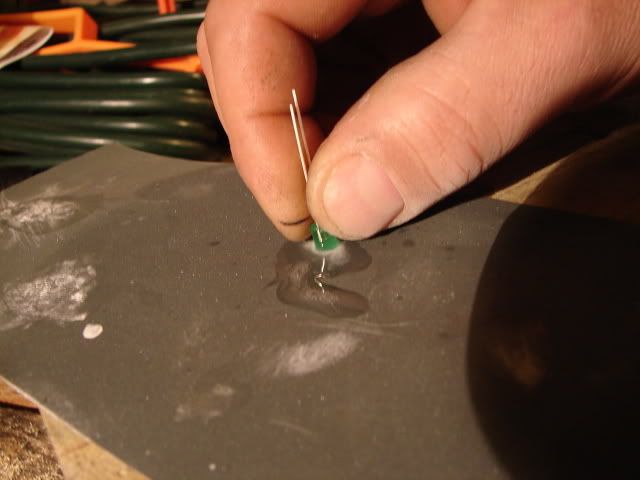
Next I laid a piece of 1000 grit sandpaper on a block of wood (again, just to keep things flat) and wetsanded the end of the led to take the roughness off from the dremel sanding.
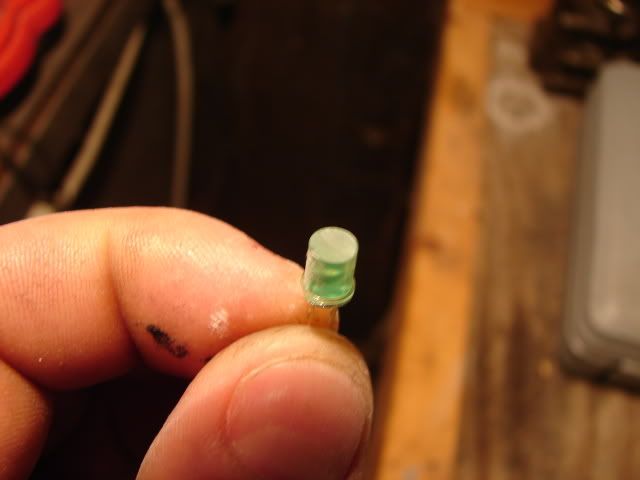
Here's the LED after the wetsanding. Not totally clear but much smoother than just after the dremel, and this probably diffuses the light a little better anyway.
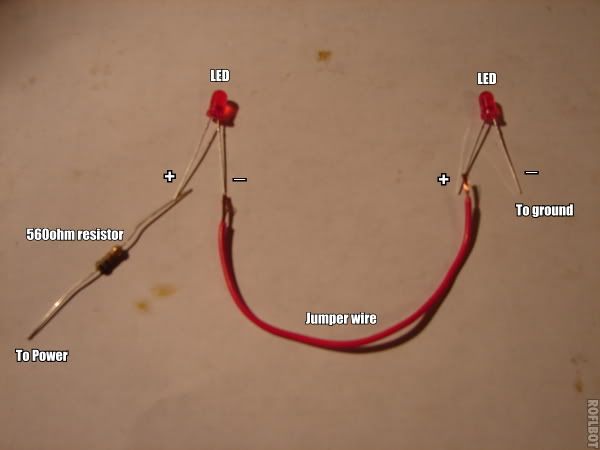
Next you need to wire up your LEDs and resistor. You will need a short piece of wire to connect in between the LEDs. When I soldered mine together, I covered all of the wires and resistor with shrink tube so there were no bare wires when I was finished. Here is a very helpful website for calculating what resistors to use if you decide to use different/more/less LEDs - http://ledcalc.com/
Now you will have to remove the top of your center console. I measured out and drilled one hole in each cupholder with a 13/64 drill bit. I then inserted the LED circuit I made in from the bottom of the cupholders. The LEDs fit very tightly and could probably be left as is, but I did use a drop of glue on the bottom side of each one to make sure they never fell out. You can also see in this picture where I marked true center of the cupholder if it were a complete circle. I ended up changing this since most bottles will not fill the entire cupholder. There was a slight ring on the bottom of the cupholder left behind from cans and such, so I centered the LED in that circle so it would end up more centered under a bottle. After thinking about this a while, I am glad I did this. I think they would have looked odd over closer to that flat edge of the bottom.
Now all that's left is to wire your LED circuit to power and ground. I will leave these decisions up to you. I used a switch to turn mine on and off and got power from the auxillary power outlet on the front passenger side of the console. This is a constant 12v source. You could also easily tap power from the light bulb in the shifter display if you would like them to just come on and dim with the rest of the car's lights. You could get fancy with a mercury switch on the cupholder itself also if you wanted them to just some on when you open the cupholders. As for the ground, the easiest place was directly below the cupholder to one of the two 10mm bolts that hold the center console in place, which is where I grounded mine.
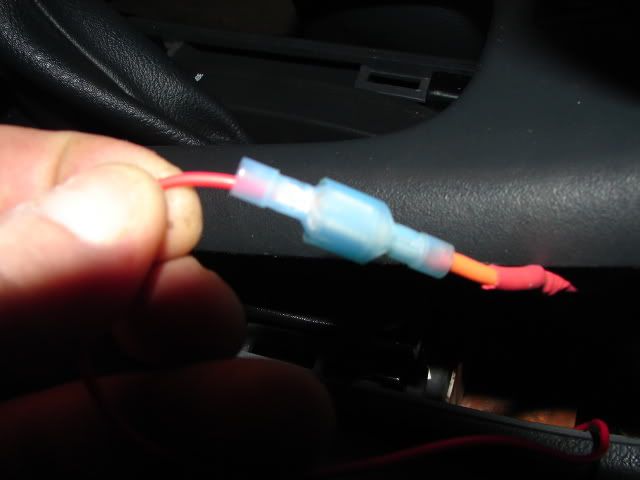
I highly suggest using some sort of disconnects so that you can easily unhook the wires in the event you need to remove the top of the center console. It also makes wiring easier since you can get it all ready then just plug it right in when you put the top of the console back on. I used these on both my power and ground wires.
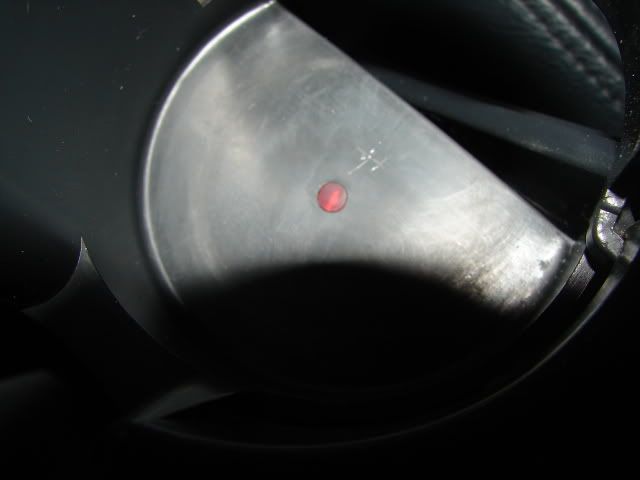
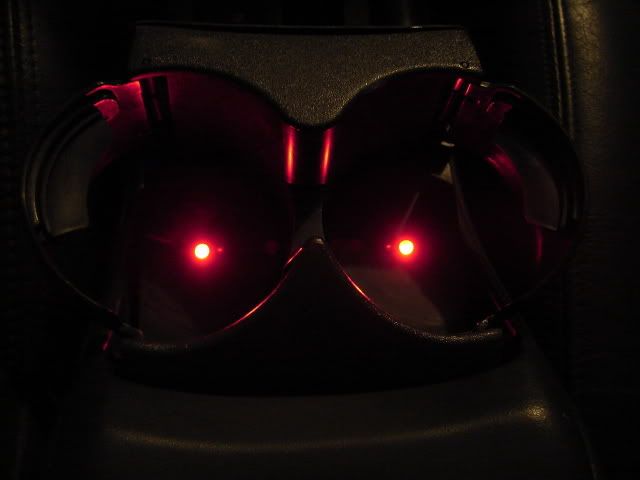
Here's the finished product.
My switch location. I already had a switch there from an old performance shift install which I changed once I got a perf shift knob, so I just made use of what was already here.