Retrofit for 04-08
I am writing this how to has a guide to help others who want to retrofit, this is one way to do it and there are many other ways to do it. I don't like lining up the lights to use bolts and what not so I choose to use JB stick weld. This is a proven way to work for our lights.
What you need:
-Headlights (Ebay aftermarkets are only $86)
-Morimoto D2s or H1 projectors (TRS)
-Shrouds with inner ring clip (TRS)
-Dremel with assortment of bits
-90mm Rubber caps (TRS)
-Waterproof Silicon (Lowes)
-Rubber butyl (TRS)
-Screwdrivers
-Gloves
-Black paint (anypaint is fine)
-2 sticks of JB weld
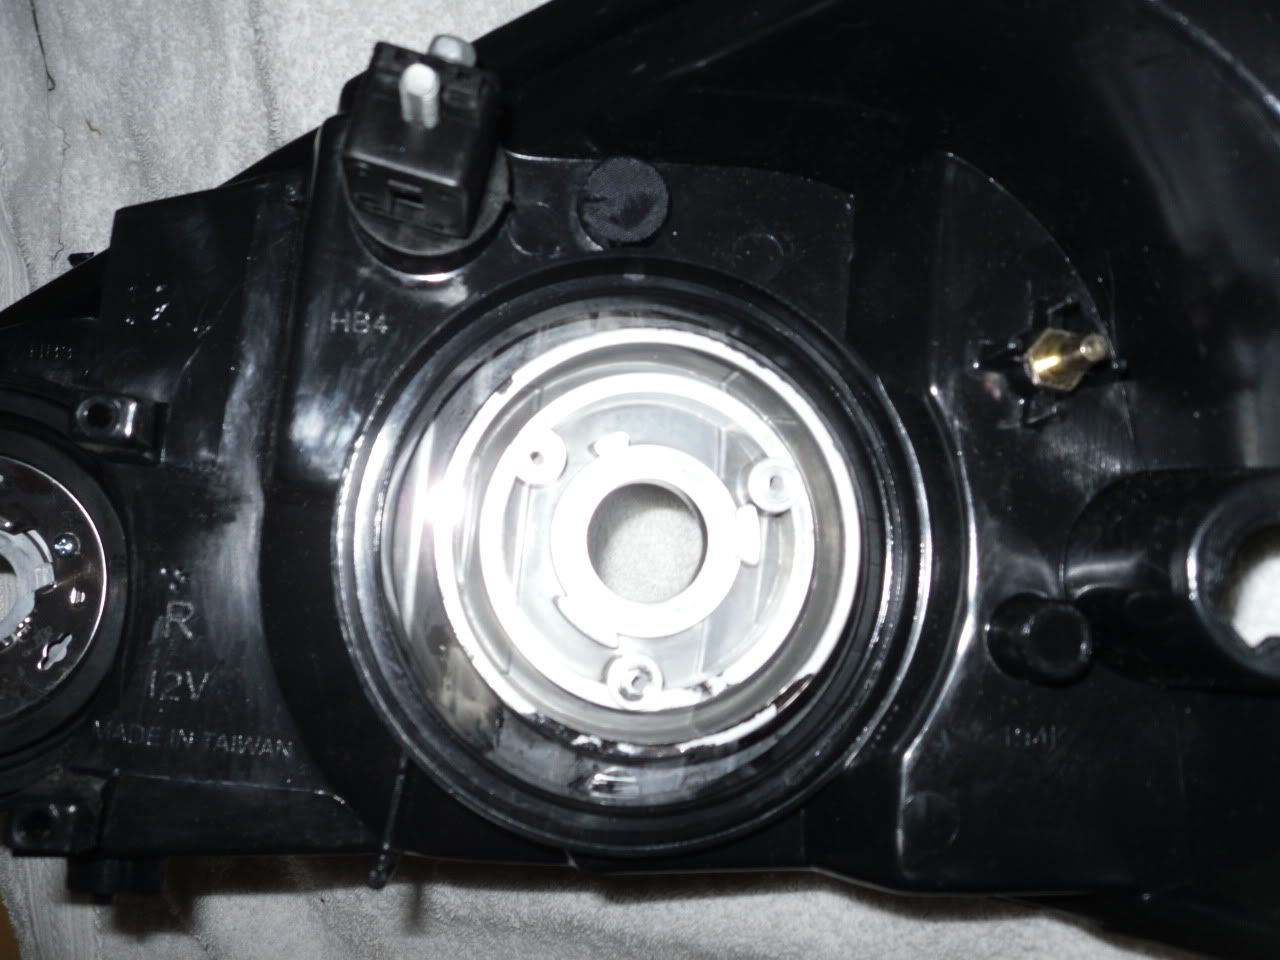
Remove the Rubber seal around the headlight, remove all bulbs and wires
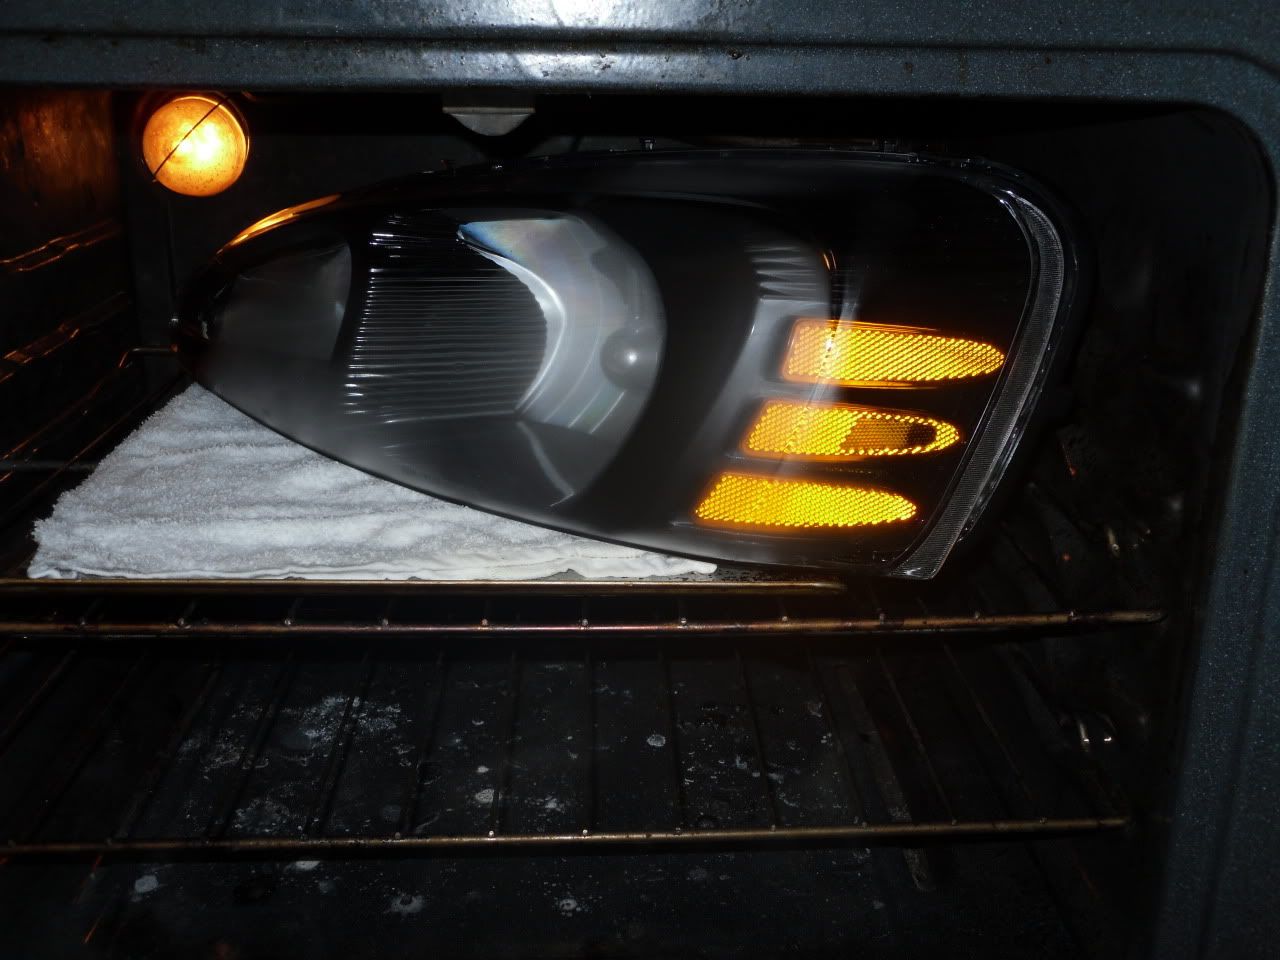
Stick it in the Oven and bake some headlights for dinner (15-20 mins at 220* should do it)
Once its done use gloves to remove from the Oven it will be hot!
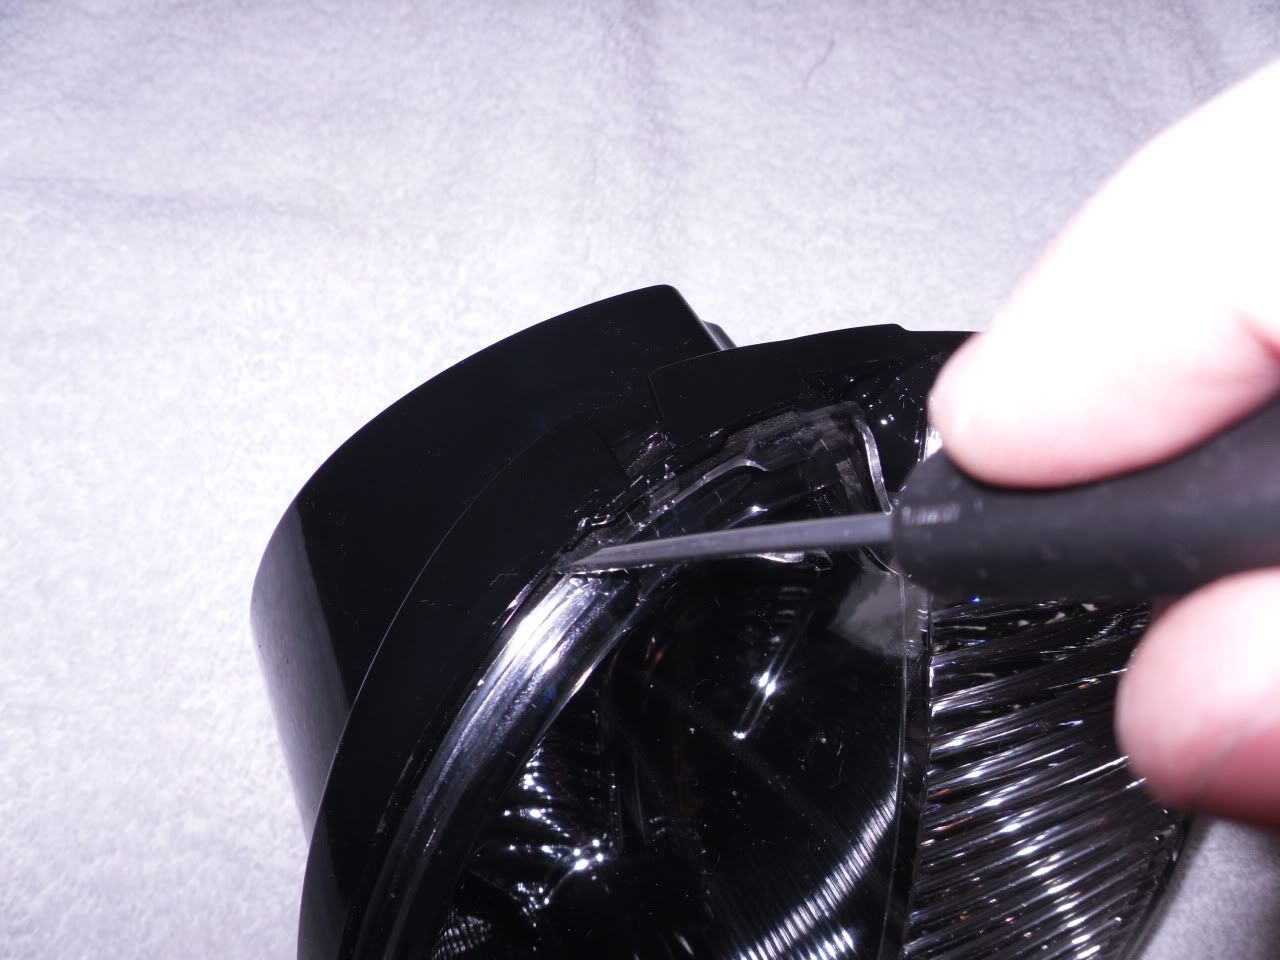
Lay headlight on towel on table, use flathead screwdriver and work a tab and get behind the lens, I work from the point of the light (high beam corner) and just work back, eventually with gloved hands you will be able to just pry apart with a bit of force. Use a knife to cut stringy glue to try and keep it from getting everywhere.
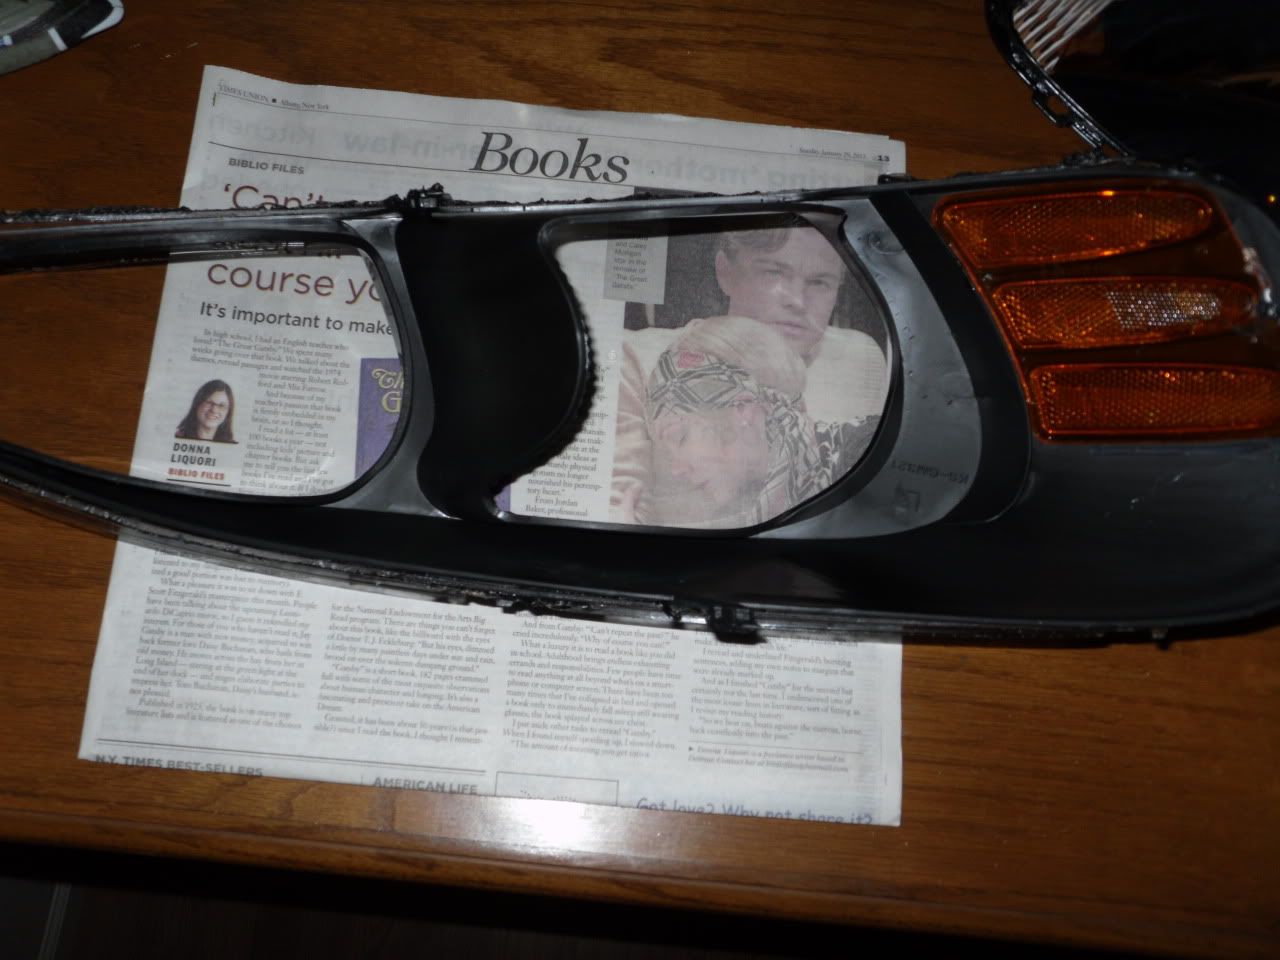
(using foglight for example sorry, Headlight I can crack in about 30 seconds so I could really grab a picture)
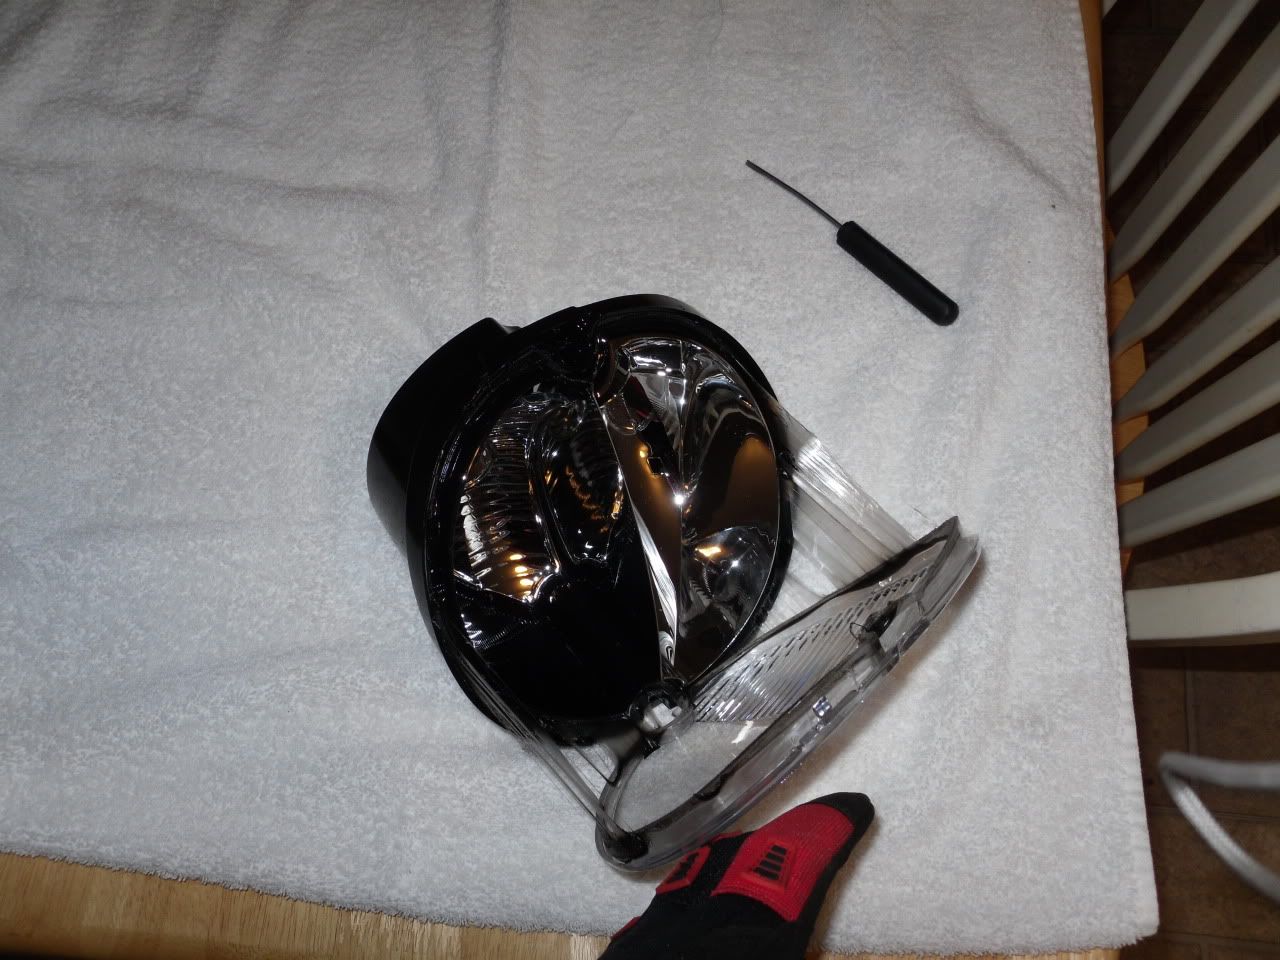
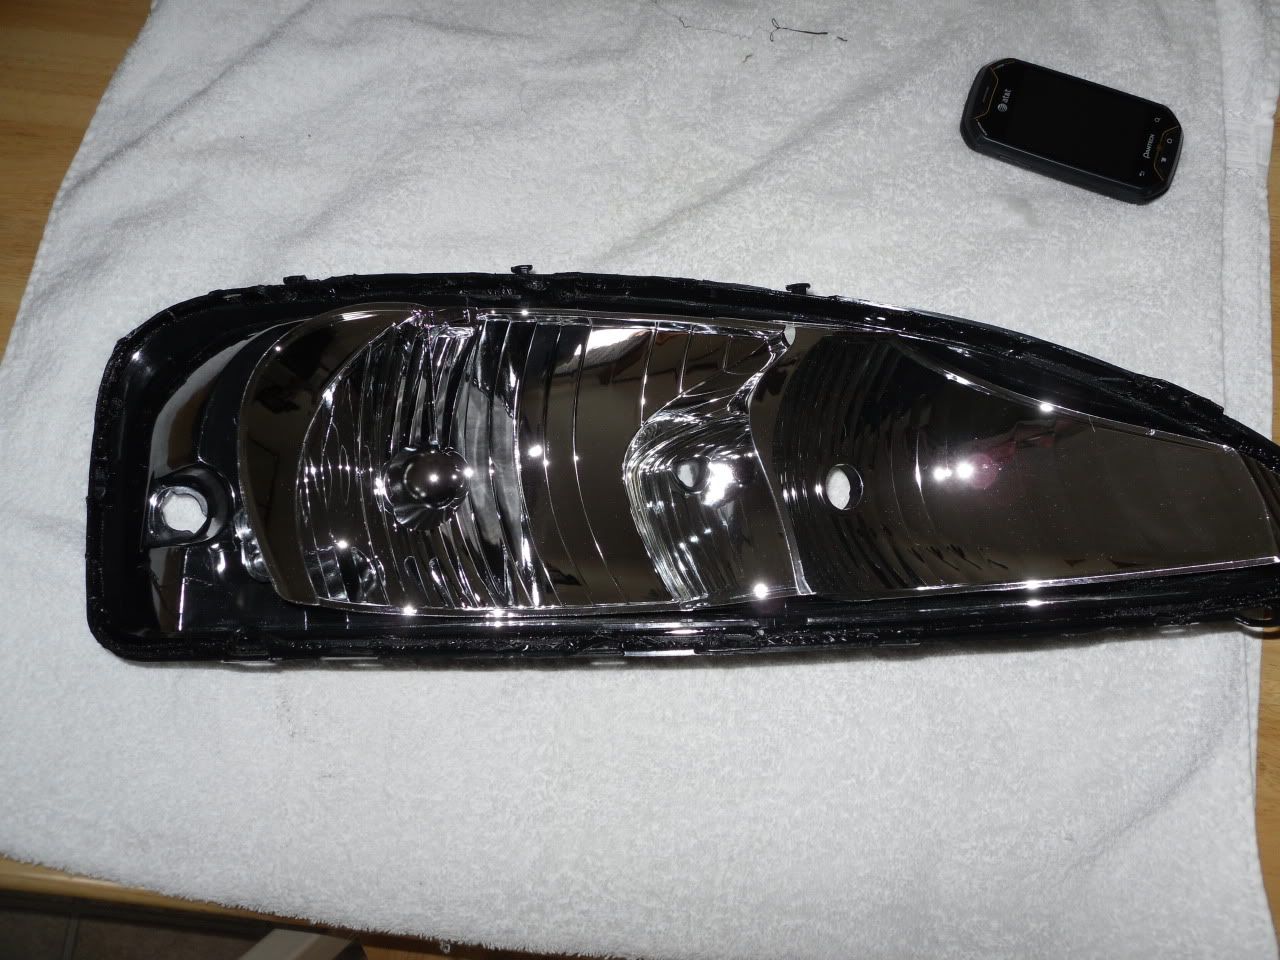
Seperate everything, base of headlight, inner plastic and outer lens. Try not to stick your fingers on the inside of the lens, its a pain to clean later.
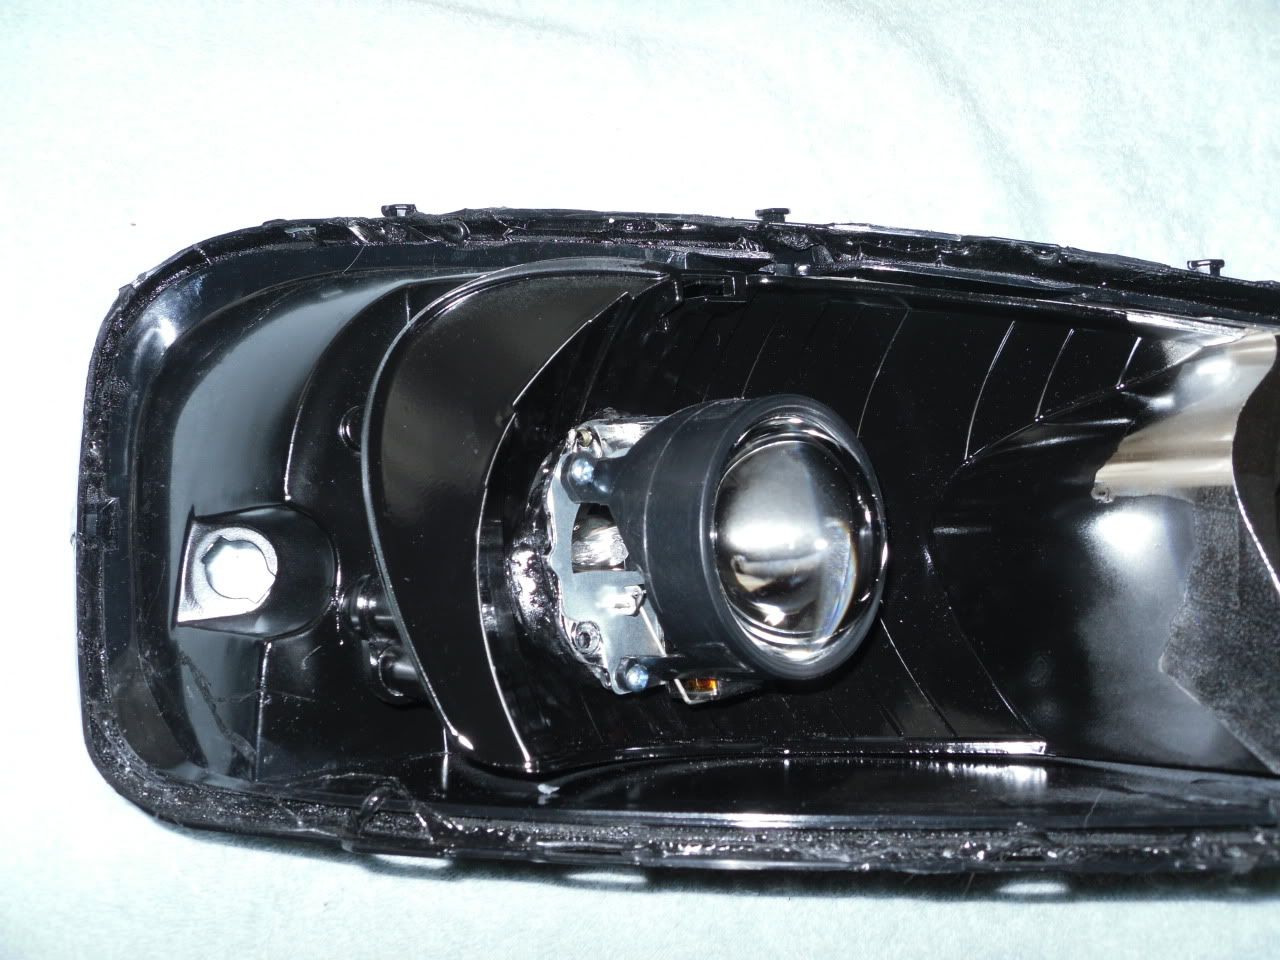
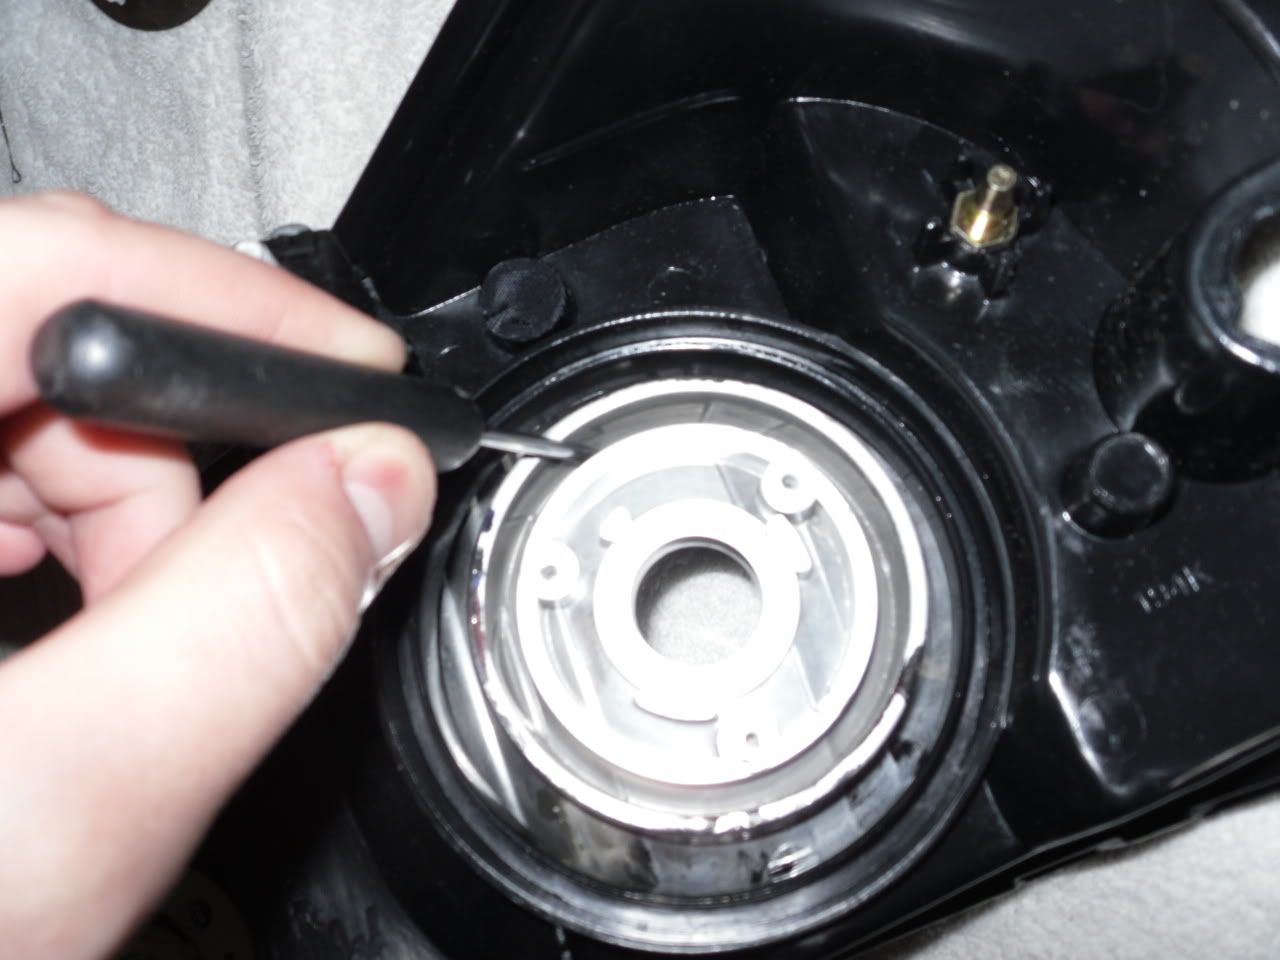
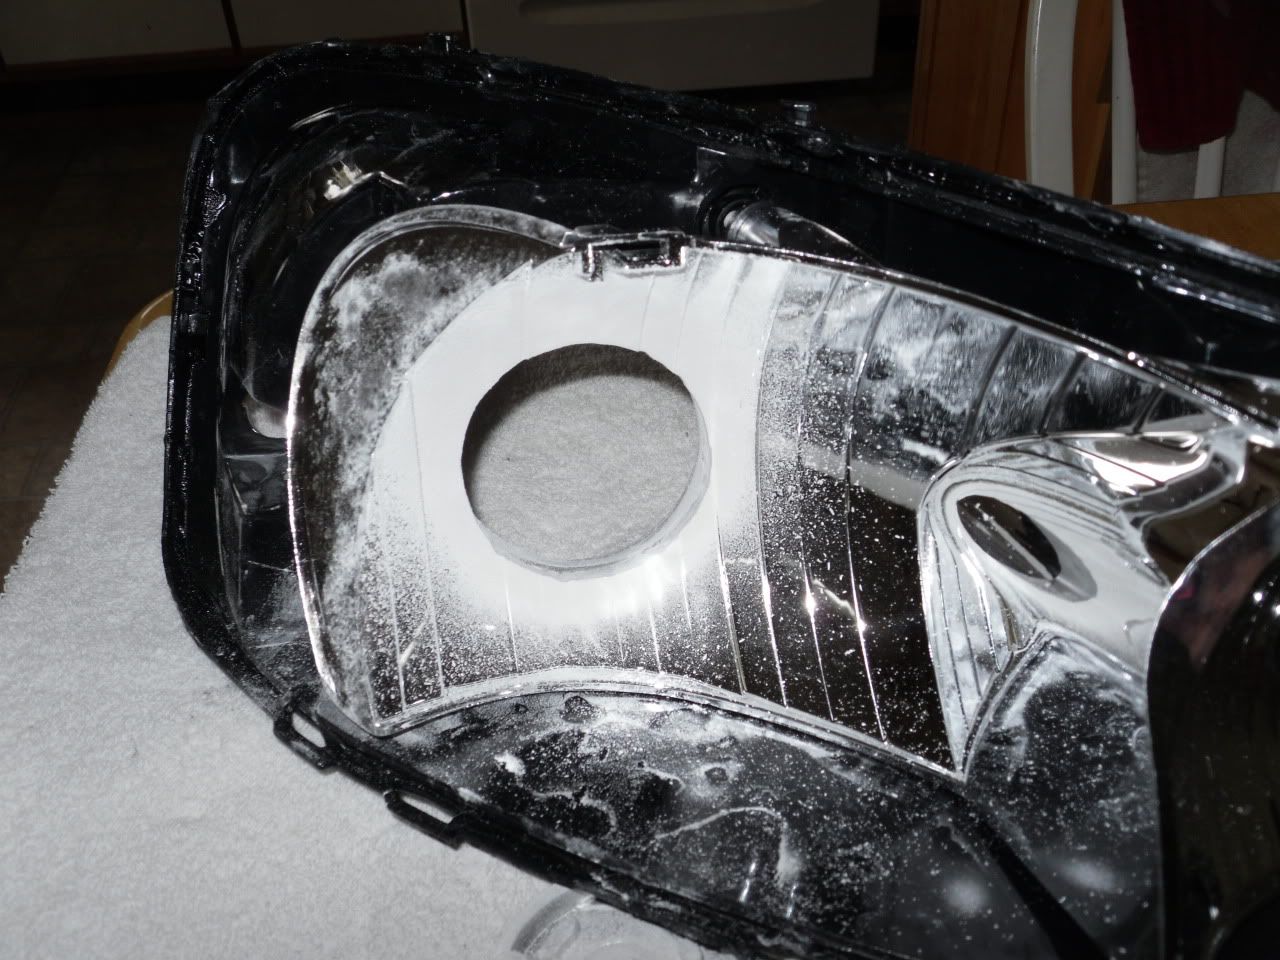
On a towel lay the headlight out and remove the reflector shield
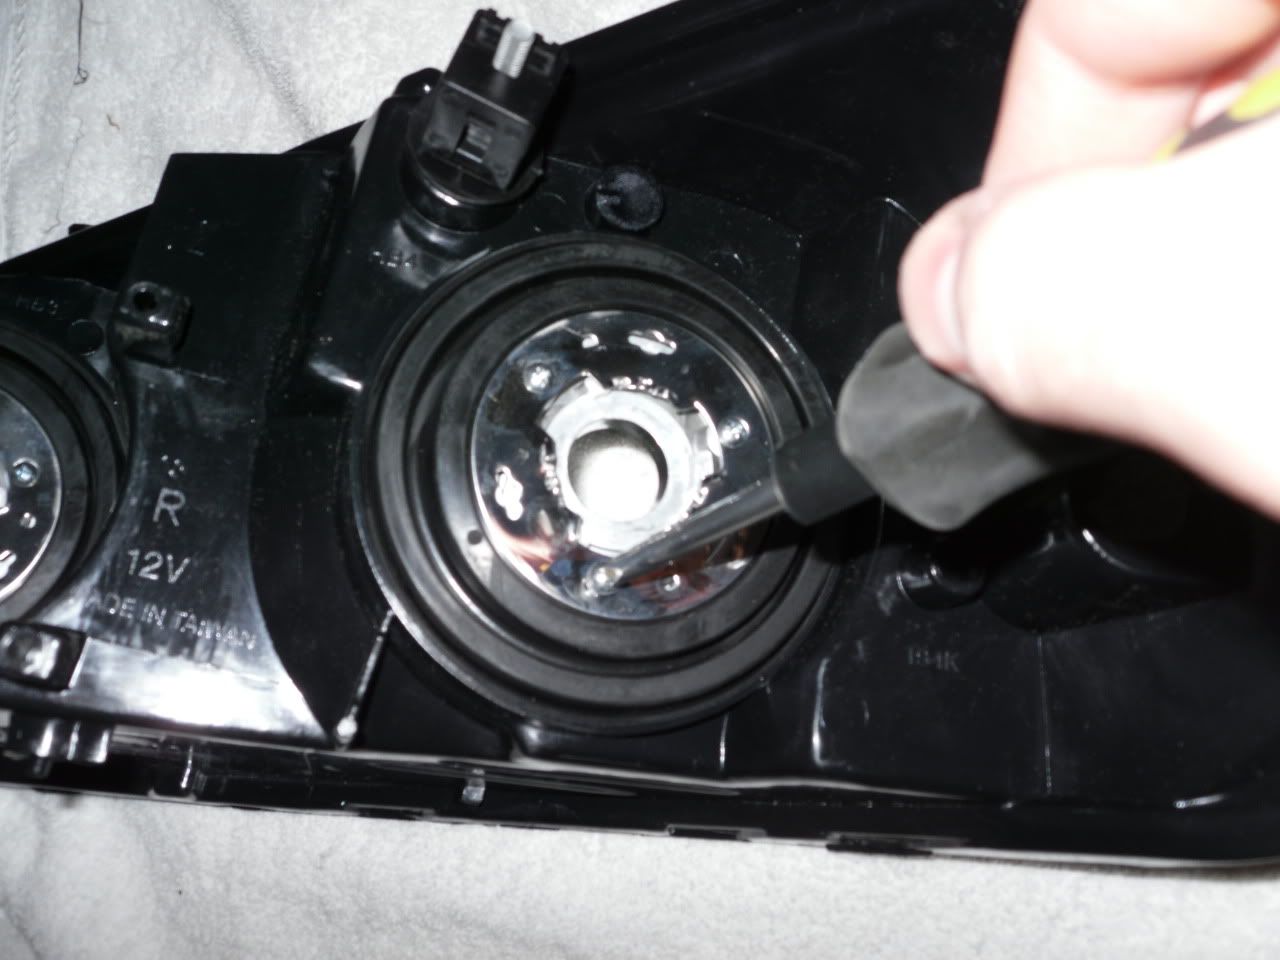
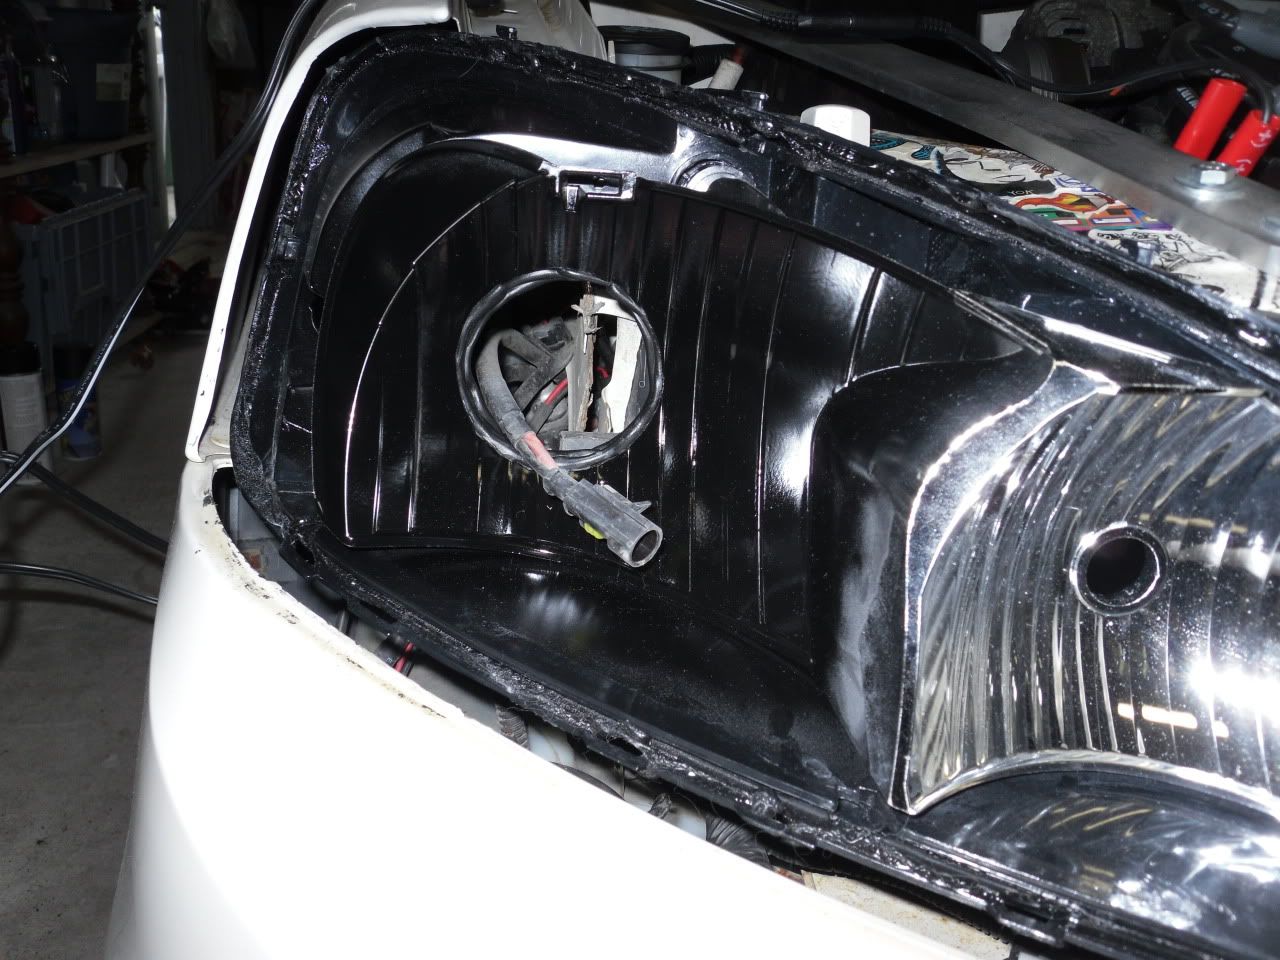
In the back remove the screws and rubber gasket
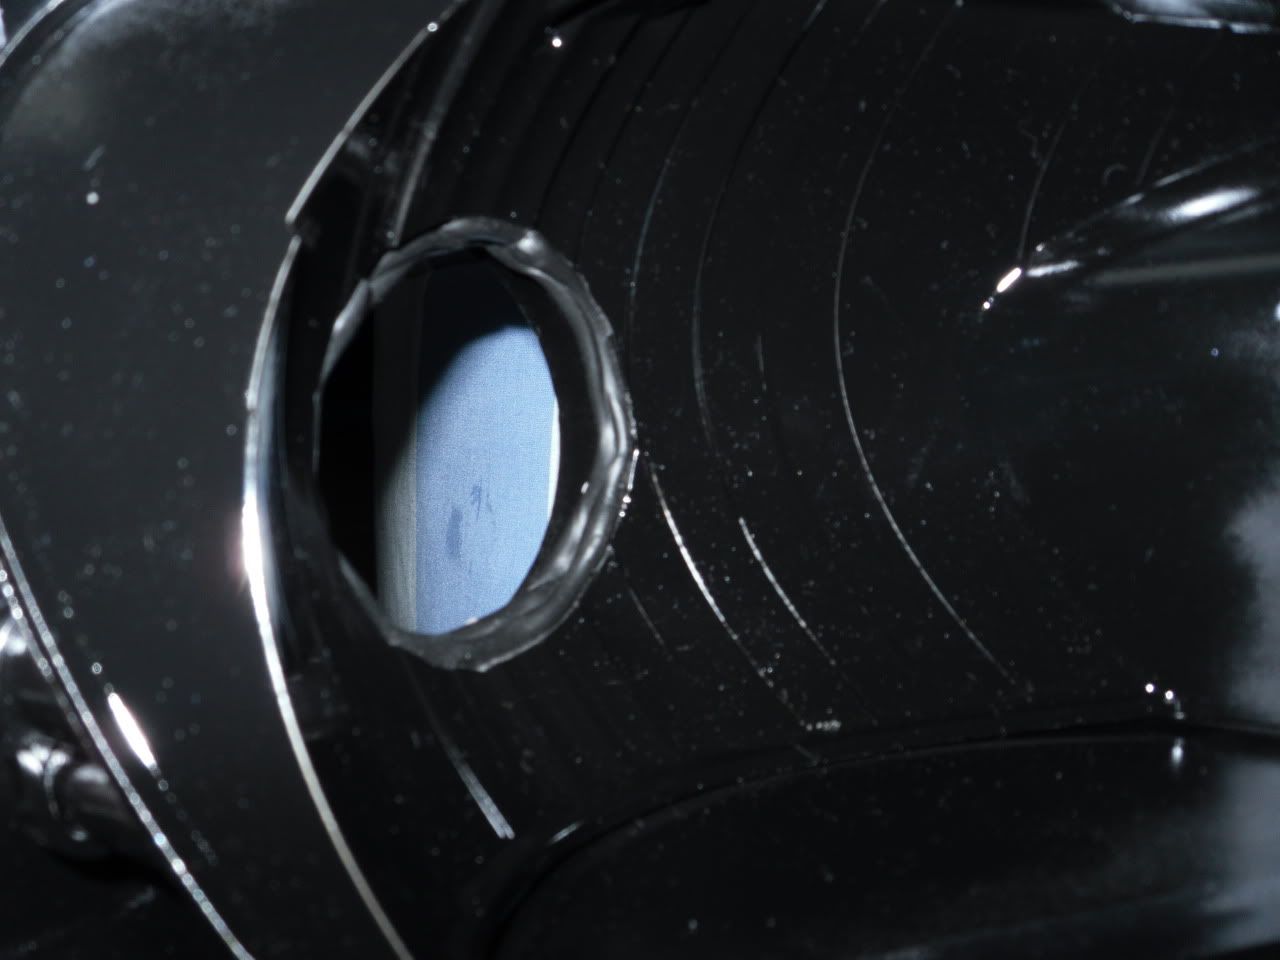
This ring I'm point at is where we cut to make room.
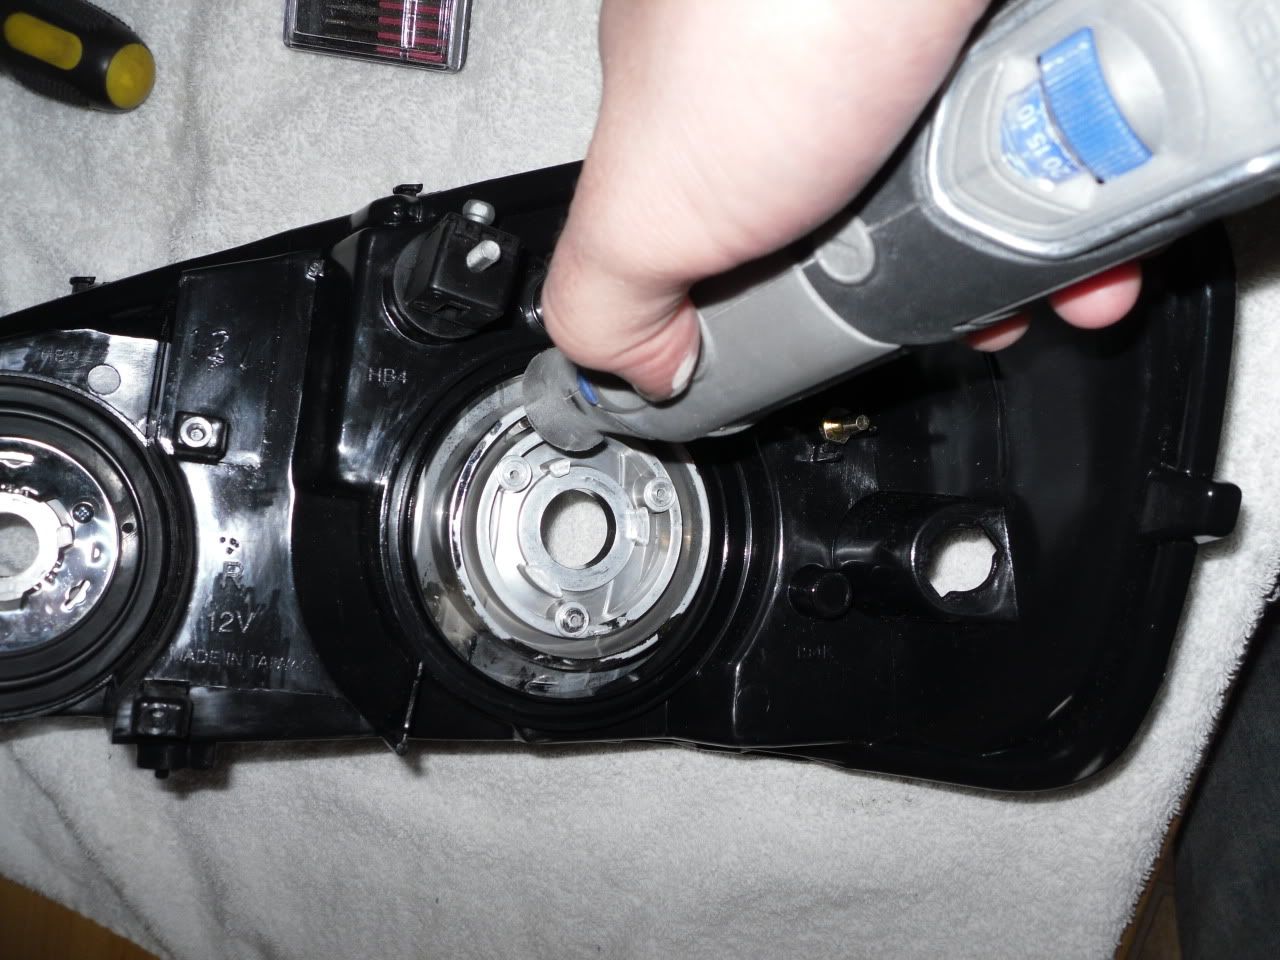
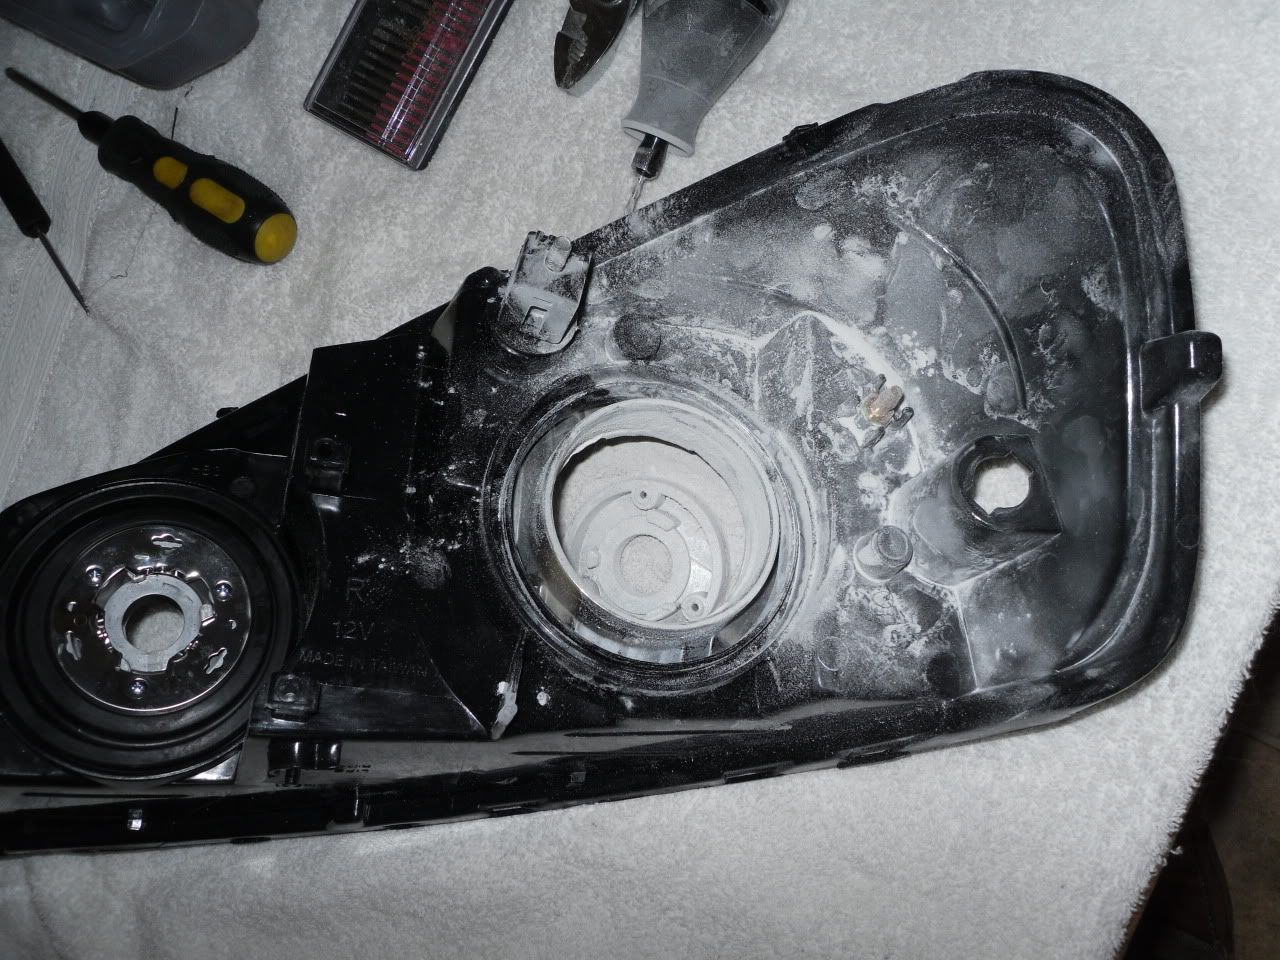
It gets really dusty and messy that is why the towel is good, when you are down you can just shake it out.
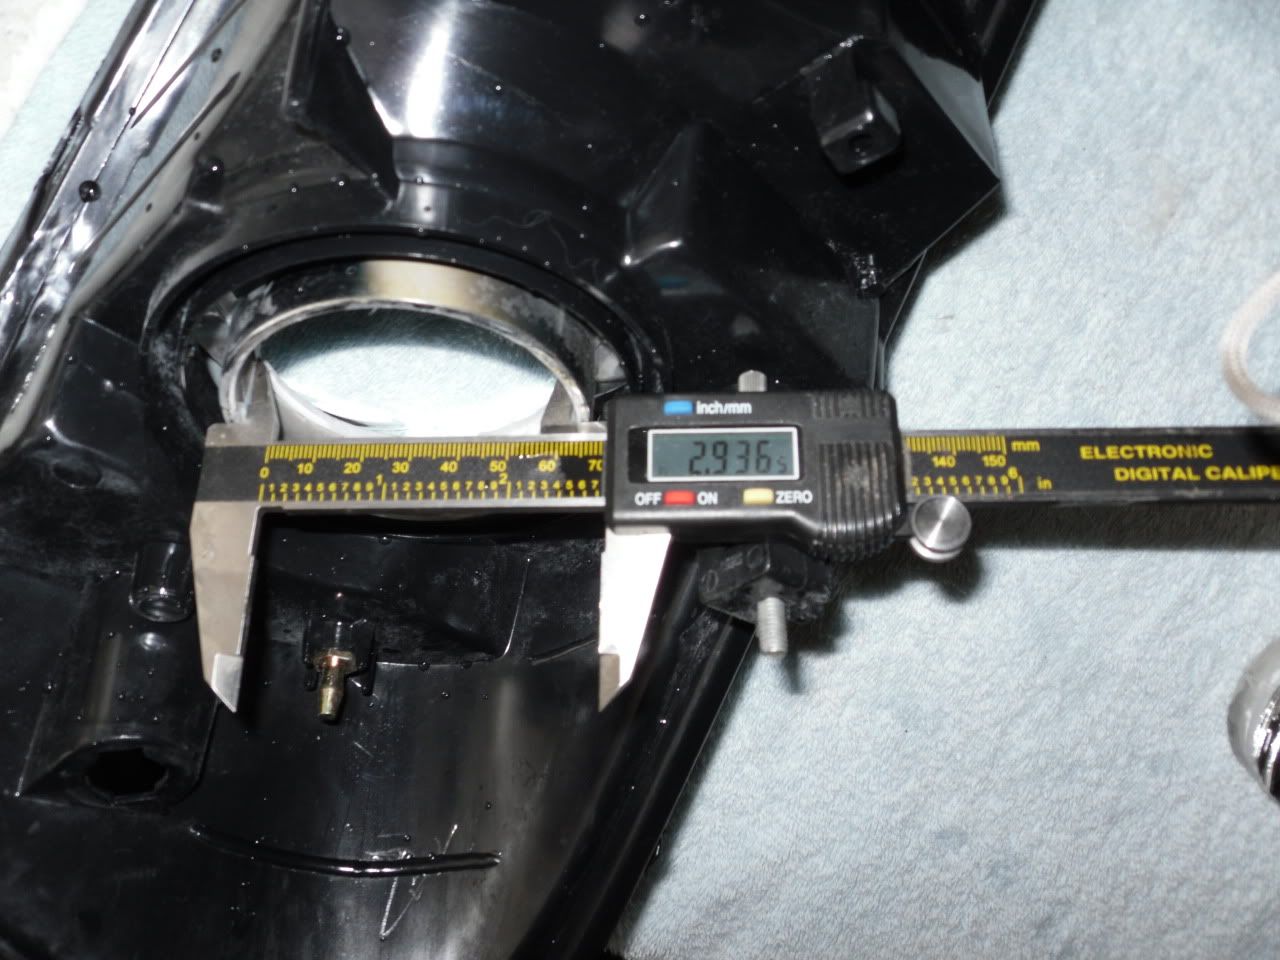
This is how big the hole comes out to be
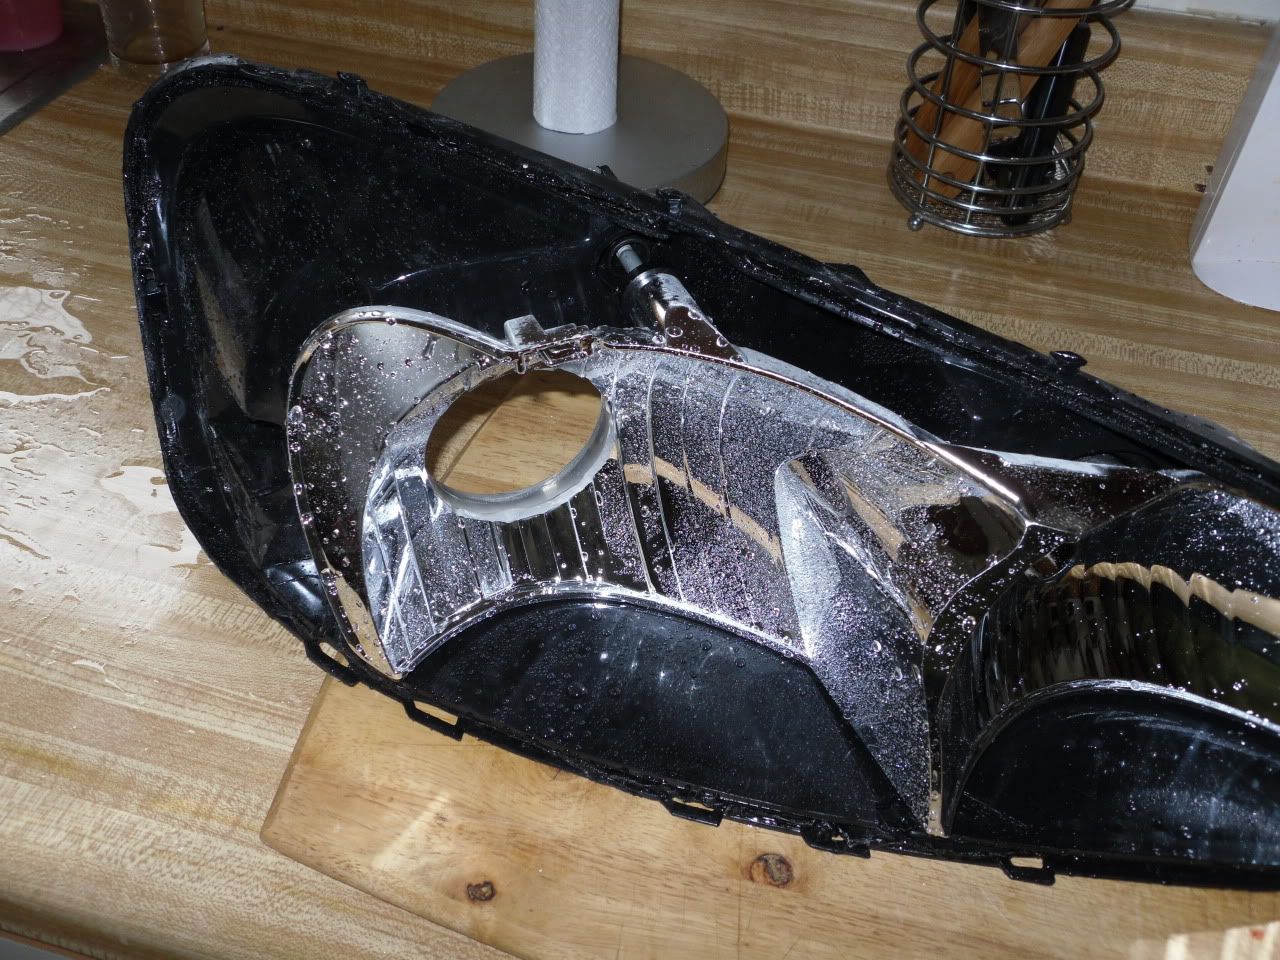
Now we need to clean it up, I actually stick it in the sink and wash it and then blow it dry, you want to get all of the water out and make it as perfectly dry as possible. If you have to, let it sit out over night and air dry.
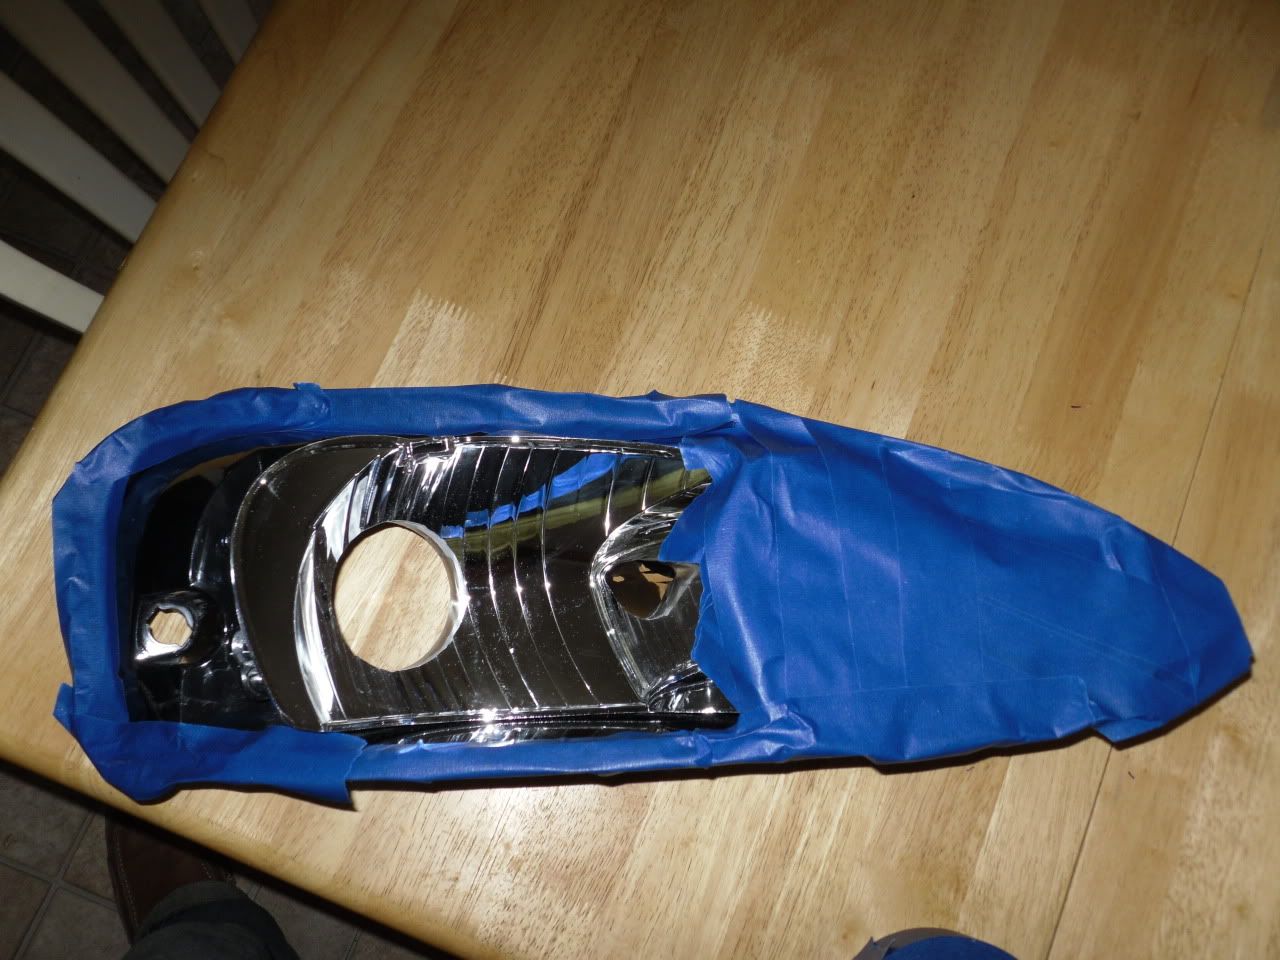
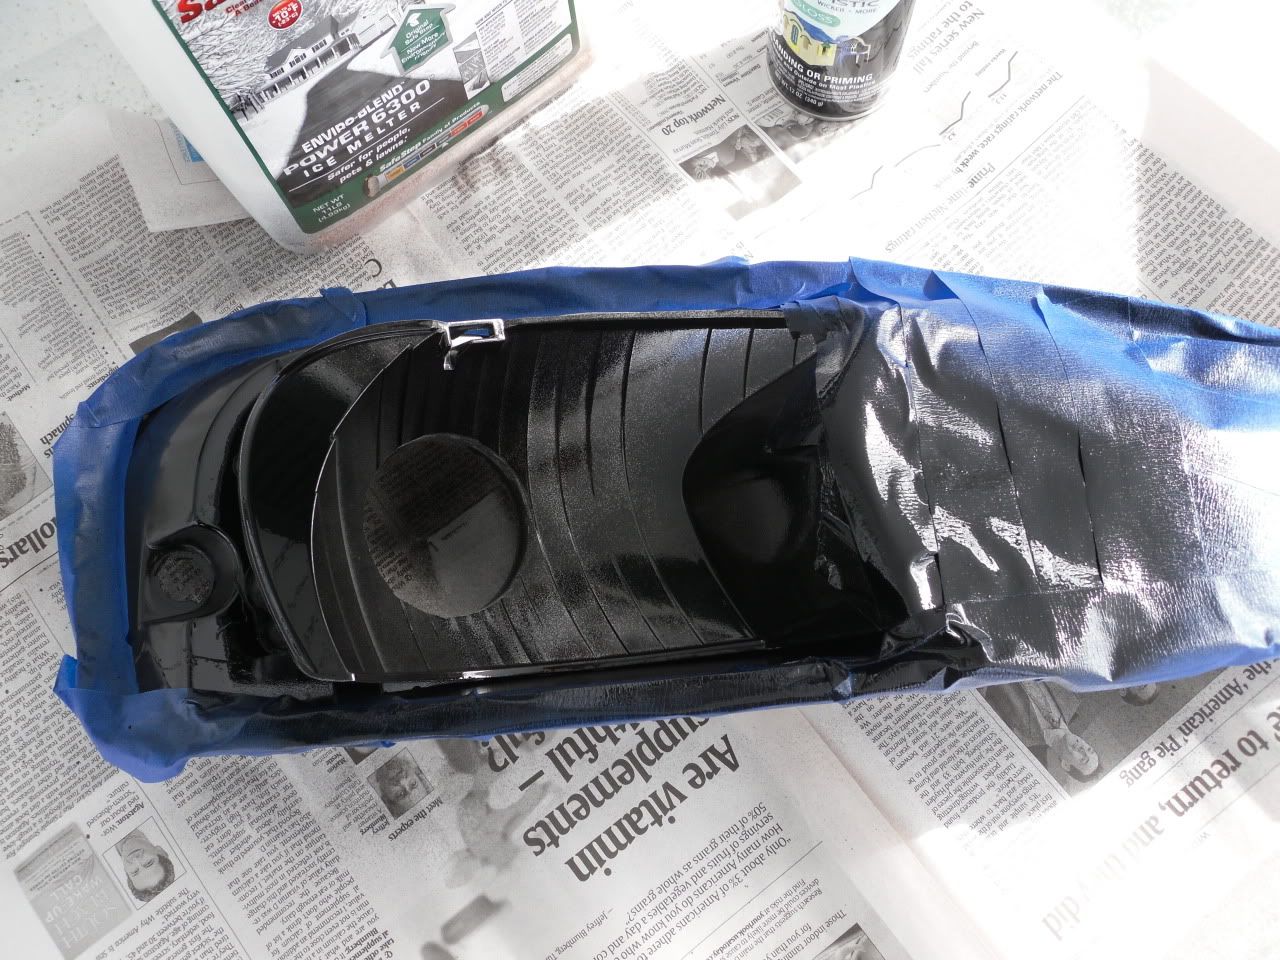
Next, this is why we paint, I like to use black because it hides my mistakes well and I do make a few from time to time. Guys can leave the chrome backing if you want but you need to find a alternative to mounting. I tape off the seals area and the high beam area
Painted
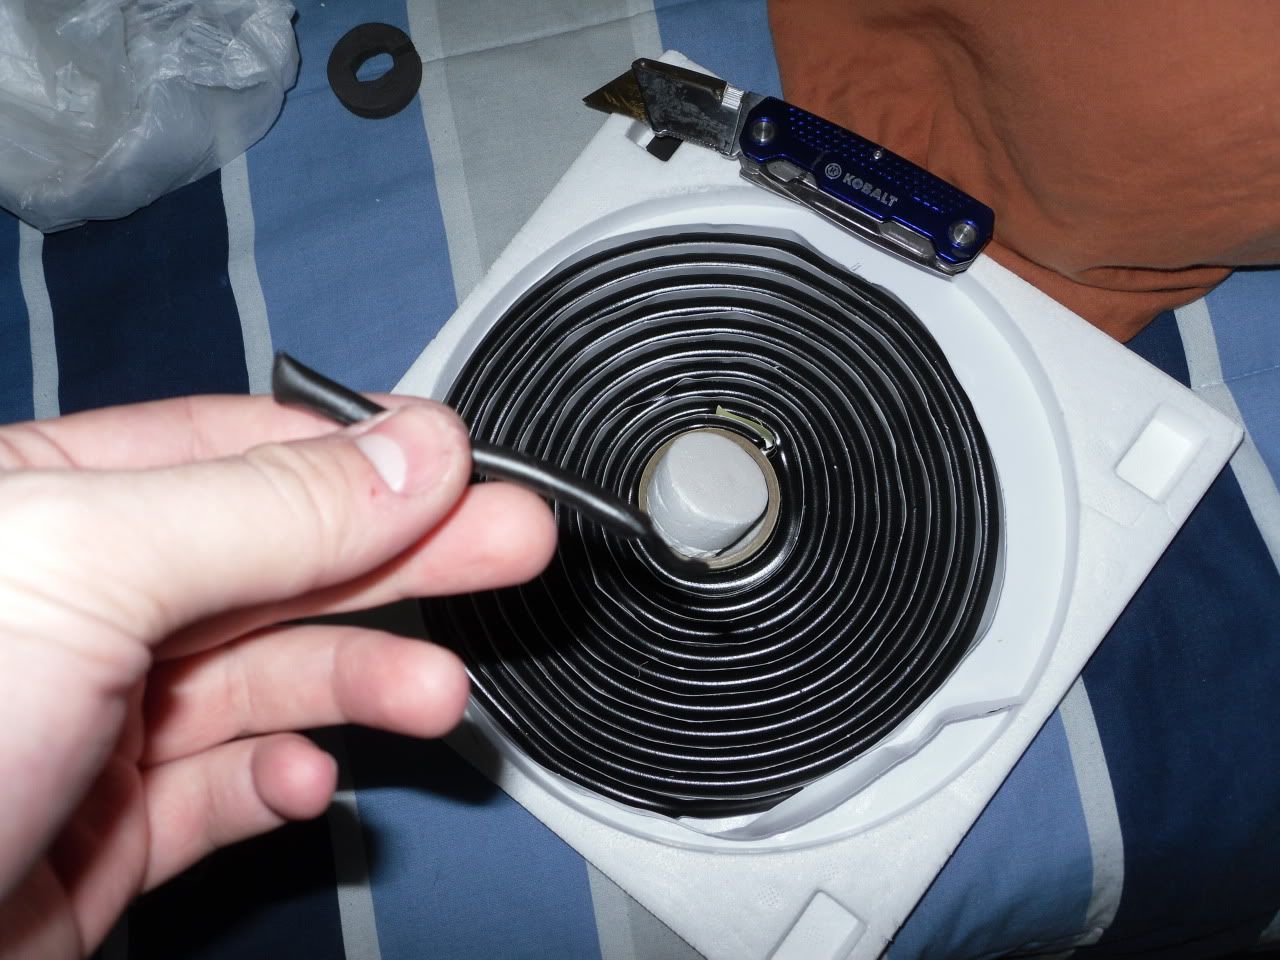
I use this rubber butyl stuff to help hold the projector while I aim it and line it up on the car, it works pretty good, so I put in the hole we make all the way around. Roll it with your fingers to make it thinner, little goes a long way. Helps seal as well.
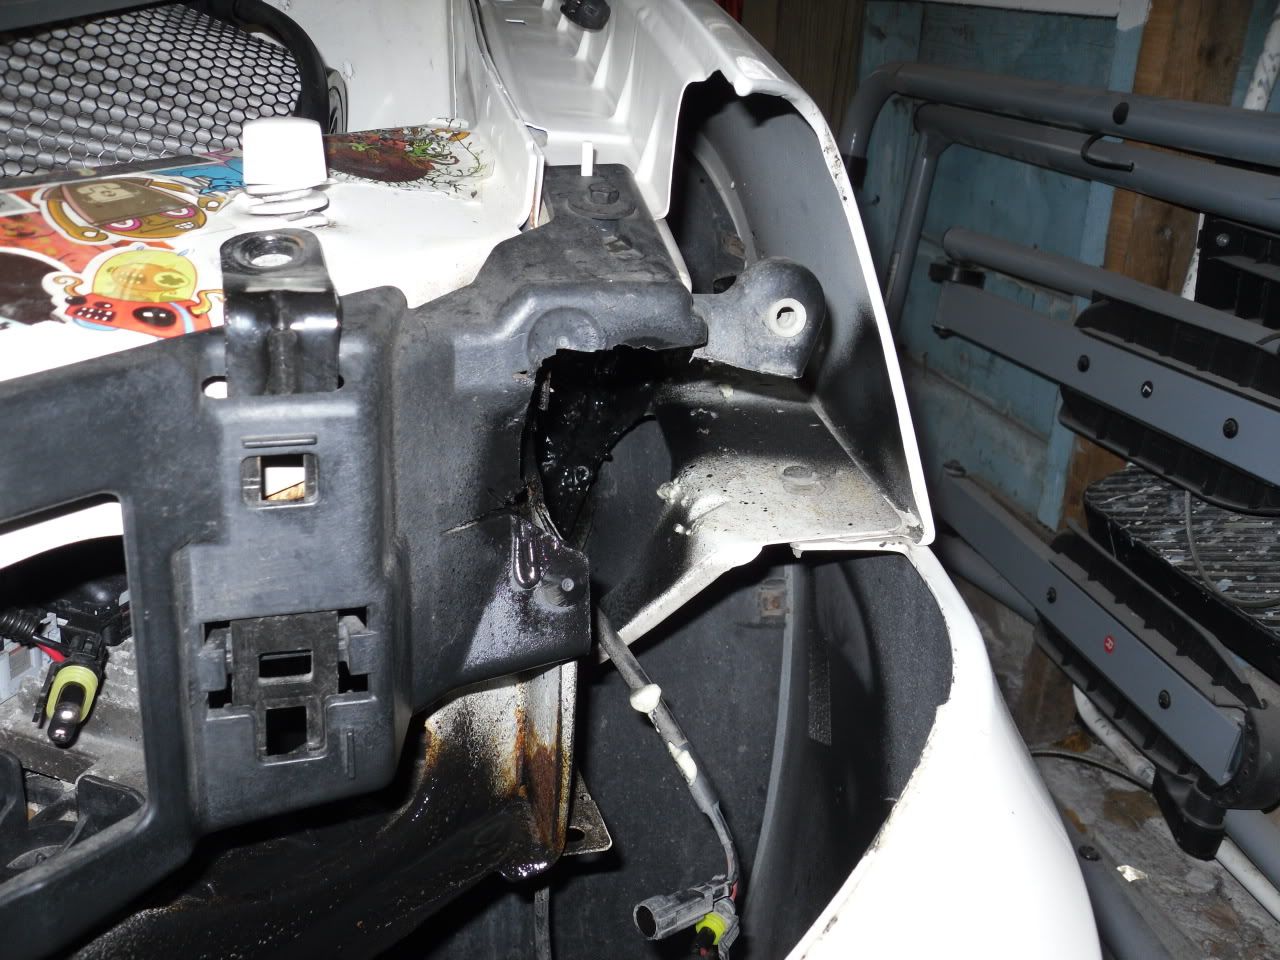
Out at the car we are ready to test fit the light with projector to make it have a straight line, eyeballing it here, I do pretty good, my garage is wook planks so the lines are perfectly straight across. But before we test don't do what I did here and cut the **** out of the black plastic behind the light, I regret it to this day. I only have this much cut out because I used much larger projectors back in the day and needed lots of room to work. I suggest a 2" hole saw here and just drill it out.
Mount blank headlight on car
Fit projector through the hole with all the wires and then turn the lights on
Use about a 1/4 of the stick of JB weld and take pieces around the projector while you hold it, it won't set right away so you got a little time. I do top, bottom and one side. Aim projector a little lower, once its put all back together it will aim it up higher (you do have adjustability just not huge window for it). Turn the lights off and let it cool and JB weld will set. Now you have a straight cut off line.
Okay, its set, I take a bit of black paint at this point and paint the jb weld on the front, helps to hide it incase it is visible at any point in time.