Use the rest of the JB weld and fix it to the back part of the light, you can leave a gap for more wires if your wiring more stuff, I didn't have a need for it so I filled everything in.
Let everything set before moving on, should take a few hours to become fully set, or let it sit overnight.
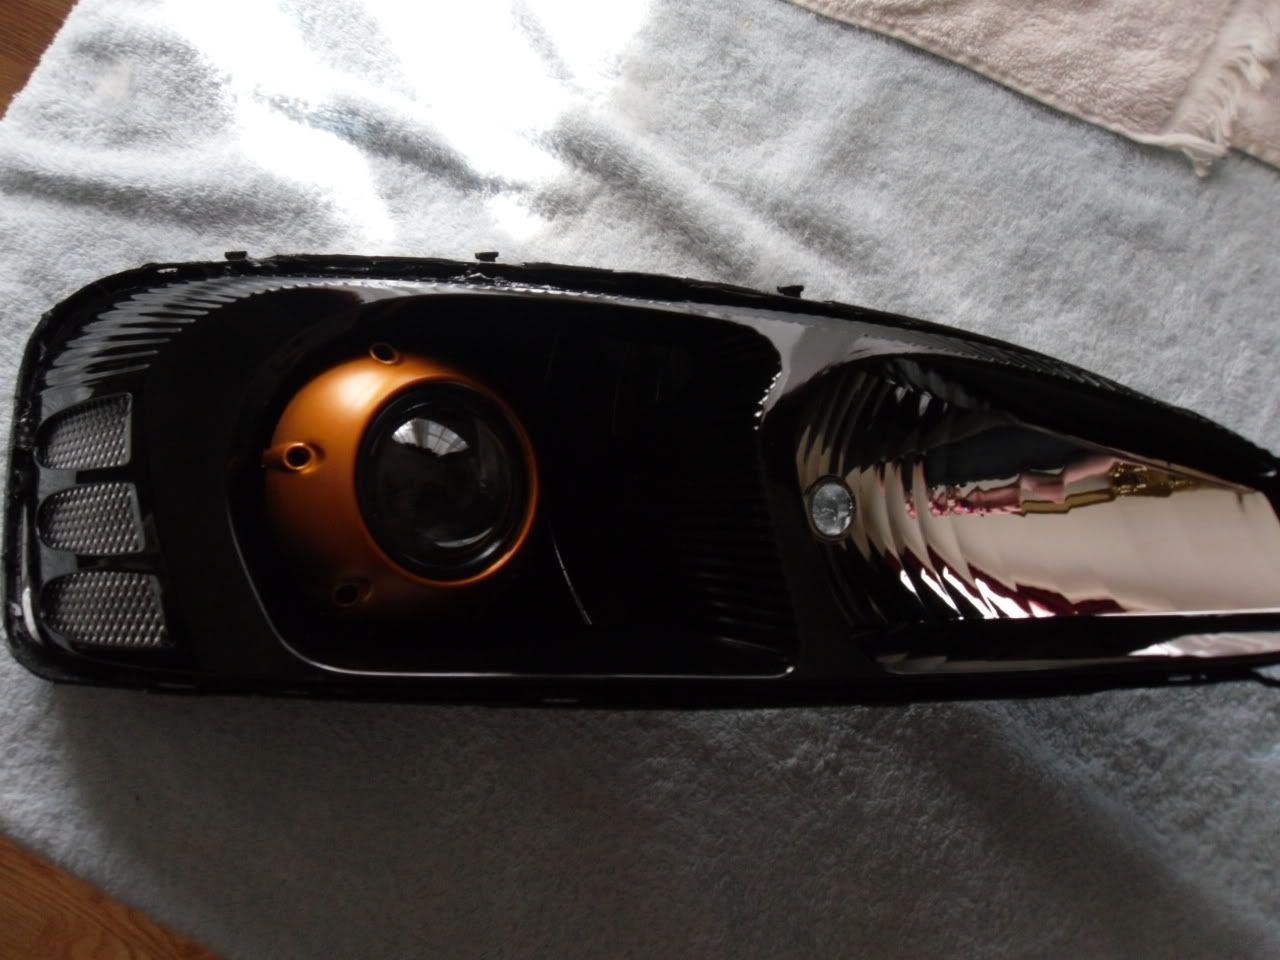
Use the Rubber butyl stuff at this point and work it out real thing and run it on the base with projector in the channel where the lens inserts, this will help the seal.
Put the shroud on and then the plastic piece that divides the sections
Time to put the clear lens on and bake again for 15-20 mins, use gloves and set it on the towel and work the lens in until you get all the clips in place and it seems to have sealed. Let the light cool on the window for a while, your headlight should be cool to the touch again in about 30 mins, during that time there might be condensation, its no big deal, it will dry out. I only got a little bit on one headlight.
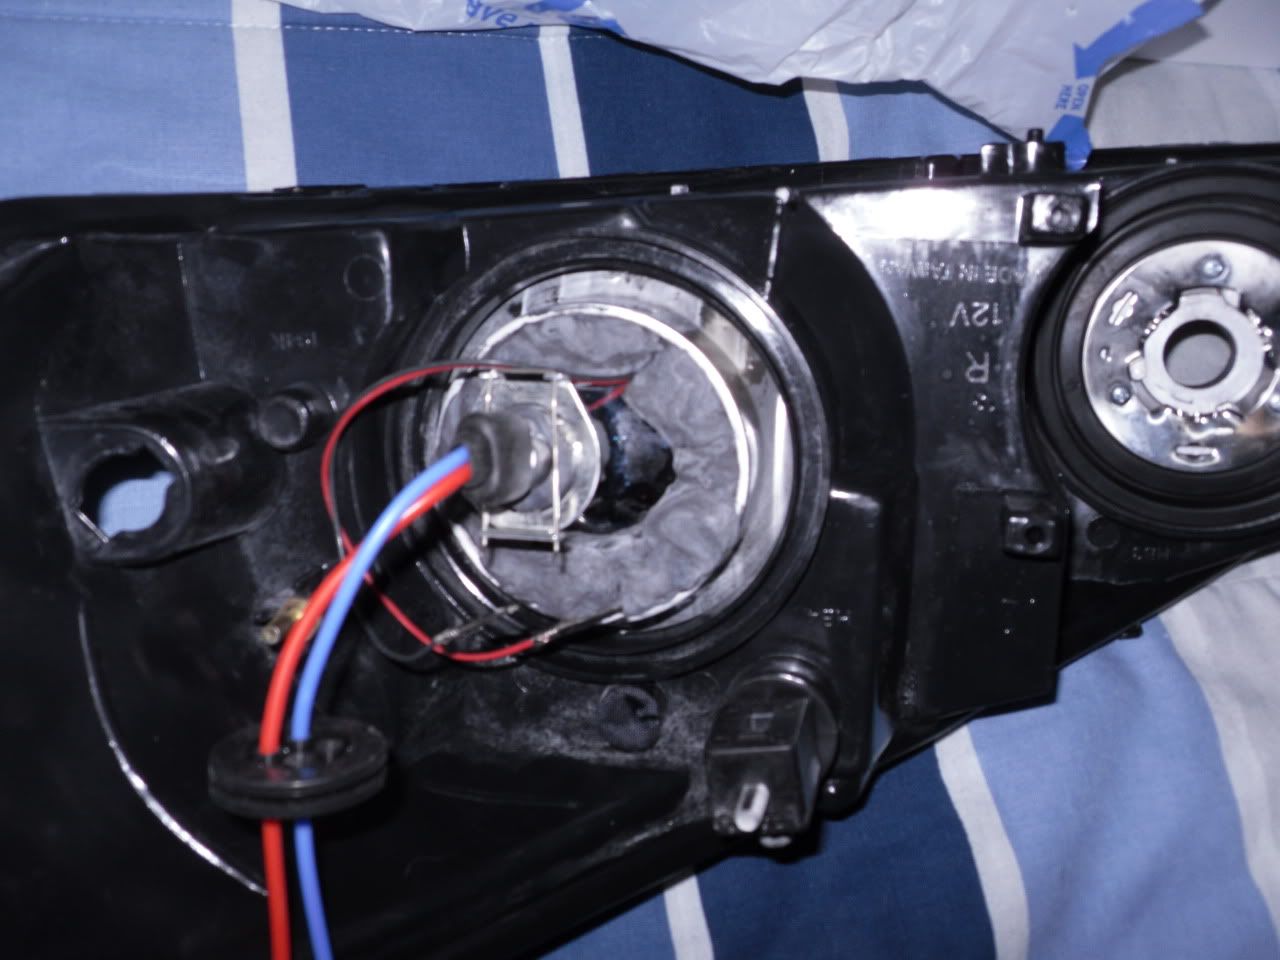
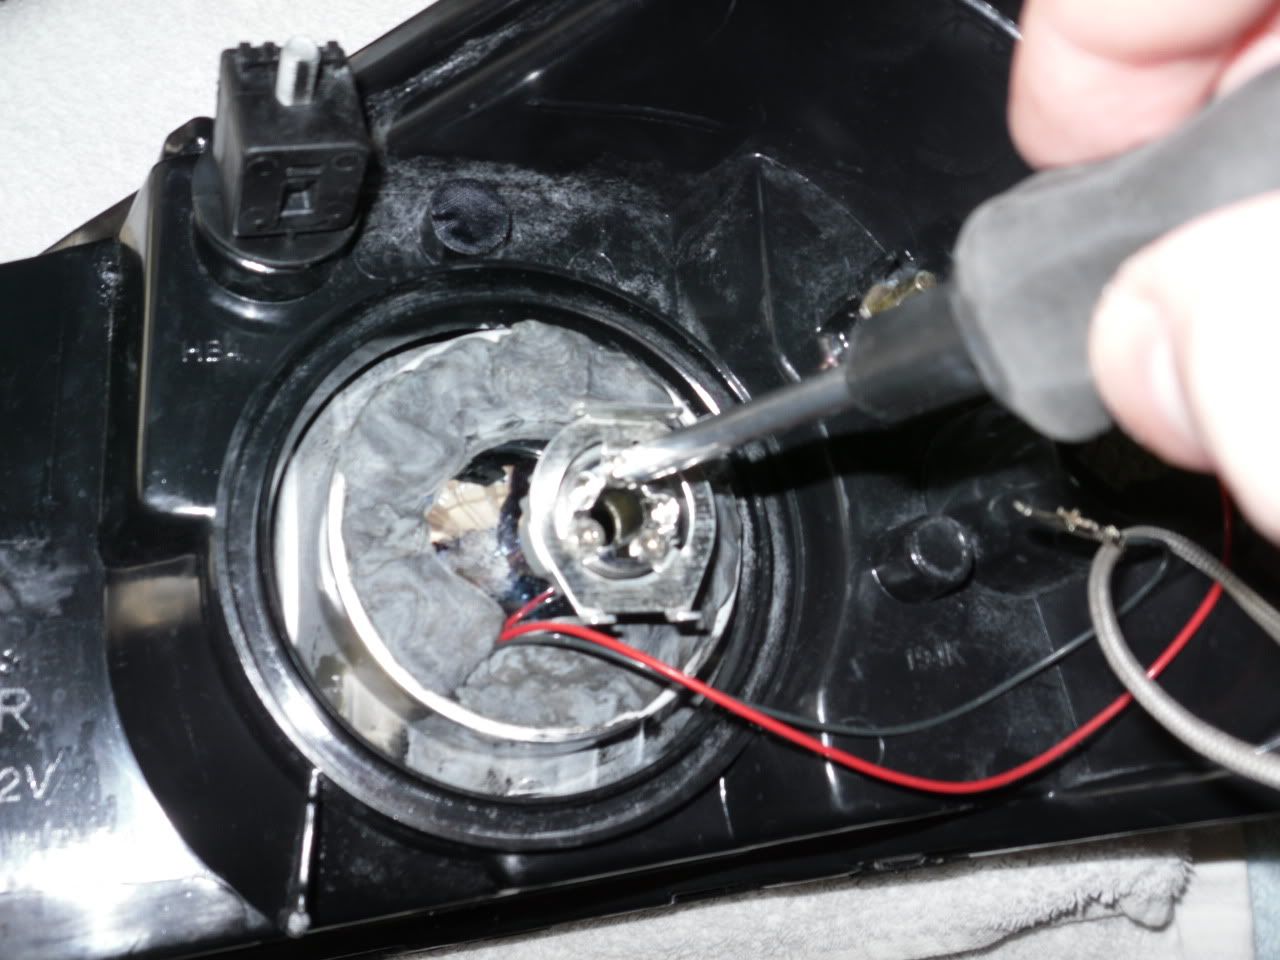
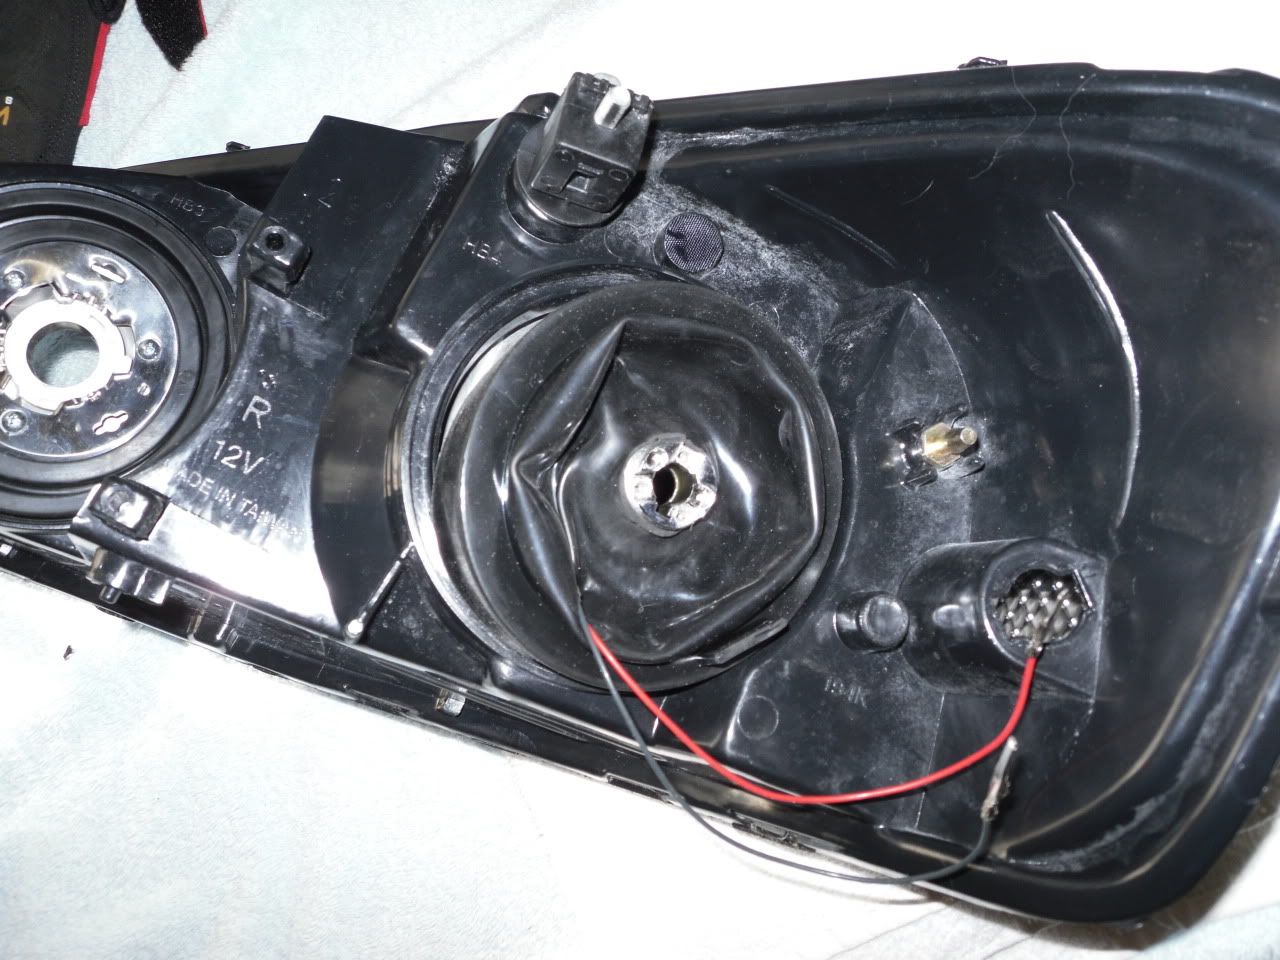
On the back with the projector for H1s pop the screws out for the bracet to hold the bulb in. We are going to fit the 90mm rubber cap.
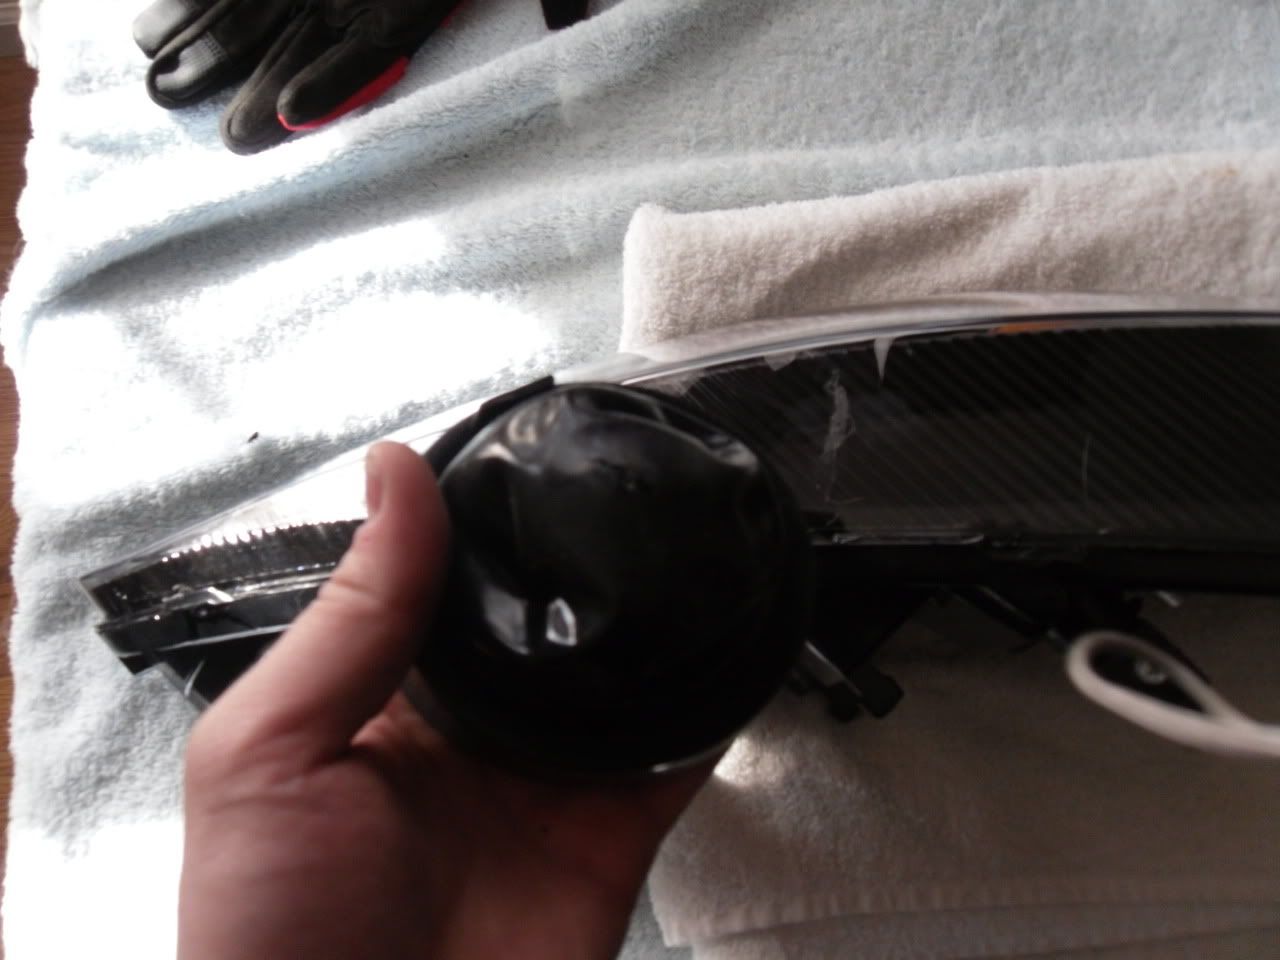
Here is the rubber cap with a small slit in it, we want to cut the smallest amount into it so it is tight when we fit it on the back of the projector.
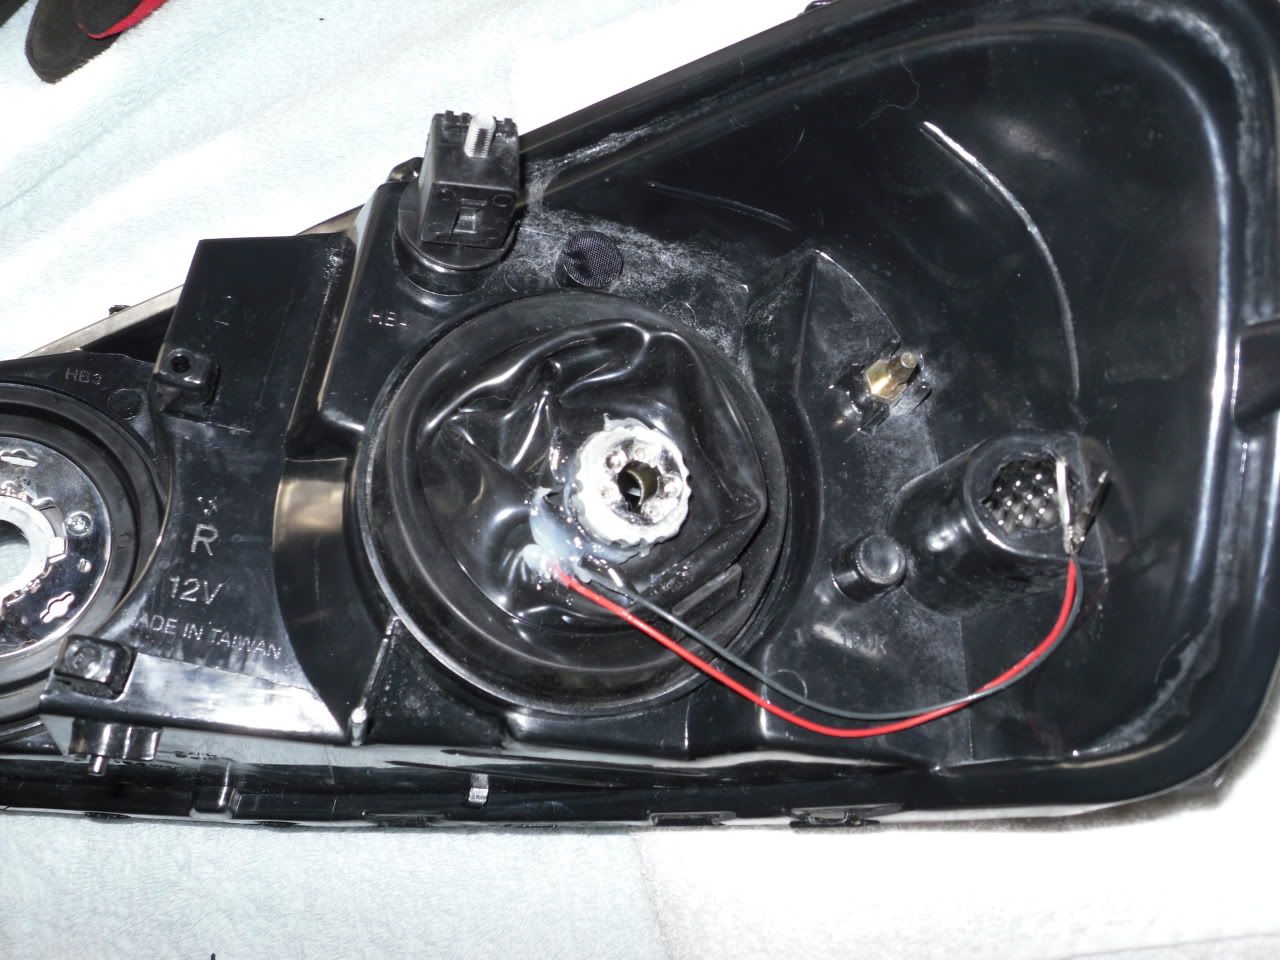
Fitting the cap can be tight but it can be done and provides a great seal to the back of the light, I poked a small hole for the high beam wires. Use the silicon around the projector slit and hole for wires, tighten the nut down on the threads on the back of the projector.
I use a little silicon in some of the clip areas as well for extra safety
Install on the car and aim!
ENJOY!
If you have a different way to mount projectors please post your how-to, I am only doing mine really for show purposes at this point since that is the only time this car sees the road now a days, but the output is just wonderful. I love it.