Even after having done this for like a year on 4 different headlights, I'm still the only guy that has done it.
Now all that being said, its time to show you all how to make clear corner sidemarkers.
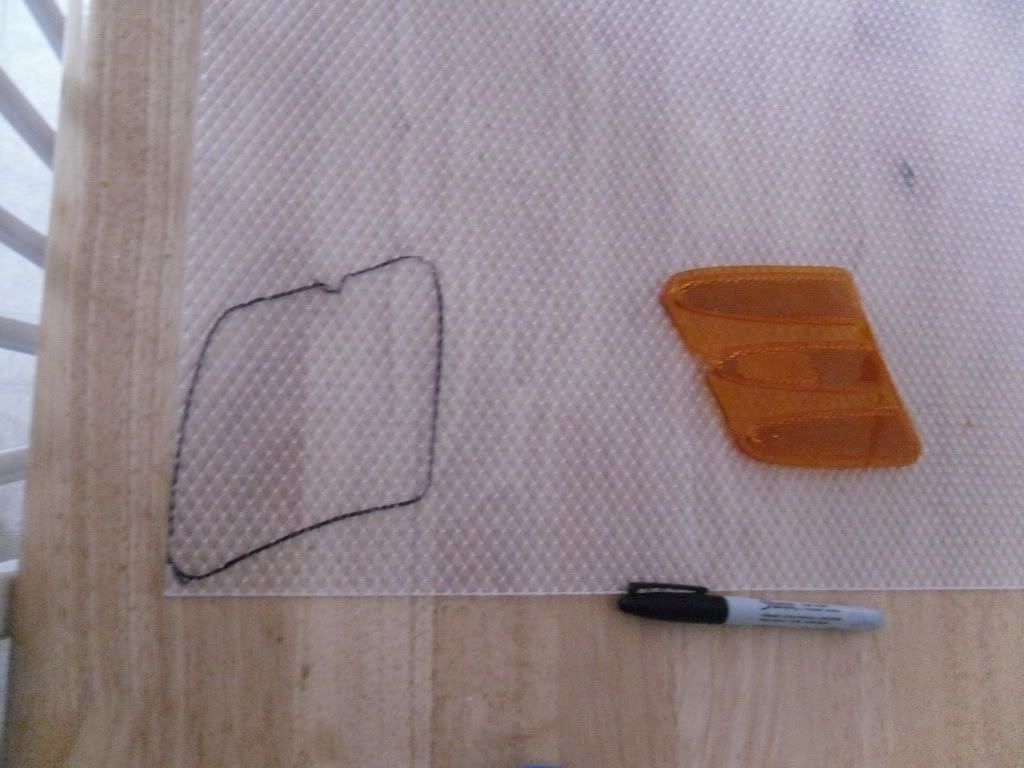
-Go to Lowe's or Homo Depot and pick up some clear plastic styrene for florescent lighting. I got a 2x2 piece that was damaged for $1
-Take the headlights off the car and preheat your oven to 215*-225*.
-Get a hand towel from your bathroom and get it damp and lay it on the bottom of a cookie sheet, Lay the headlight on the cookie sheet (Remove the rubber gasket and all the bulbs)
-Put the cookie sheet and headlight in the oven for between 5-10 minutes
-Keep an eye on the headlight
-Use a Screwdriver to pry on the tabs on the top and bottom of the light, and then at the larger end where the lip is on the lens, pull on the two halves and they should seperate.
A couple of Sites talking about headlight cracking open and resealing
How To Crack Open Headlights (Moved) - Chrysler 300C Forum: 300C & SRT8 Forums
http://www.cadillacforums.com/forums...lear-your.html
That may take a couple of tries in and out of the oven till you seperate the pieces.
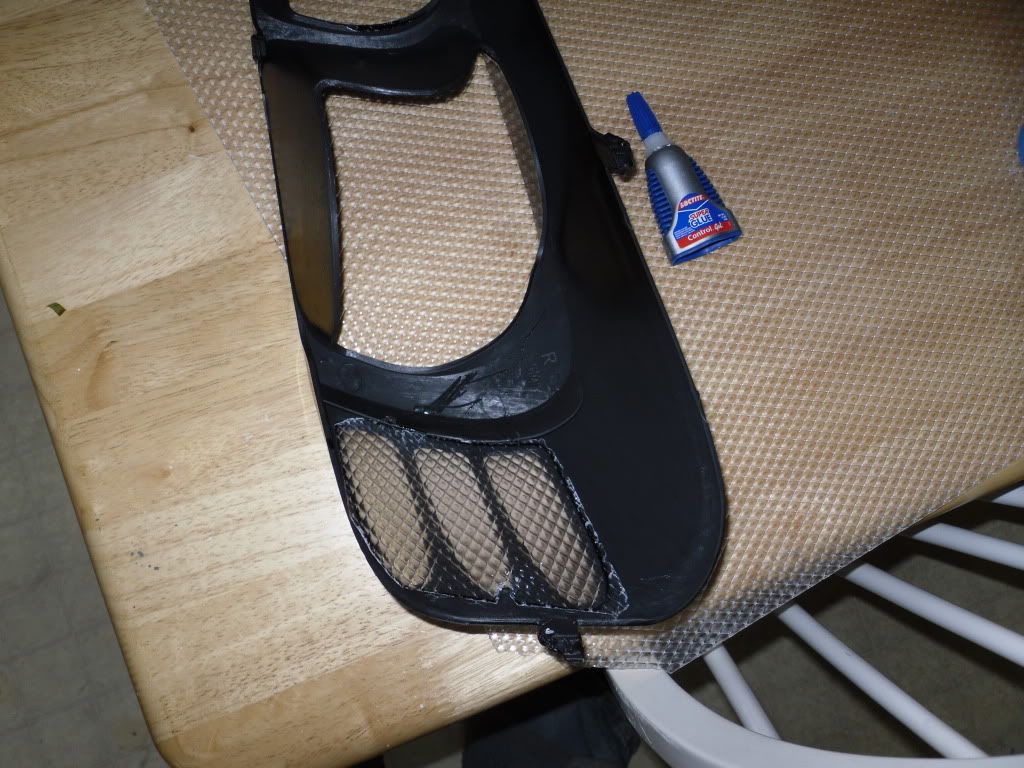
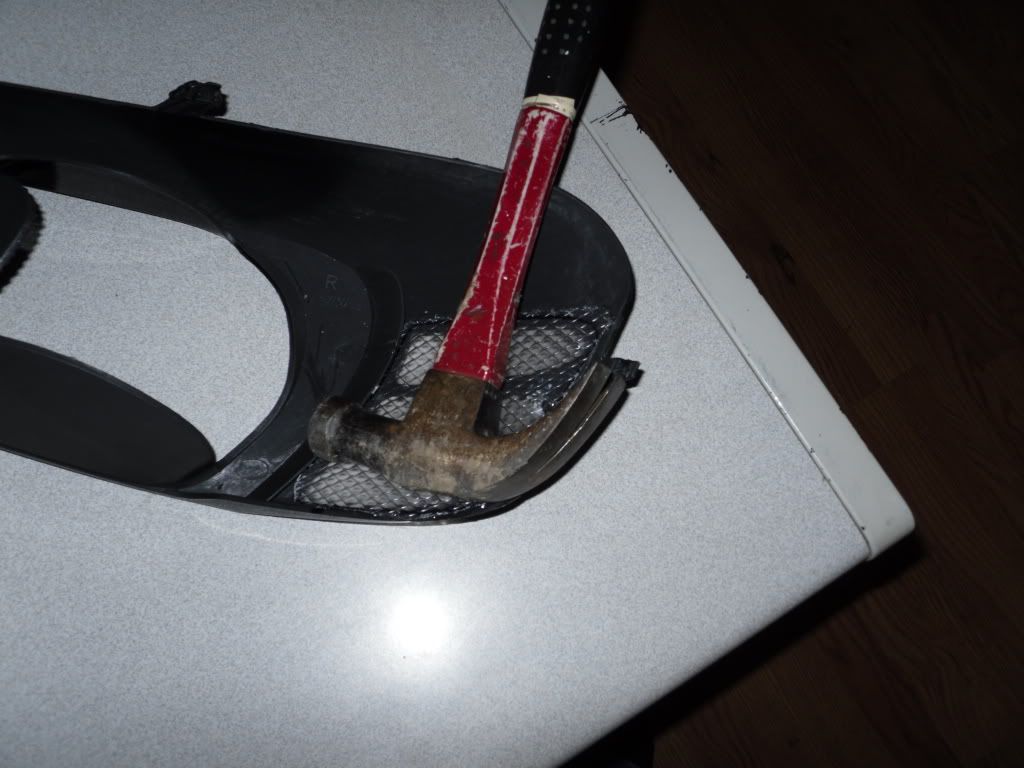
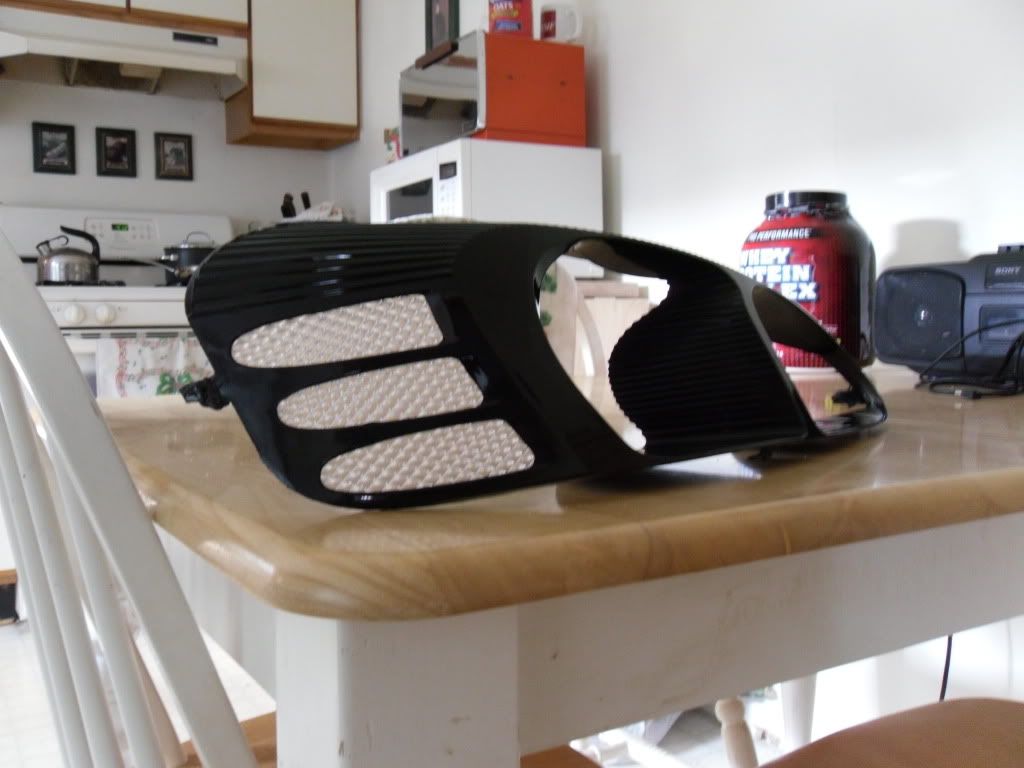
Once everything is seperated, you should have 3 pieces. Take the 2nd black shroud piece with the orange reflector and remove the orange reflector, it should be clipped and hot glued in, use a flat head screwdriver to remove the glue.
Lay it out and draw a line around it
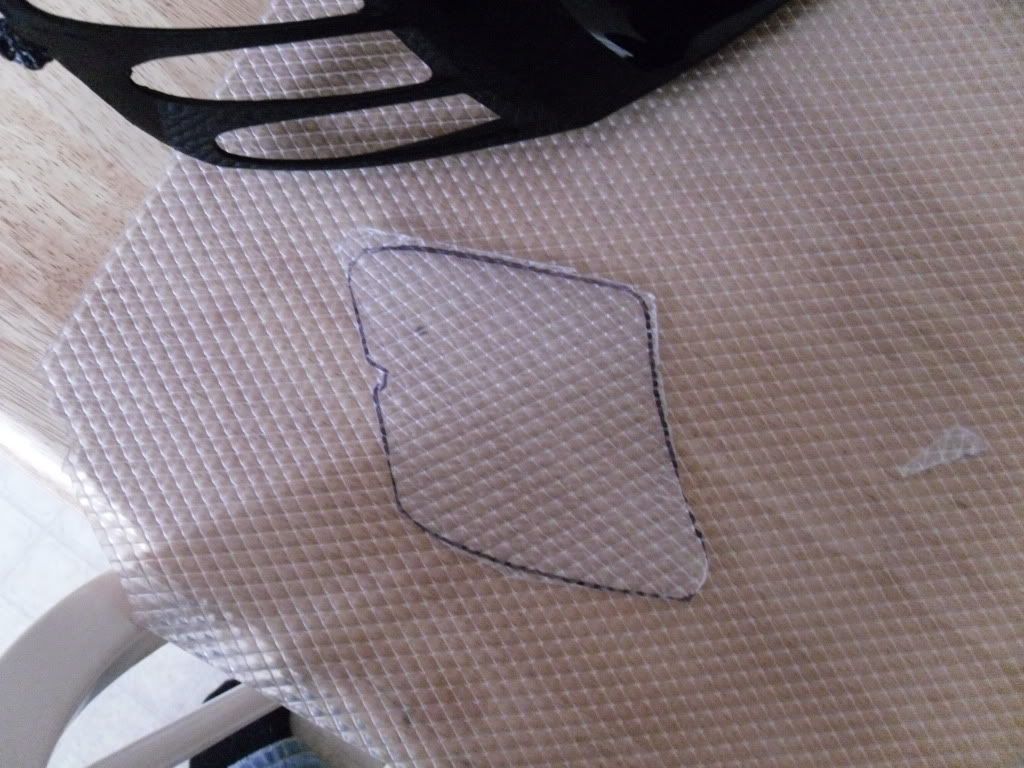
Cut it out, give yourself extra (never hurts) don't worry no one will see your lines when you put it in. Scissors can cut this, I suggest Dremel (unfortunately my truck was broken into and all my welding, cutting and basic tools were stolen)
Line it up and see what else needs to be cut (cut the tabe piece too so it helps to hold it in), I layed it flat side facing out
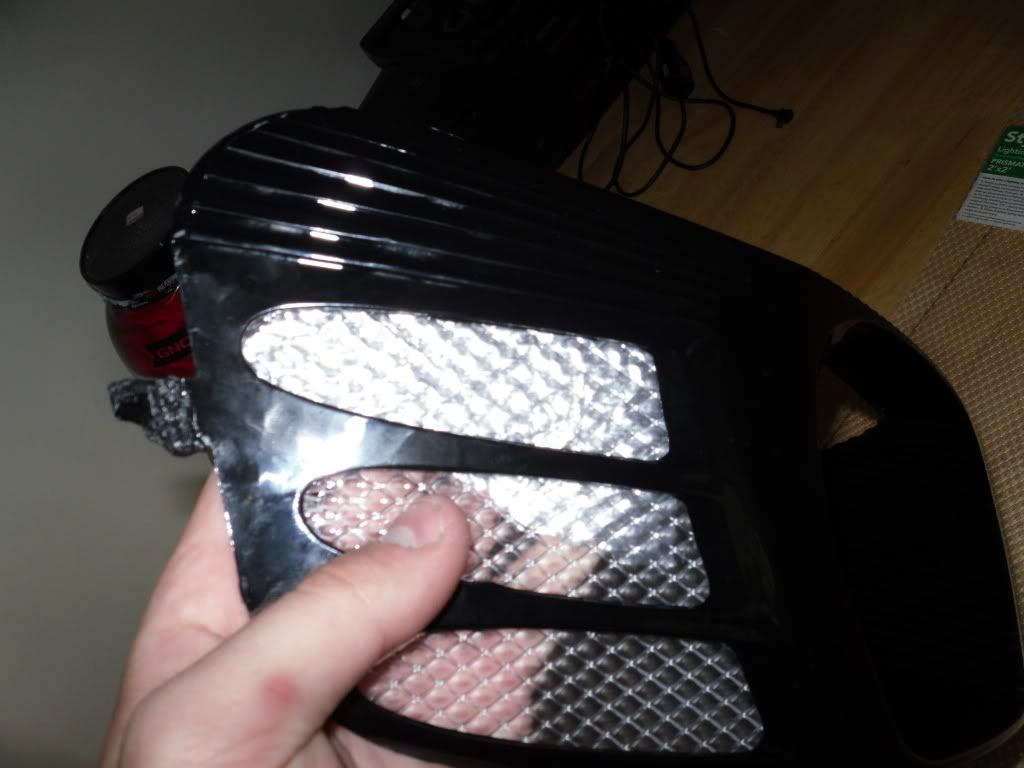
I played with tinfoil to make it reflect (but it didn't really pan out, worth the attempt, some may want to persue it more, I may later, but just cover the top and bottom sections, center is for the light
Super Glue and Styrene are the best, cause it forms a chemical bound, but you can use hot glue as you can have residue from the super glue. Lay something on it to make it contour to the curve
Your Done.
Just resemble and enjoy (Use the Oven again to soften glue)
Remember if I can do it, you can do it. Nothing scary about baking headlights, its rather safe as long as you can control the temperature