Before I got into this, I had no knowledge of HID hookups, and I was looking for some specific info on how it would go. Couldnt find it though, so I decided to do a quick write up for people looking to do it in the future.
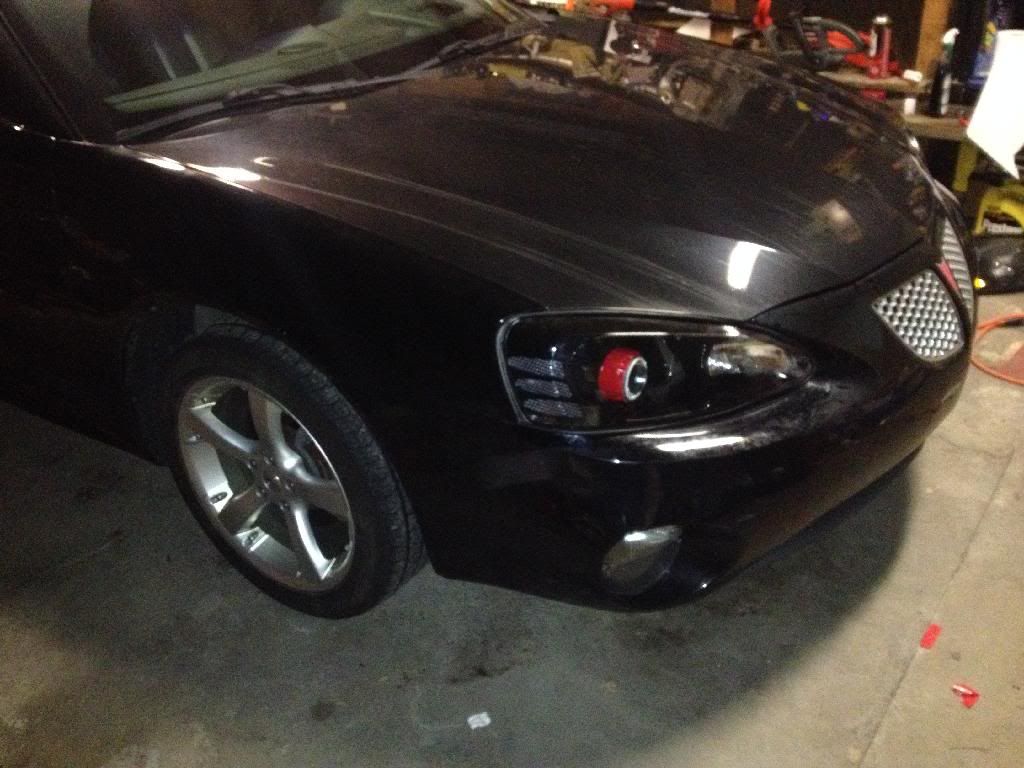
So, I got these retrofits from Classy Pontiac. He was great to work with a they came out awesome. http://www.grandprixforums.net/threa...08-Retrofits**
The HID kit you can either buy yourself, I recommend www.theretrofitsource.com. If you're getting retros done, he can order the kit that's right for you and send to you all together at once.
It's going to come with 2 HID bulbs, 2 ballasts, and a relay harness. It also comes with hardware to mount the ballasts, I just used 2 sided mounting tape, they're not goin anywhere.
You're also going to need a dremel with a drill bit, and a bit to hog out some plastic, a M6x1.0 threaded nut, and double sided tape.
Alright, let's get started, I'd say give yourself about 2 hours. It can be done faster, but why rush? This is on a 2004 Grand Prix where my battery is mounted on the passenger side. I think some GP's have the battery on the driver's side. In that case, everything will remain the same, just substitute passenger for driver.
1) As always, disconnect the negative terminal from the battery. Remove your factory headlights, mine have white plastic tabs that pull up to release the nubs on the back of the headlight assembly. Some years have metal tabs that pull up the same way, some years are bolted in with some 10mm bolts. Wiggle the light out after it's released.
2) Next, now that your work area is all opened up, you're gunna want to route the wires for your harness, and mount the relays. There are several plugs on the relay.
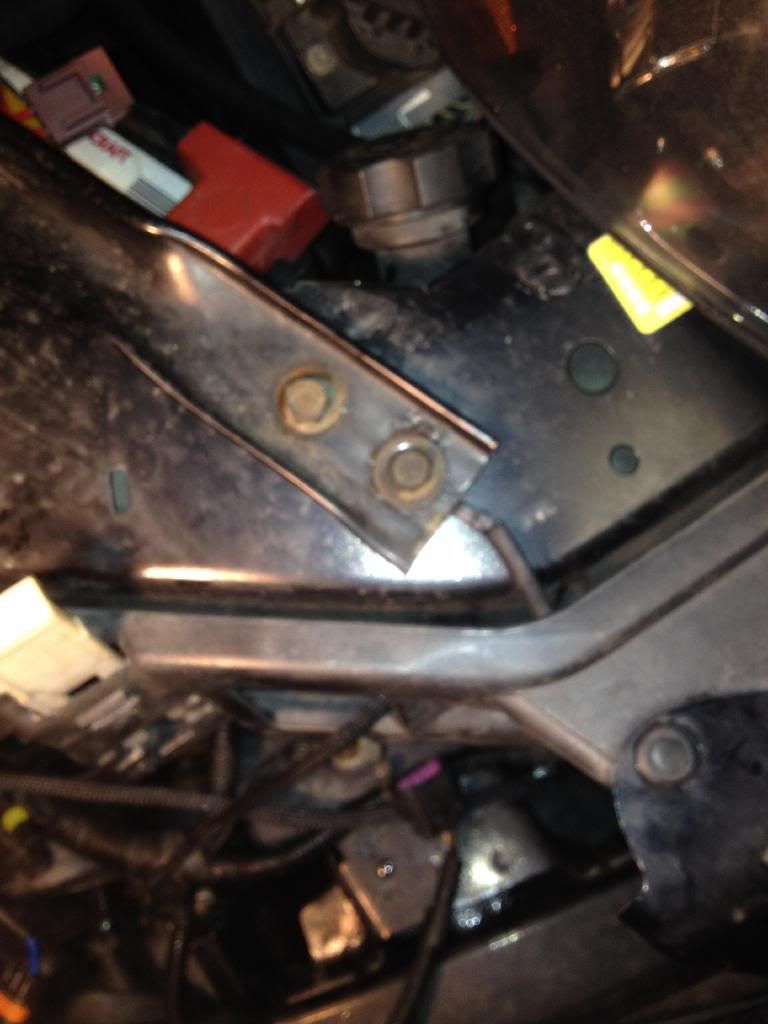
The end with the fuse goes to the positive terminal on the battery, my factory terminal has a threaded post. I used that and the M6x1.0 nut to hook it up (but not until we're finished). Leave that lay across the top of the battery until we're ready to hook it up.
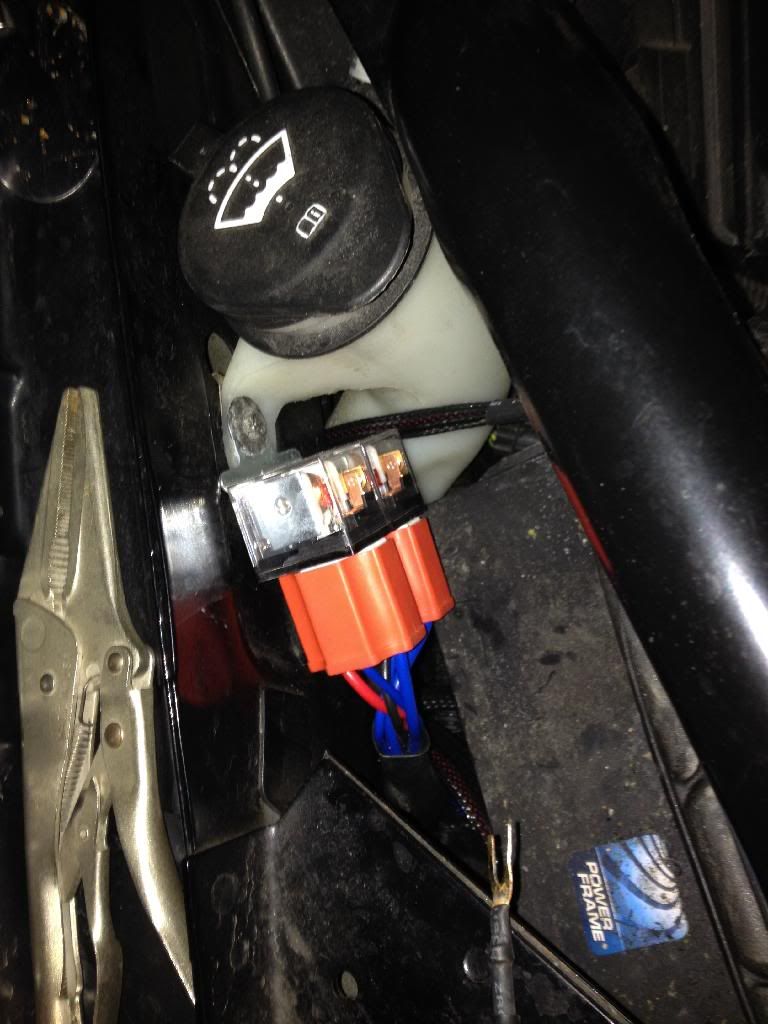
I used the small 7mm bolt that holds the neck of my washer fluid jug to the frame to mount up the relays.
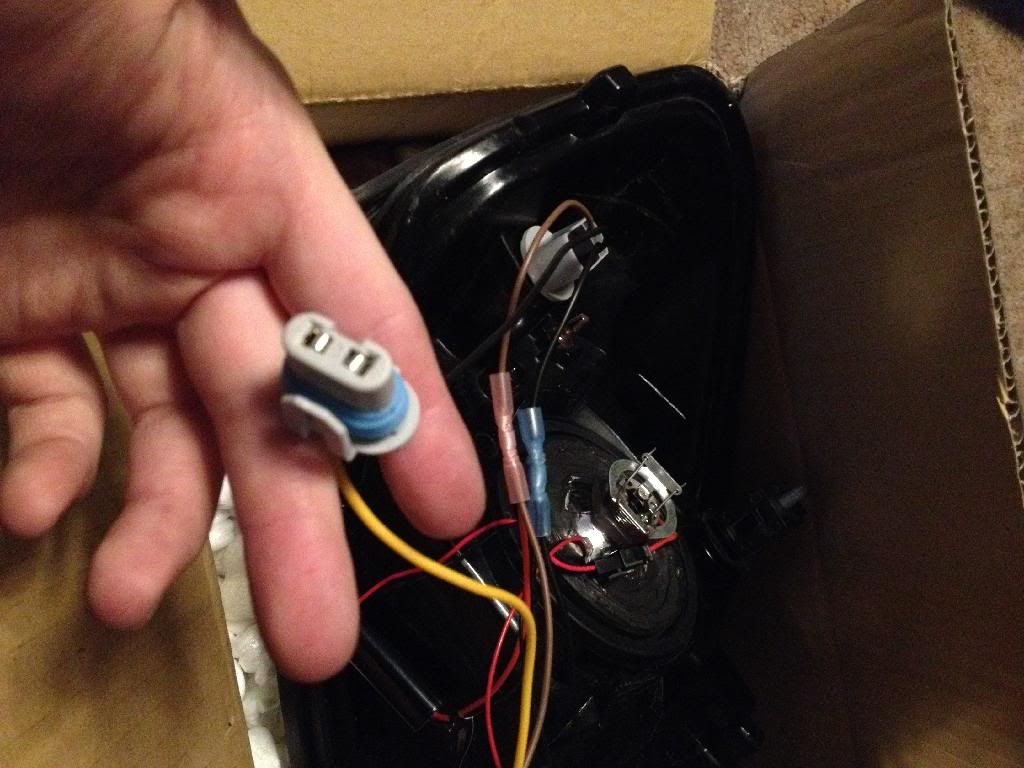
Then I routed the wires down behind the battery to come out behind the passenger headlight. Now you have 2 leads with plugs that look like 9006 plugs, and a ground fork. The long one goes to the side opposite where you mounted the relays (driver side in this case), and the short one stays on the near side. I routed the far one out through where the passenger headlight would go, and then across the hollow front of the car, behind the grills, in front of the radiator. Secured it down in the middle with a zip tie to keep it steady and neat.
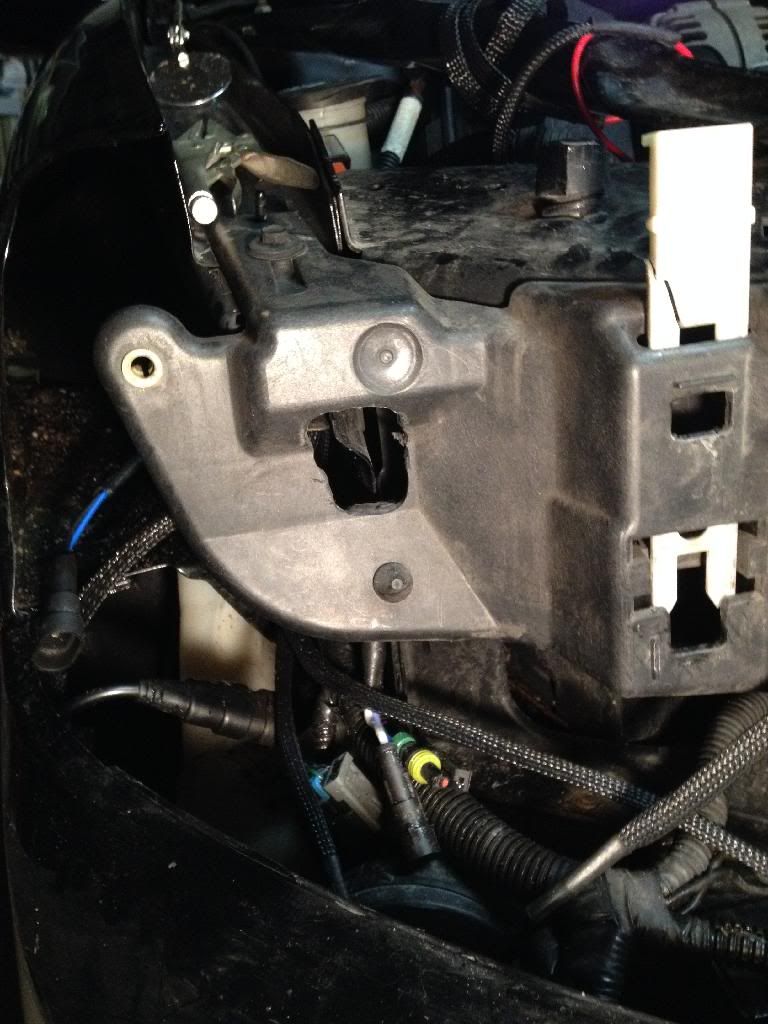
3) Here's the part that tripped me up a little. The factory 9006 bulb comes out from the assembly and immediately turns at 90*, so there doesnt have to be any room behind. The HID bulb sticks directly out. It's going to hit and you wont be able to mount the assembly.
Get some sort of marker substance... ink, powder, a little spot of rtv, oil, whatever, you'll be cleaning it up. Mount the HID bulb into the assembly, dab some of your marker on the very back of the bulb and then attempt to mount the light the way you would normally. You'll then have a mark where the bulb is hitting, and we're going to use this mark to center the hole we're drilling.
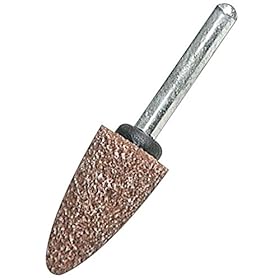
The hole is going to be about 2-2.5 inches diameter, I punched a hole with a small drill bit and then used this guy to enlarge the hole out to a little over 2".
However, you could probably just use a 2" hole saw and then make it bigger if you have to. Just be careful if you left the battery in, you dont want to go flying through when the saw punches through and take out the battery case too. It's all plastic we're removing, so it's fairly easy.
Finished hole where the bulb and the back of the projector will fit through.
4) Now we're going to mount the ballasts. I did both of mine just inside the front bumper. It was pretty dirty in there, so you're gunna want to wipe it down and make sure it's 100% clean and bone dry. Get your double sided tape, run a strip down the back of the ballast and cut it off. I pressed the tape down as firmly as I could with the tape backing still on, to promote the best adhesion to the ballast. Now you're gunna peel the backing off the other side of the tape. Mount the ballast with the wires going upwards, try to get it on a flat spot so you get the most surface area of tape. After I fixed it to the spot, I pressed down on it firmly and counted to 10 just to make sure it was a solid grip.
Then, on the driver side, the harness didnt quite reach as far as I wanted, so I mounted the ballast to the top of the fog light that sticks out, but where ever you can get a firm adhesion and have it be out of harm's way will be fine.
5) That is what I considered the hardest part, and once it's over it's just a matter of hooking up the connectors and fastening down the assembly properly.
I would first deal with the grounds, marked "chassis ground" on the diagram. They're the forks on the black wires that are mated to the Ballast input/output wires. I used the diagonal cross braces on the frame. I had some problems here, but I just ended up stripping some of the insulation off and shoving it farther under the cross brace to where the wire is clamped to the fork. I think it was just loosely clamped to the wire, and torquing down the cross brace firmed it all up.
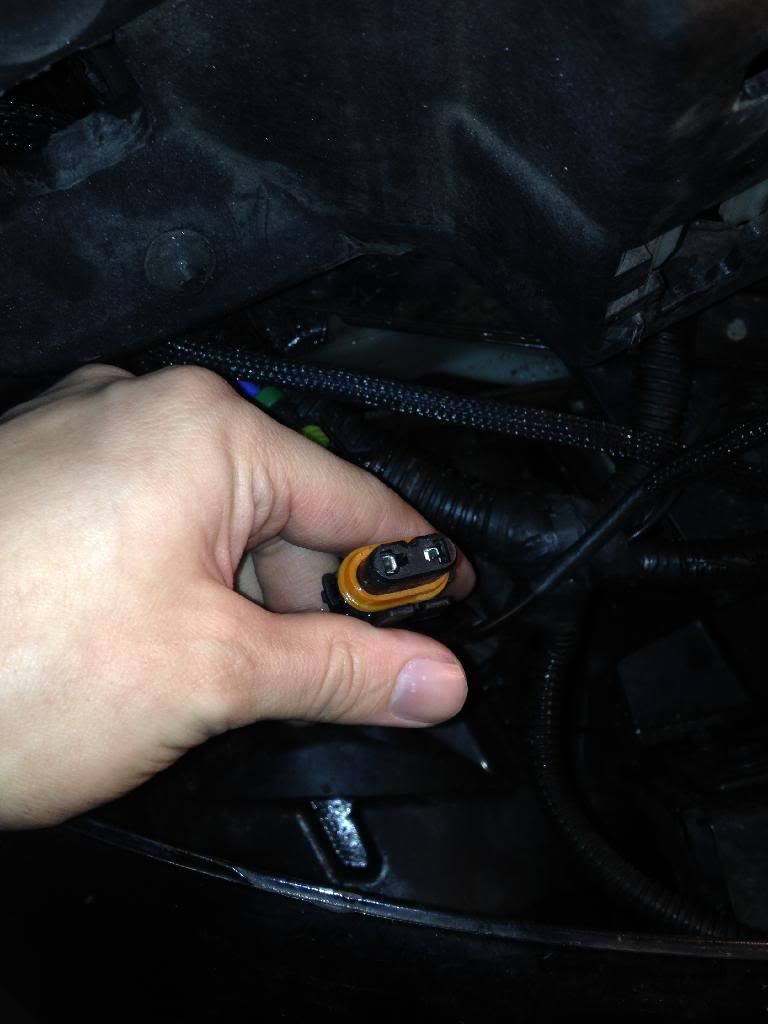
This plug will go into the one marked "Input from Vehicle" on the harness diagram I posted above.
You only need it plugged in on the side closest to the battery where you mounted the relays, the other side does not have this hookup on the harness. The plug on the headlight assembly of that side you can just roll up out of the way.
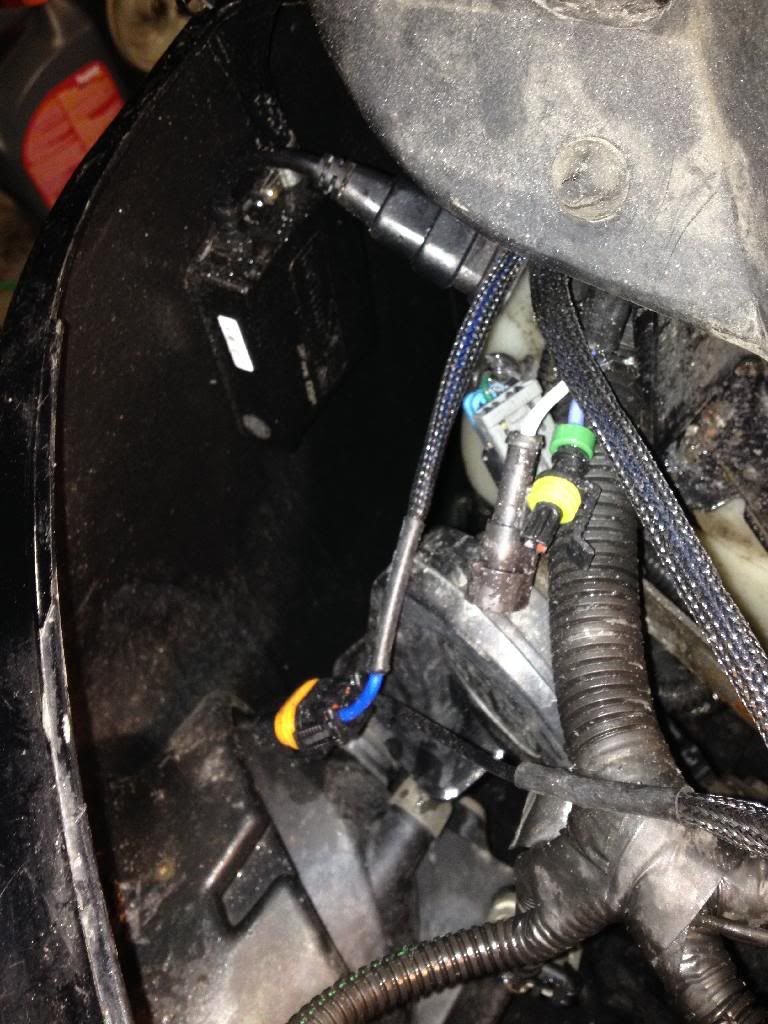
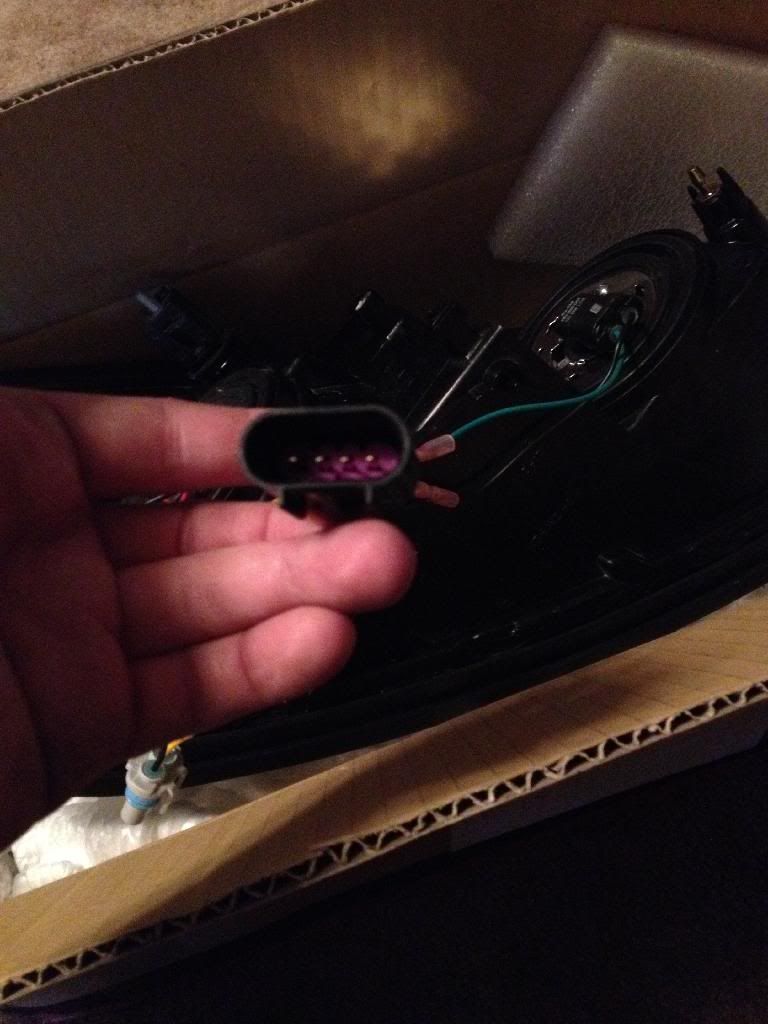
This is the main plug that goes into the headlight assembly from the vehicle wiring.
This one you will hook up on both sides.
This plug off of the harness it going to plug into the ballasts, marked ballast input/output on the diagram.
Once you get all these wires hooked up, the leads coming off the HID bulb hook up to the wires coming off the ballast. They only go in one way, so no way to mess it up. Just lead the wires through the hole we made so they come neatly out the back.
Once all the wires are hooked up, push the assembly in, fasten it down and do the other side the very same way.
The passenger side cross brace has a little loop/ring that holds up the hose from the coolant reservoir away from the belts, I fixed the little wire with the fuse holder into that loop to keep it away from danger. Now is when we're going to attach that power fork to the positive terminal of the battery, bolt it down with that M6 nut.
Reattach the negative terminal, and start her up.
All done! The only other problem I had was that after my first wash there was a lot of condensation inside of the lenses. I dont know if I broke the seal man-handling them trying to get them in, or if it was just an error in building them. It was an easy fix though, I removed all the bulbs and let them in the sun for an afternoon to dry out and vent. With a tube of black RTV and a small nail I went around the whole outside of where the lens meets the body of the headlight and made sure all the seams were sealed up. Let it sit overnight in the living room, next day it was pouring buckets, and not a drop of condensation inside.
Hopefully I saved you some aggravation, enjoy!