As seen here:
http://www.clubgp.com/newforum/tm.as...key=&language=
Big thanks to kuntzie for doing a lot of the ground work on this.
----------------------------------------------------------------------------------------------
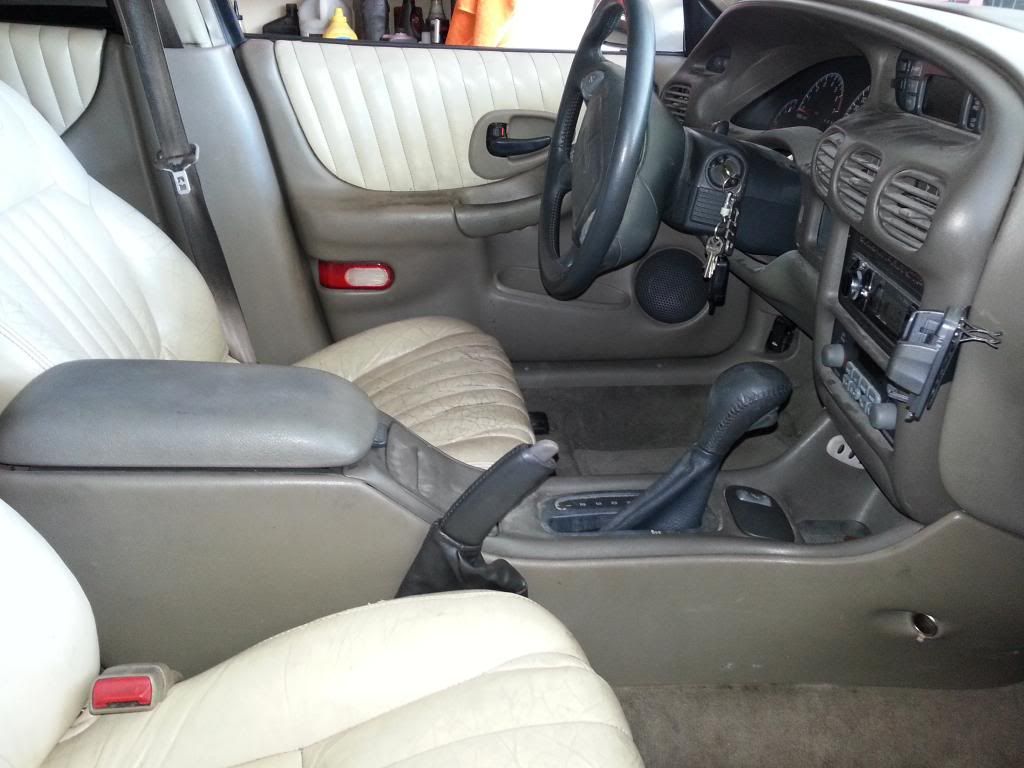
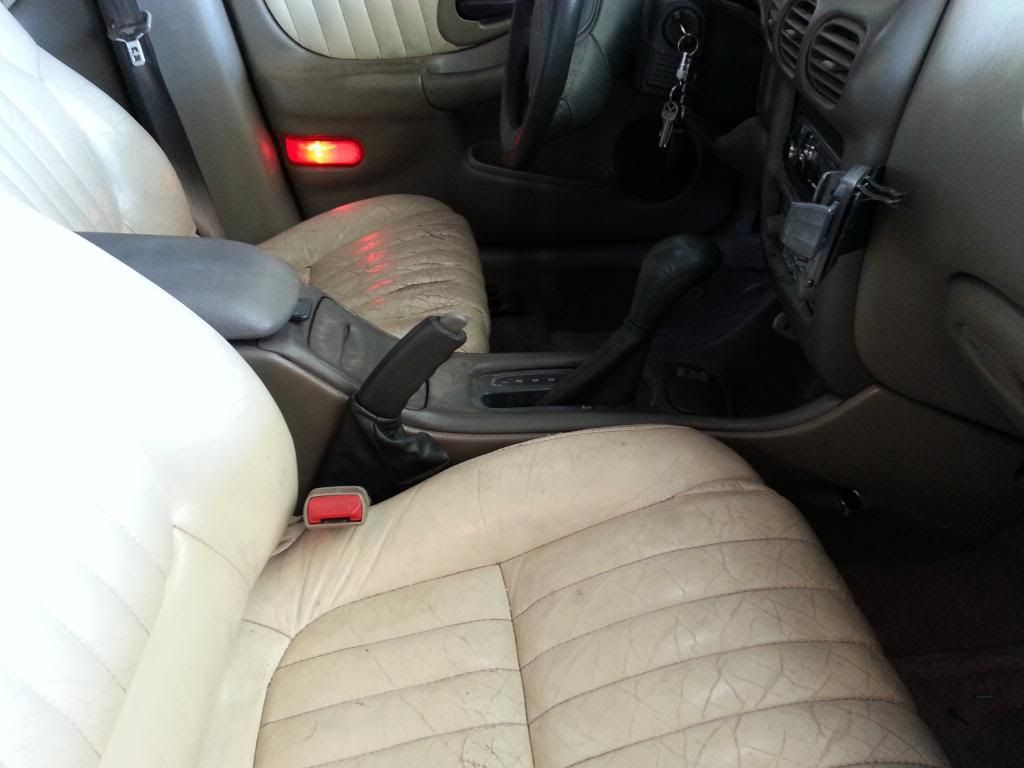
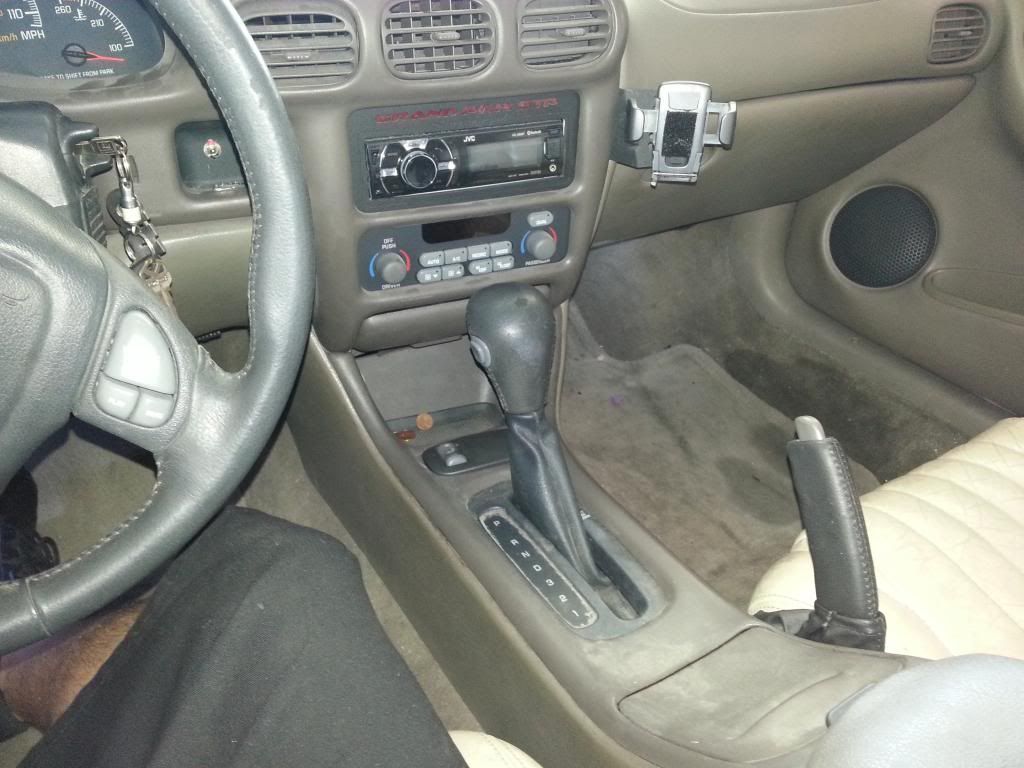
To get this:
parts needed:
parts needed:
Grand AM/olds alero E-Brake handle assembly, with pleather boot cover (99+ seems to be all the same from what i could tell at pick n pull
GA/etc main brake cable (from handle to right behind gas tank)
4 self tapping SHORT screws (so you dont go all the way through the tunnel) or similar, with large heads, or washers.
sandpaper to even our the edges of the plastic once they have been cut.
Tools:
Sawzall/grinder/hacksaw or similar (for cutting plastic and a metal bracket)
Drill for the screws to mount the handle
pliers (to disable handle auto adjust feature, bend a metal tab)
So, to start:
remove the center console, once removed, you will be cutting the carpet away from the section behind the shifter assembly, to the other spot that it is missing where the console mounts (itll make sense once you get in there), so that it is one big open area. now under the console.
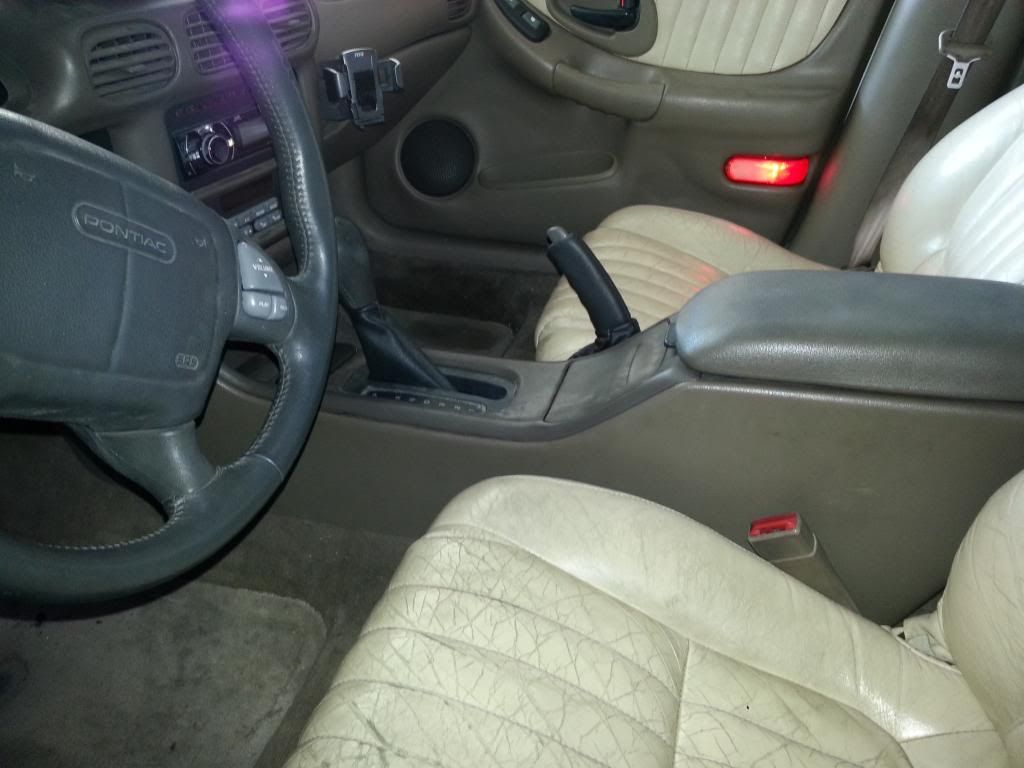
position the handle, i found that it was positioned best just behind the shifter handle, butted up against the hump that it sits on. basically as far forward as it can be. the passenger facing edge of the assembly should nearly press into the remaining carpet. the handle should only have a gap of about 1/4 inch between it at any position, and the seat. just enough to allow the boot to be in there, and not rub the seat excessively.
remove the old e brake cable. remove rear seat bottom, and if necessary, plastic door trim from rear door area on bottom to allow carpet to be pulled up (4 doors, prob wont apply to coupes), basically, whatever it takes to pull the rear carpet up behind the drivers seat, and you will see where the cabel goes through the rear footwell wall. remove that cable (it has a clip at the rear of the gas tank that you will need to unclip)
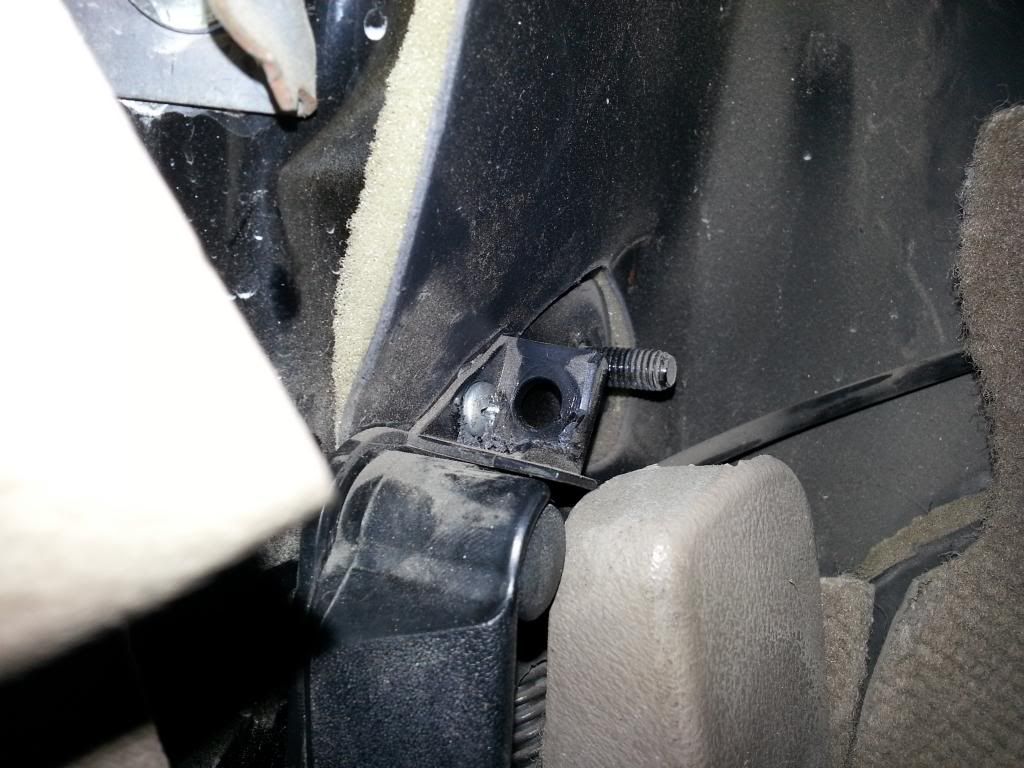
at this point, you can remove the whole thing if you want, as well as the old assembly under the dash. the hood release handle uses the main e brake assembly under the dash to support itself. this is where the 4th self tapper comes into play. you will use that one to secure the handle to the inner door frame wall of the car. (again, itll make sense once you get this far)
Hood release with self tapping screw in place to hold top end:
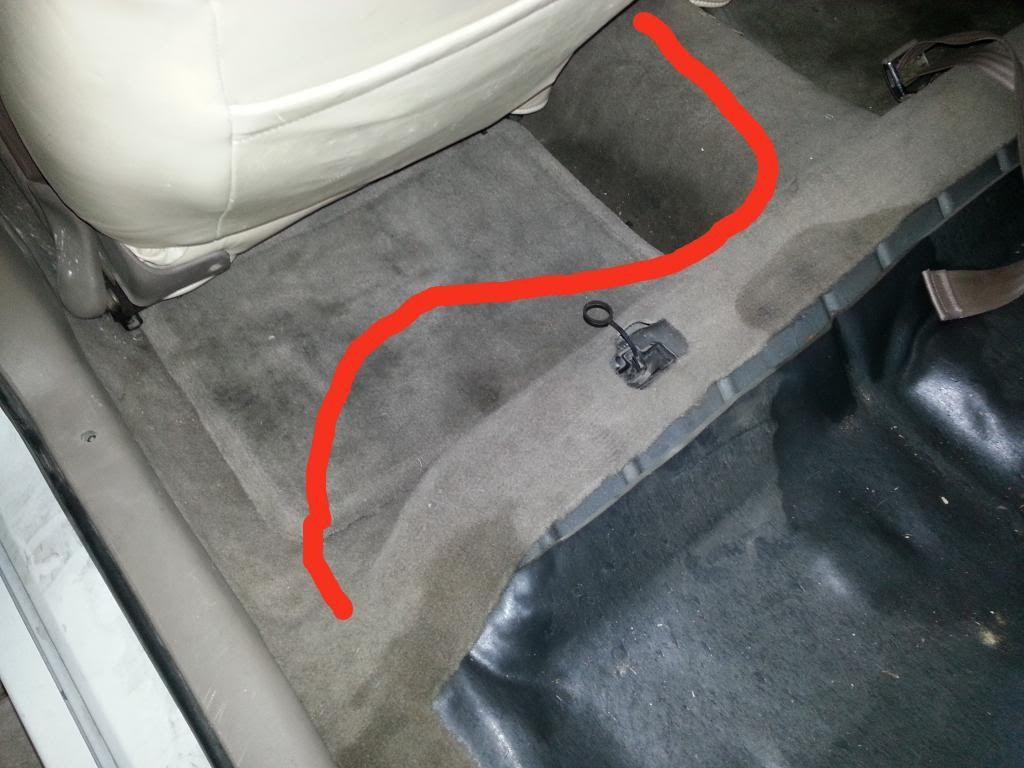
route the new cable. pull the carpet up again, and put the cable through the hole, position the grommet, etc. get it all set up. route the cable end that goes to the handle under the carpet over to where the handle now goes in the center console area. adjust cable as needed to not have too much slack inside the car, etc. cable should ride the center tunnel, then end up curving over to floor area in passenger rear footwell, then out the existing hole.
Cable routing:
Cut the console, and remove the metal bracket. that mounts the console to the shifter assembly. cut the shifter assembly bracket as well. cut a channel in the rear of the console just to the side of the passenger side mounting bolt hole. this needs to be only big enough for the cable to go through.
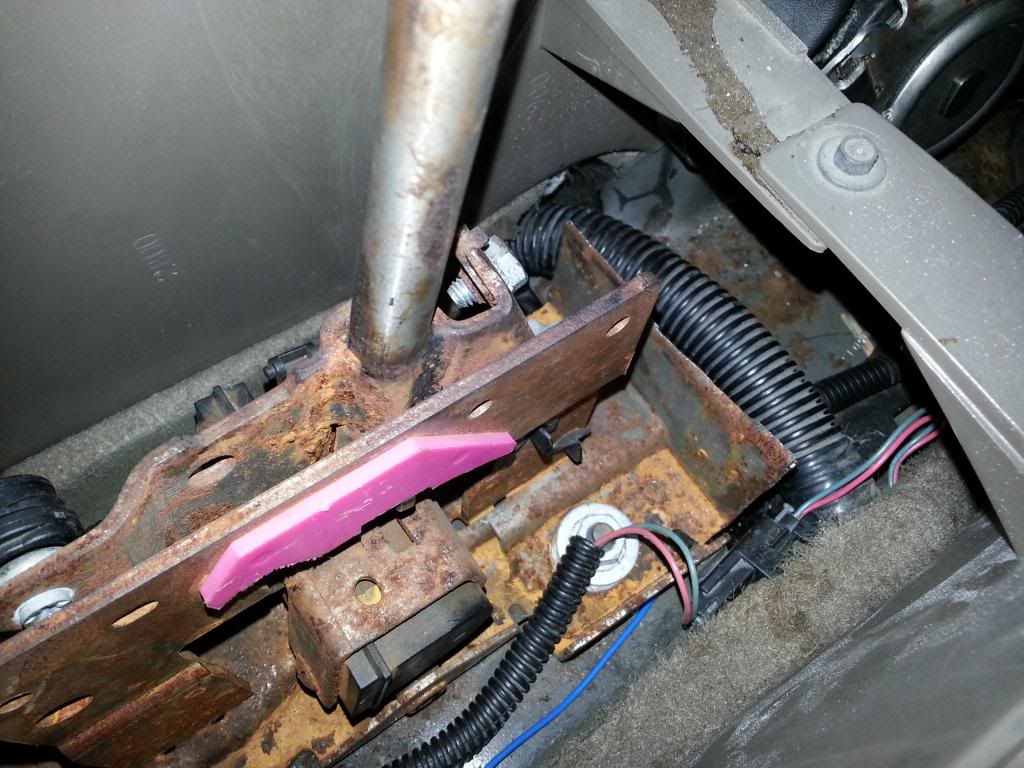
Metal brackets to cut/remove:
Missing bracket circled:
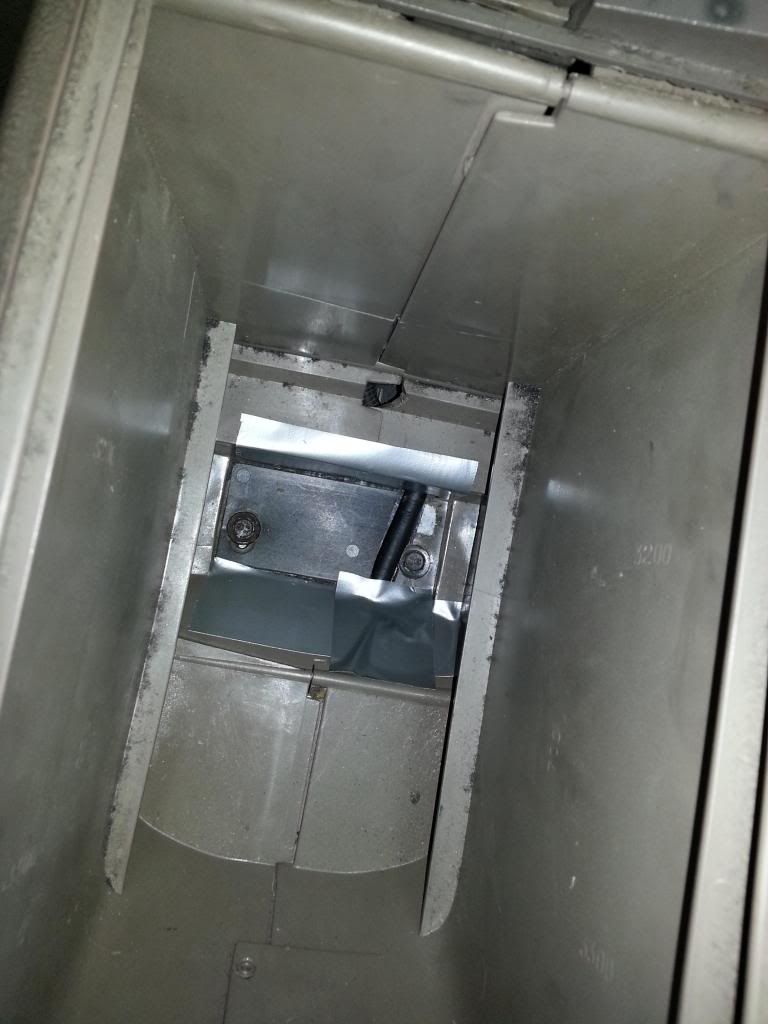
cable channel: ( I had originally made holes to feed the cable through, but this was a huge PITA, and not nessasary. thus the duct tape for now covering them.)
mount the handle once you are satisfied with its placement. and install cable into handle assembly.
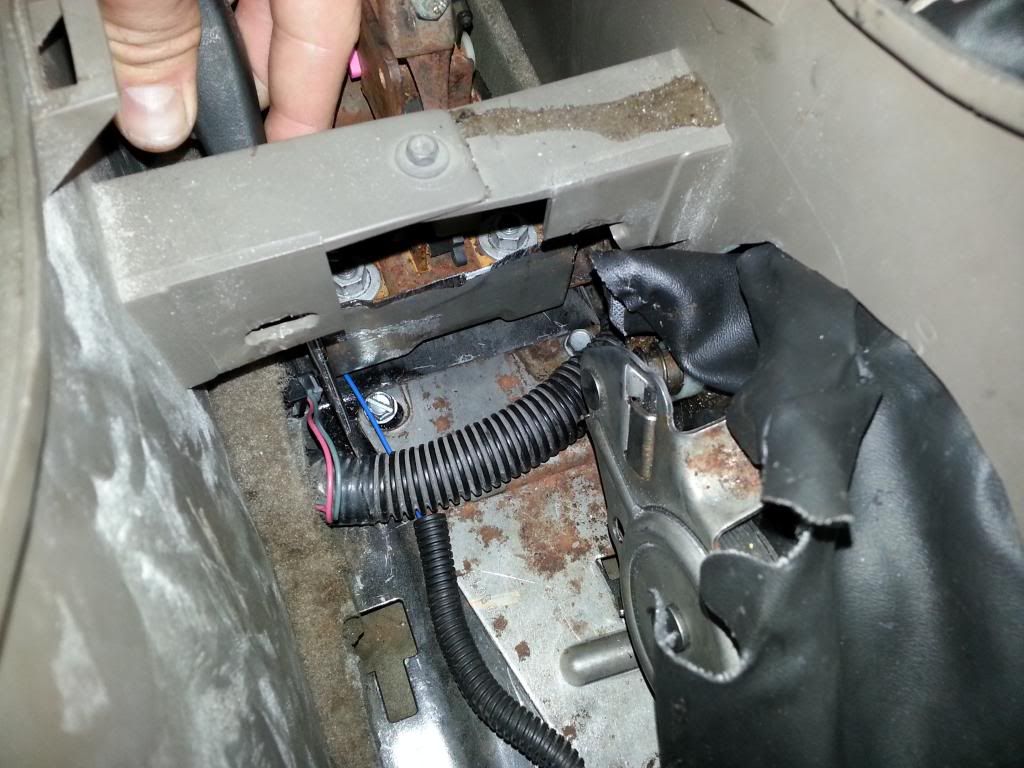
Driver side hole for brake handle nearly perfectly straight from shifter assembly bolt/nut:
Adjust brakes at the wheels. the less slop you have at each wheel, the less handle travel you will have. they should be nearly dragging, but not actually dragging. Rotor should turn freely with only a slight rub sound occasionally. check that shoe is centered, and keep playing with it. can take some time. adjust main adjuster behind tank if necessary. I adjusted mine all the way out (longest) to let the handle take up some slack, then ill have that adjustment room in the future as the shoes wear.
NOTE: I found that no amount of adjustment in either the brake assemblies at the wheels, or the center GP adjuster behind the tank, made it work properly. so, disabling this made the handle maintain proper adjustment, and gave all adjustment control back to the factory adjuster behind the tank. you may have different results though.....
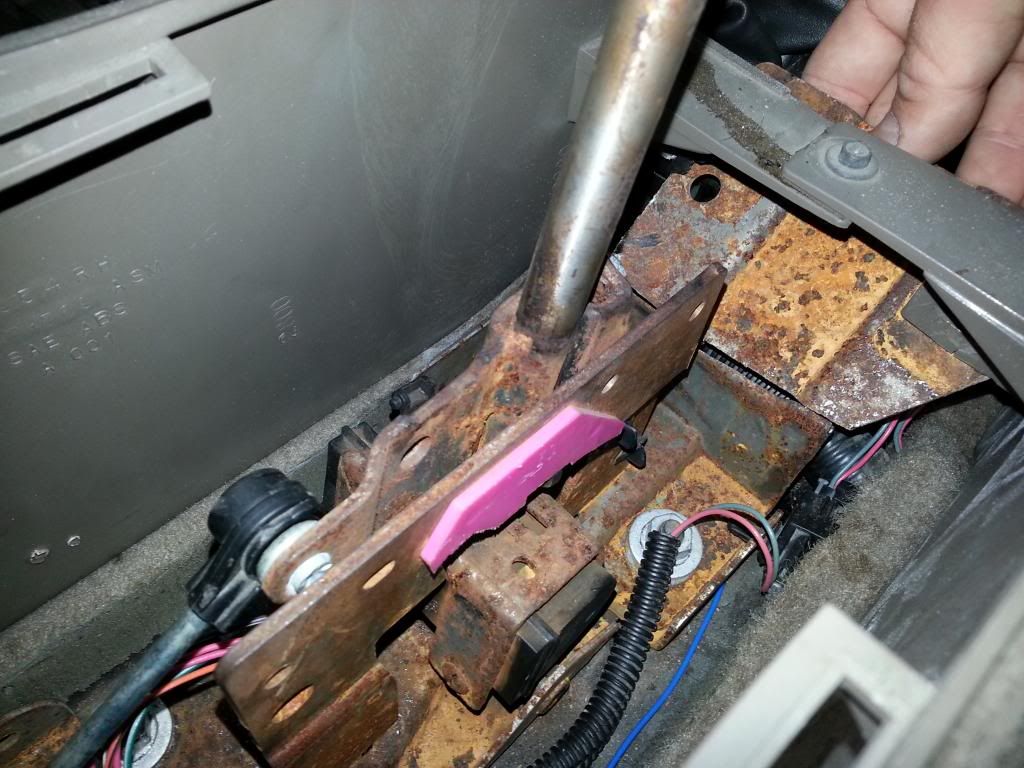
With the auto adjust feature in the handle disabled, pull up on the handle. now, grab the cable (with a good pair of pliers) just after it leaves its sleeve so that it cant go back into the cable sleeve to get loose again. release handle. you will notice that the plastic part of the handle that the cable clips in, will rotate opposite the handle. this is the auto adjust feature. it takes up the slack. the metal tab at the base of the handle hits the spring when the handle returns to center, and releases this, allowing slack to be in the cable again. i found that it did not work very well in our cars. so by having this tab bent down, and pinching the cable to force the handle to take up some slack, you can get cable pretension and have proper grab at the wheels. this may be a trial and error for you. if you get it too tight, just tap the spring tab on the plastic cam on the handle forward (in relation to car), and it will release all tension in the cable.
Auto adjust tab circled in green:
Now, you will need to test the system. make sure the brakes grab when the handle is pulled, that the handle is mounted nicely where you want it. etc. once everything works, it is time to cut the console.
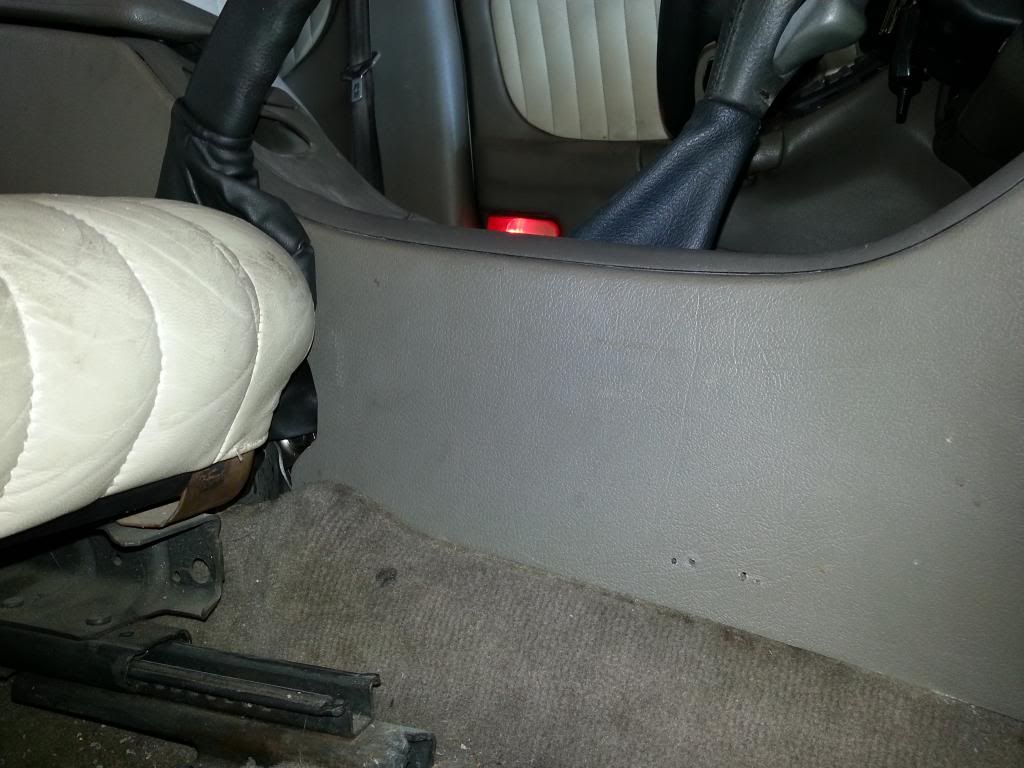
I found that a lot of trial and error went into this. I have a template of what i cut, however, i now know that i did not need to cut quite that much. i could have cut a bit less in some areas, but it still works great. cut less, you can always cut more later. once its too big, there is no going back. refer to my earlier pics to see some of the cut and how i shaped it, as well as the pic below. I will upload my template later as a general guide to get you started.
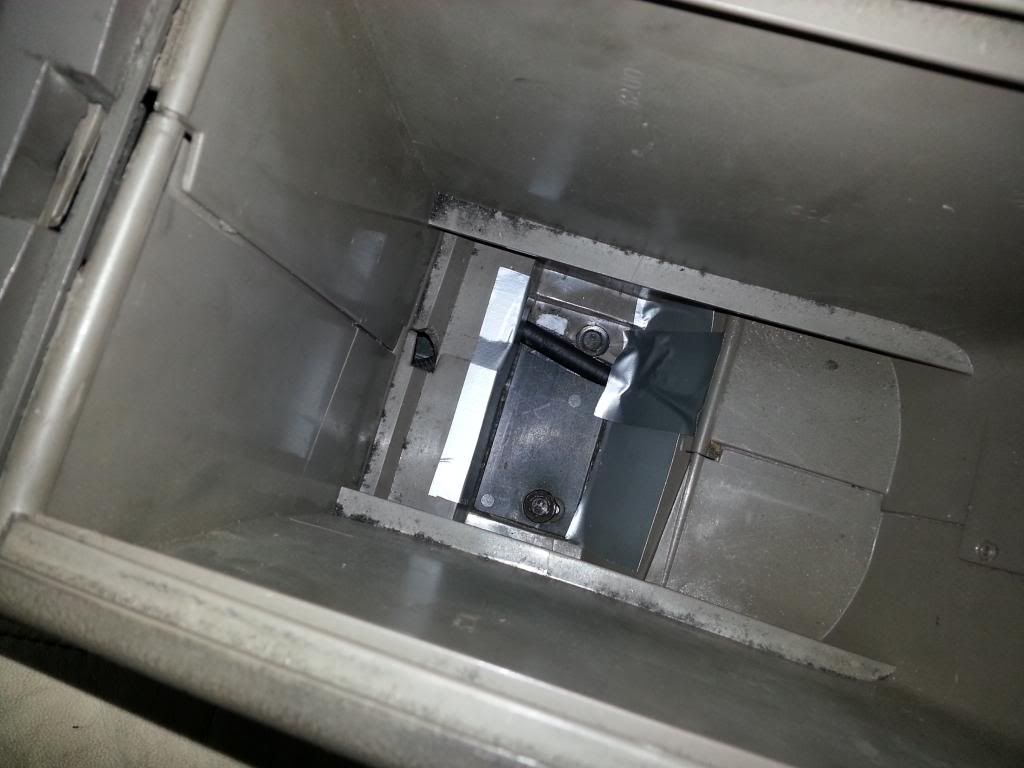
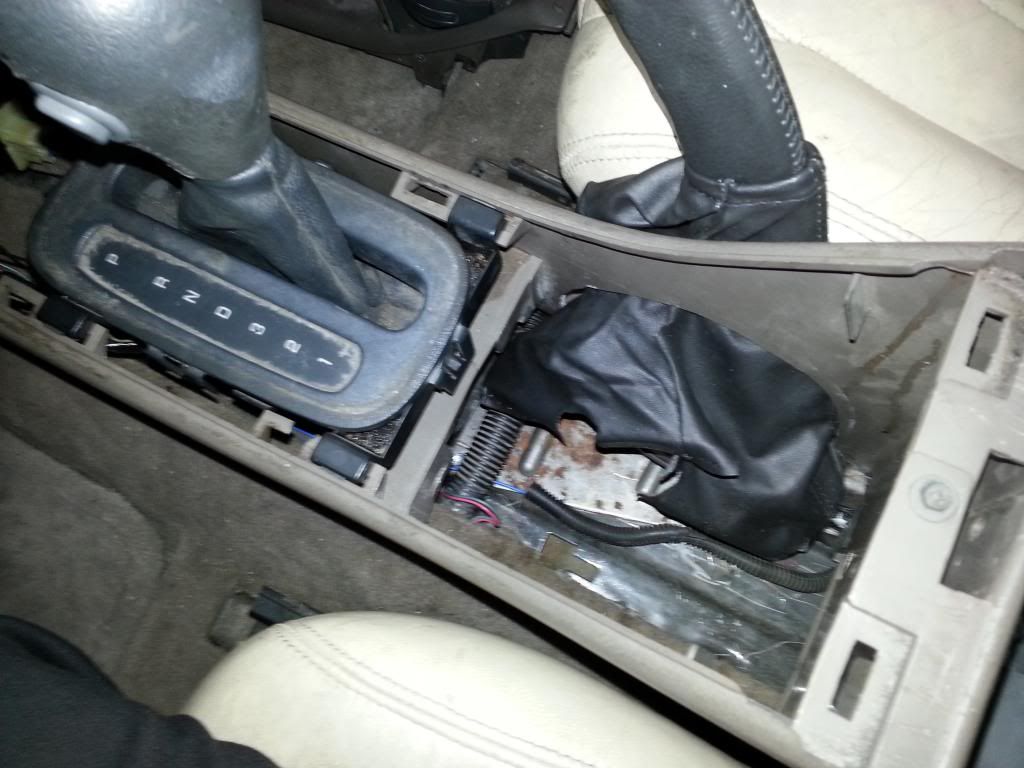
Shows inside of cut area:
DO NOT forget to extend the wire from the new handle, to the old existing e brake wire. its a PITA to get to once the handle is installed. the old clip for the foot brake does not work with this new handle, so you will need to get that clip, and extend the wire to reach the old one. took about 4 feet of wire. you can see it in some of the pics. i soldered it in on each end, heat shrink, etc. crimp connectors would work fine, since its only a grounding switch.