Thread: fuel line leaking

Page 1 of 2 12 LastLast
Results 1 to 20 of 37
  1. #1 fuel line leaking 
    GT Level Member bayareagtp's Avatar
    Join Date
    Dec 2007
    Location
    Milpitas , Ca.
    Posts
    270
    Thanks (Received)
    0
    Likes (Received)
    0
    Dislikes (Received)
    0
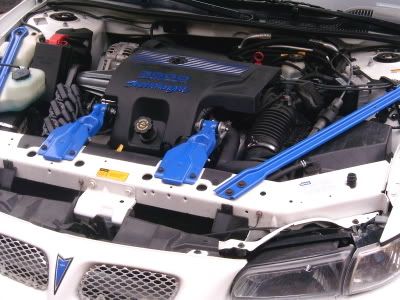
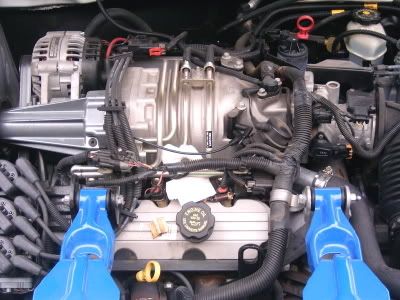
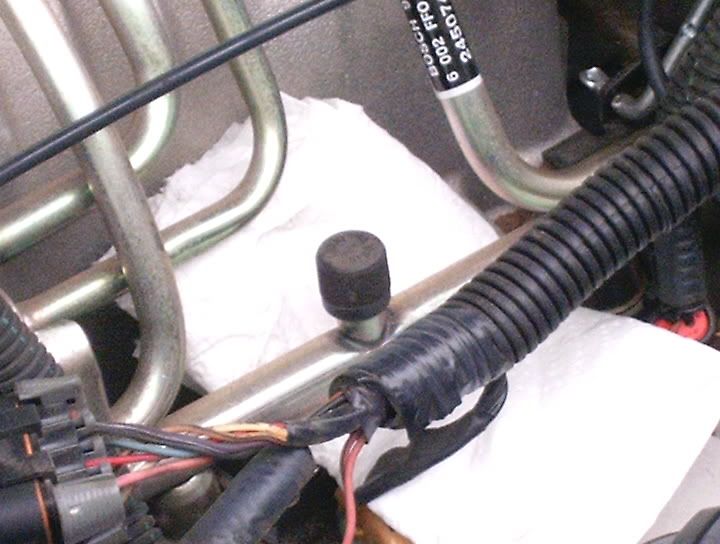
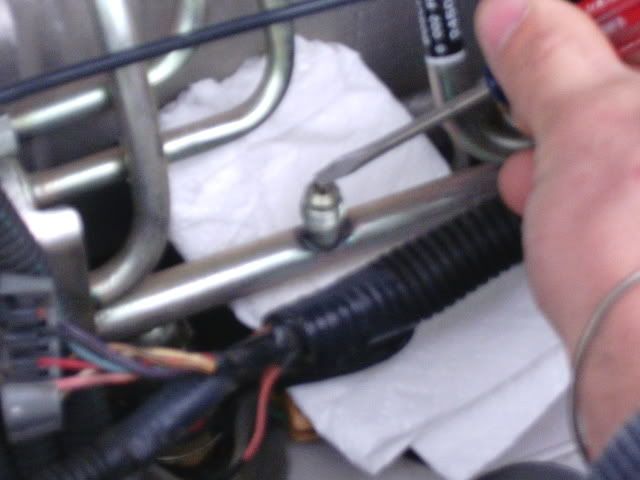
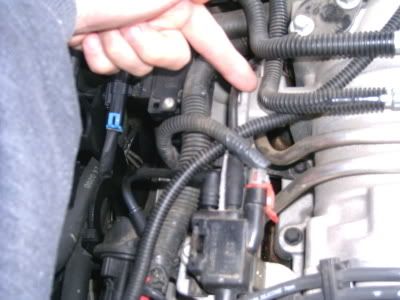
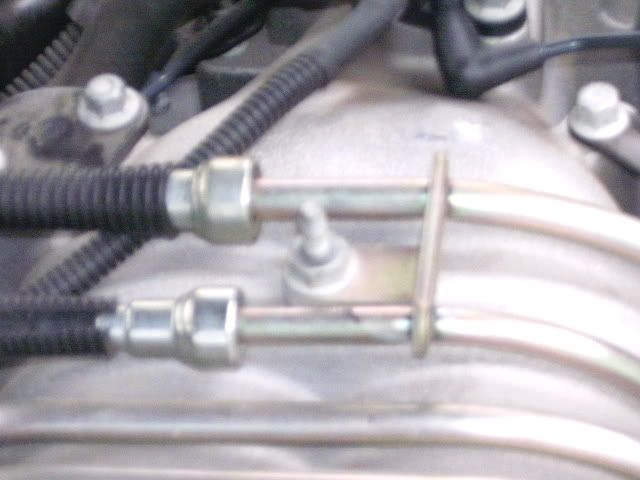
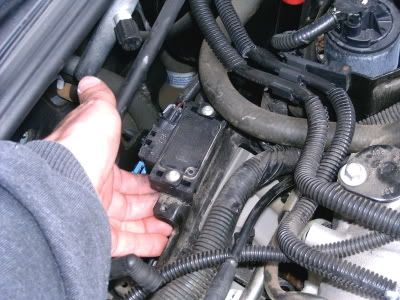
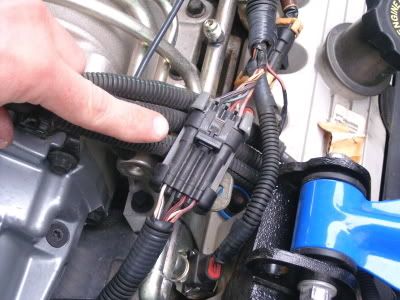
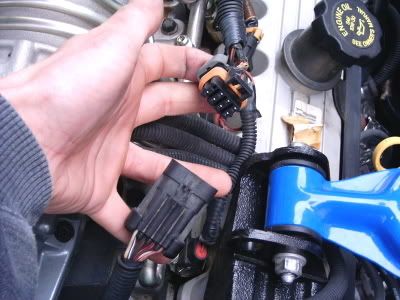
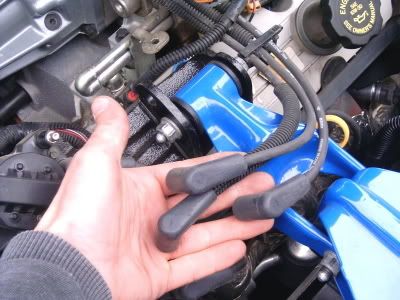
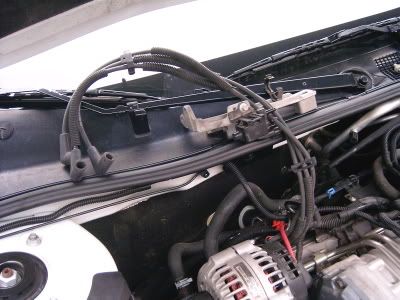
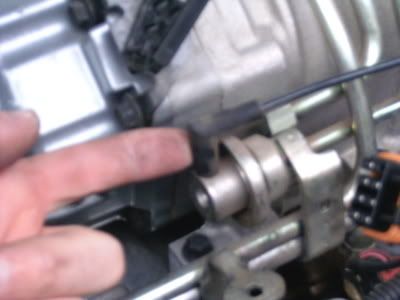
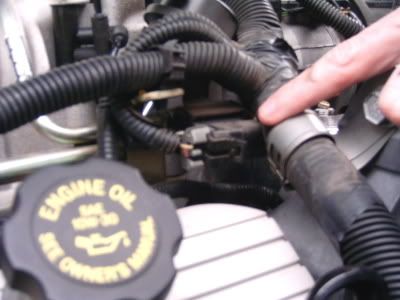
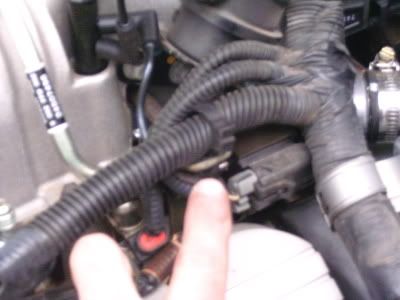
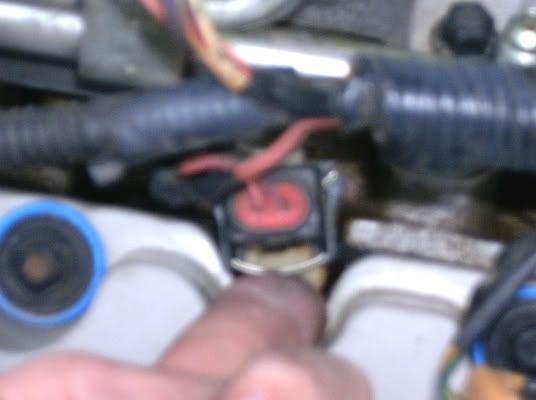
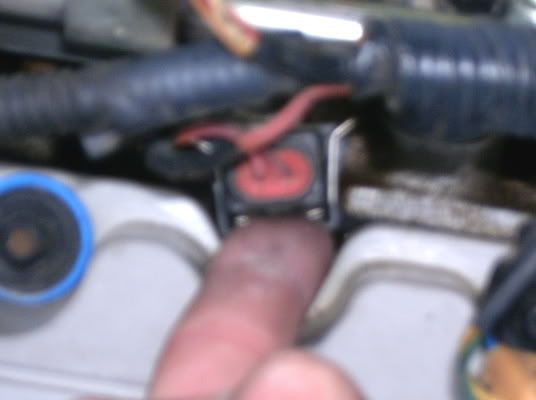
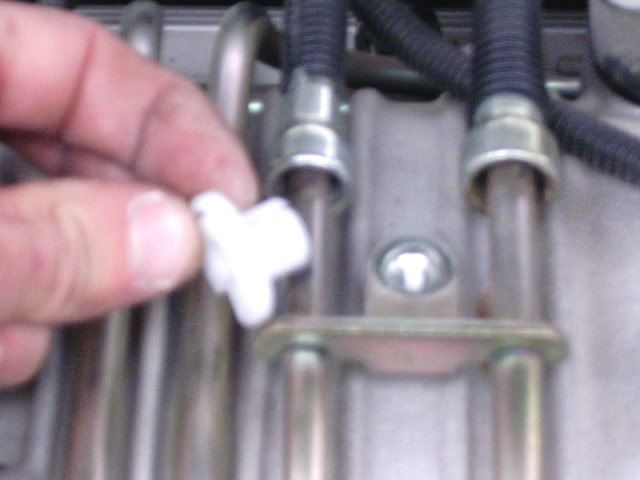
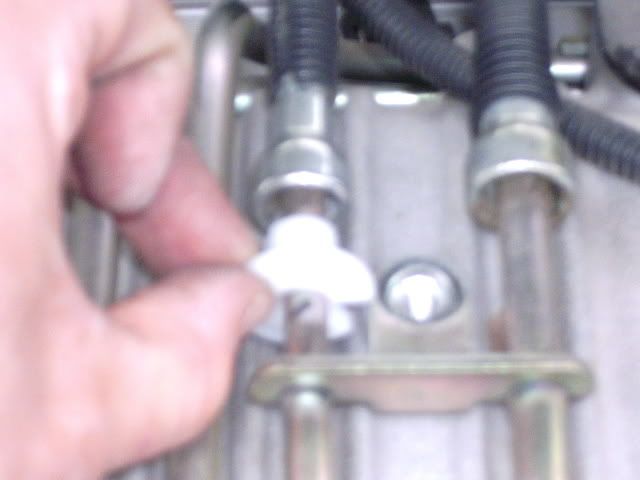
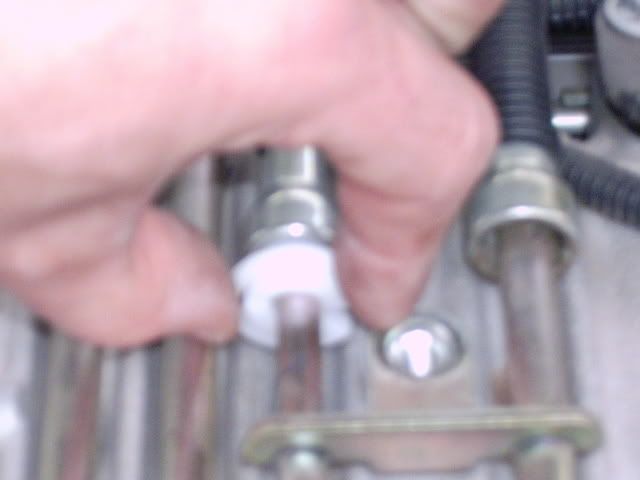
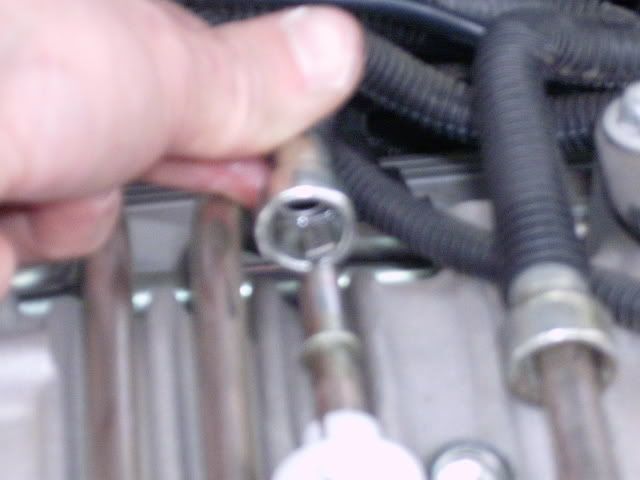
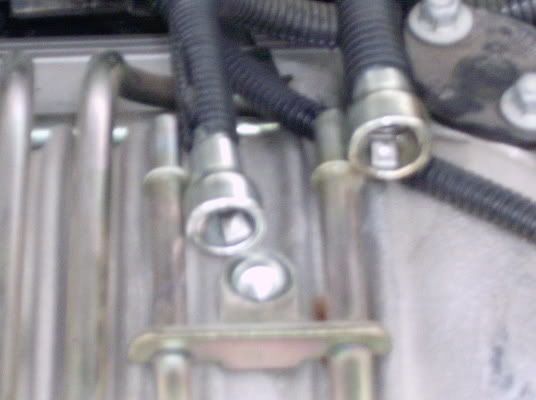
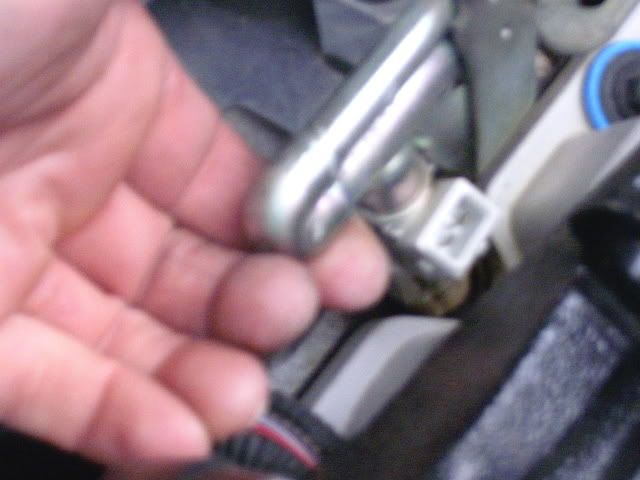
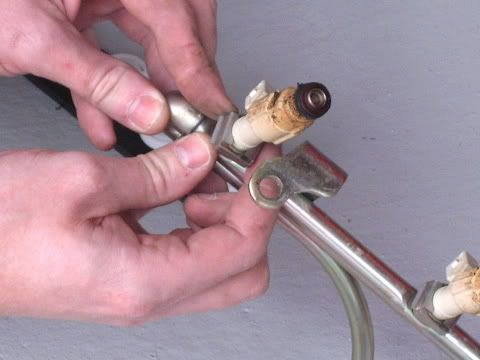
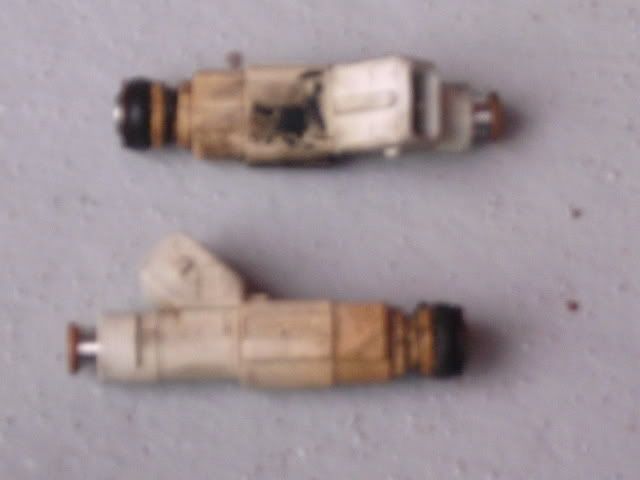
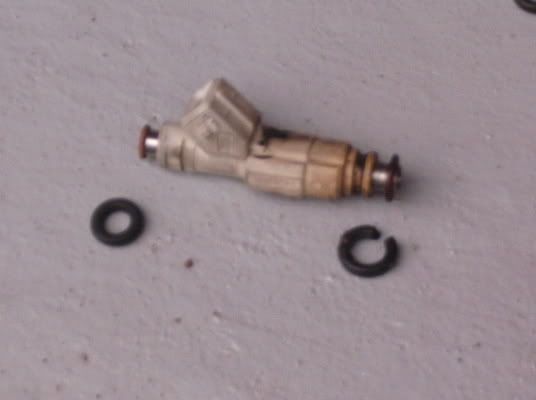
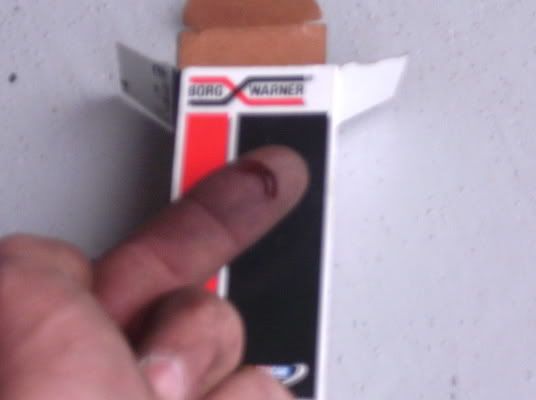
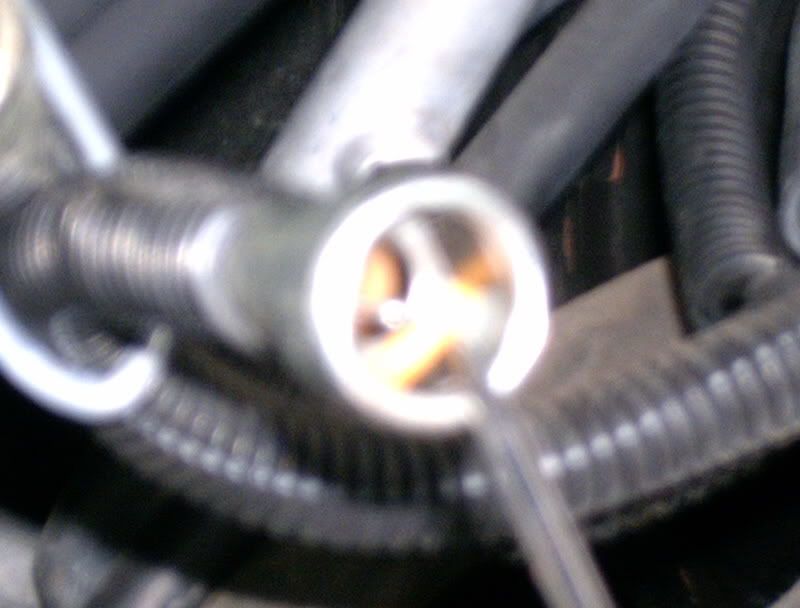
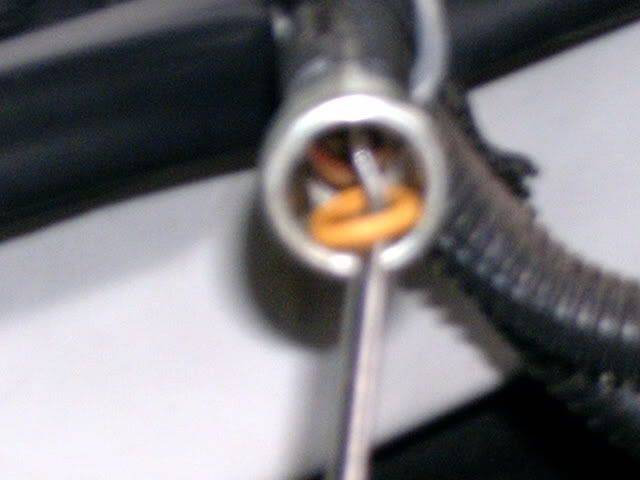
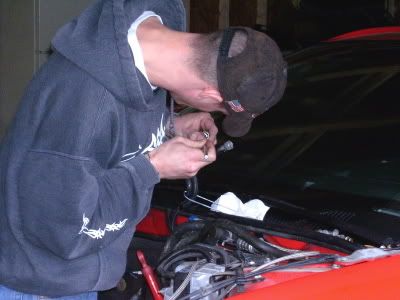
    has anyone had any problems with the fuel lines leaking on to of the s/c ?? i recently bought my car about 2 months ago . before i bought it i told them to replace the valve cover gaskets so they did that and found a fuel leak that they tried to fix before i bought the car . anyways i got it back after the fixed the leak once and now they have it again for the same problem . i am just wondering if this has happened to anyone else ? any helpful info i could pass to them would be appreciated .
    thanks .


    1998 GTP , 3"dp w/cat , u-bend delete , no resonator
    Reply With Quote  
     

  2. #2  
    GTP Level Member J_Ferguson's Avatar
    Join Date
    Dec 2007
    Location
    Port Hope Ont,Canada
    Posts
    1,216
    Thanks (Received)
    0
    Likes (Received)
    0
    Dislikes (Received)
    0
    If i remember right this was a problem
    and they had recalls for this...
    I will see if i can find the write up for you on this....

    Here is the recall:

    1998 Pontiac Grand Prix Recalls & Problems at Automobile Magazine
    Last edited by J_Ferguson; 01-04-2008 at 02:20 PM.

    1998 GTP, U-Bend Delete,Hi-Flow Cat,No Res,SLP Headers,BRISK Plugs ,180 T-Stat, 3.4 pully
    2007 GM Show and shine August 10http://www.youtube.com/v/aRh91q1jRio&rel=1
    OQCGP Clubhttp://www.youtube.com/v/j_YHmgU9ehs&rel=1
    Reply With Quote  
     

  3. #3  
    GTX Level Member webracin's Avatar
    Join Date
    Dec 2007
    Location
    Arkansas
    Posts
    748
    Thanks (Received)
    0
    Likes (Received)
    0
    Dislikes (Received)
    0
    If I recall, there was there was an investigation by the NTSB on Grand Prix GTP's and engine fires.

    There is a known issue with the fuel rails leaking, and usually its around where the "soft" lines plug into the "hard" lines (fuel rail assembly). There are rubber O-rings inside the rail that become brittle and crack, resulting in a leak.

    There is a fix for it, and I believe there is a writeup as well. Hopefully someone will post it up

    webracin

    2001 Grand Prix GTP
    ZZP HUB 3.2 3.4, ZZP 8 Rib conversion, JC 3" DP Gen 2 cat & U-bend Delete, Accel Super Stock 8mm wires, DHP 1.5, 180* Thermo, Throttle Spacer, SS Intercooler, ZZP Fuel Rails, SLP CAI w/K&N Cone, Dynomax cat back, ZZP Tranny.

    2000 Grand Prix GTP Daytona K&N, Flowmasters
    Reply With Quote  
     

  4. #4  
    GTP Level Member J_Ferguson's Avatar
    Join Date
    Dec 2007
    Location
    Port Hope Ont,Canada
    Posts
    1,216
    Thanks (Received)
    0
    Likes (Received)
    0
    Dislikes (Received)
    0
    ^^ X2 yeah i belive that is what i read also,

    1998 GTP, U-Bend Delete,Hi-Flow Cat,No Res,SLP Headers,BRISK Plugs ,180 T-Stat, 3.4 pully
    2007 GM Show and shine August 10http://www.youtube.com/v/aRh91q1jRio&rel=1
    OQCGP Clubhttp://www.youtube.com/v/j_YHmgU9ehs&rel=1
    Reply With Quote  
     

  5. #5  
    GT Level Member bayareagtp's Avatar
    Join Date
    Dec 2007
    Location
    Milpitas , Ca.
    Posts
    270
    Thanks (Received)
    0
    Likes (Received)
    0
    Dislikes (Received)
    0
    thanks for all the info . i let the guys down at the dealership know and they are gonna replace my whole full line from the top of the s/c to the gas tank . thank god i caught all this b/s before they could have screwed me .
    1998 GTP , 3" down pipe w/cat , u-bend delete , full 3" exhaust w/ magnaflows , no resonator , powerslot front rotors , Overkill PCM , Overkill FWI , 180* t-stat , 1* colder plugs , alt. re-wire , alt. stage 1 booster . 215 whp and 238 torque .
    Reply With Quote  
     

  6. #6  
    Donating Users GR8racingfool's Avatar
    Join Date
    Dec 2007
    Location
    Wichita, KS
    Posts
    1,984
    Thanks (Received)
    0
    Likes (Received)
    0
    Dislikes (Received)
    0
    That is GM's fix, to replace the entire line from tank to engine. The lines run around a few hundred is what i was quoted. There is "no serviceable parts" inside the fuel line. BUT you can pick out and replace the o-rings that are in the feed and return lines. You can get the injector o-rings from any auto parts store, but the little o-rings inside the feed and return fuel lines are tough to track down.

    I found a place in my town that carries them, and of course can sell the correct sized ones for the injectors cheaper than the auto parts stores. I sell these as a "kit" for $14.00 each shipped to your door. These are bomb proof Viton o-rings I am suppling.

    I did a write up for replacing these, step by step with pictures and posted it on CGP. I have no access to the forum anymore, but pretty sure it might still be there.

    I am still hosting the pictures in my photbucket account. I used the girlfriends 1997 GP as the Ginny pig for the project. Her car had 100K+ miles on it at the time, and was completely bone stock never modified performance wise. Her o-rings were quite dried out when they were removed. When you would squeeze them between your fingers they would crack.

    Cracks can cause leaks or even breaks, and if it breaks, then you have a massive leak on your hands. Remember we are running between 45-75PSI on these motors at any given time.

    If anybody is still on CGP, they might bring that write up over here and post it. I believe it was moved, and still in the FAQ section last time I was there. But for all I know, it was deleted when I got the boot.

    ~F~
    Reply With Quote  
     

  7. #7  
    GTP Level Member J_Ferguson's Avatar
    Join Date
    Dec 2007
    Location
    Port Hope Ont,Canada
    Posts
    1,216
    Thanks (Received)
    0
    Likes (Received)
    0
    Dislikes (Received)
    0
    Grand Prix FIRES? THE injector replacement o-ring write up with pic's
    --------------------------------------------------------------------------------

    To do this task you will need the following tools and parts:
    New replacement o-rings O'Reillys Part number: 274571 x6 box's @ $1.68 ea.
    1 small (very small/thin) flat bladed screw driver
    1 3/4" (my choice of size) ratchet
    1 3/4 extension atleast 5" long
    1 10mm deep socket
    1 13mm deep socket
    1 13mm end wrench -ratchet wrench will work the best or a 13mm shallow socket
    1 scratch awl or mechnics pick set
    1 set of needle nose pliers
    1 set (or one single tool) of the quick connect disconnect tools
    (O'Reillys Part number 3700 = $9.99)
    You will need the 3/8 and the 1/2 sizes from the rail.
    a quart of clean motor oil
    some paper towels or shop rags
    air compressor and a duster knozzle
    yup, I'm from Kansas got to have some bailing wire in there too.

    The actiual o-ring part numbers are these:

    Small line: -011-75
    Large line: -012-75
    Fuel Injector: -203-75

    I just found out that you must add the 75 at the end of those part numbers as above to make sure you are getting the Viton material.

    Sorry, this is new to me.

    If anybody wants me to mail them my kit that will include:

    2 o-rings for the small line @ $0.41 ea. x2 = $0.82
    2 o-rings for the large line @ $0.46 ea. x2 = $0.92
    12 o-rings for the fuel injectors @ $0.87 ea. x2 = $10.44

    Subtotal $12.18
    Tax @ 7.3%
    Grand Total = $13.07 for a complete kit.

    Add postage and make it an even $14.00 a kit.

    I do accept paypal, and my paypal address is GR8racingfool@yahoo.com
    Its a free persional account there for I cannot accept credit or debit cards as payments please and thank you.

    Questions feel free to ask and ofcosre your always welcome to get your own o-rings where ever you can find them, you do not have to get them from me, I am just being nice and offering them to members who dont have access to them.


    Lets get started!!!
    This is our subject:


    a 1997 Pontiac Grand Prix GTP with 124,000 miles no performance mods ever done only regular maintance performed. Obviously appearance mods for bling.

    PLEASE WORK ON A COOL CAR THAT HAS BEEN SITTING A WHILE TO DECREASE THE CHANCE OF A FIRE FROM SPILT FUEL!!!

    -First disconnect the negative battery cable (better safe than on fire)
    -Remove the engine cover (if you still run one) You need help or pictures of this, shut your hood and ask for help, just walk away man.
    Engine cover removed (if you still even run one) your engine will now look like this:


    -Next relieve the fuel pressure - do this in two ways:
    1. unscrew the gas cap (dont have to remove it just enough to beak the seal)
    2. remove the cap on the fuel rails covering the schrader valve:

    Notice the paper towl under the schrader valve?
    3. with a paper towl folded UNDER the fuel rail and UNDER the valve grab another paper towl folded up and your thin flat bladed screw driver and while covering the top of the valve press it in and expect the fuel to spray out under pressure and drip as it abbsorbs into your towl.


    Next, lets start getting stuff out of the way. Now I know that from 1997 to later years some vaccum line and brackets have changed - I put a few in this write up as a example of what needs to come off, between the different years you may have the same if not less or more to remove, so use common sense when working as of what needs to come off or stay.

    The '97 were working with has a aluminum bracker that is bolted to the back of the supercharger with one bolt and to the back of the alternator with two bolts.

    Using your 13mm socket or ratchet wrench or end wrench remove these three bolts and there will be 2 vaccum lines and one electrical connection that will have to be disconnected from the part thay are plugged into. Take note of the vaccum lines as which one goes where as they are easy to switch.

    Next with a 13mm socket remove the bolt holding the fuel rails from the top of the supercharger:


    Next there are four very small nuts that are threaded onto four studs that are screwed into the LIM (lower intake manifold) in all four corrners of the main body of the fuel rail, they look like this:

    With your 10mm deep socket and extension remove them and try not to drop and loose them.

    There is a bracket on the rear of the engine that holds the MAP sensor its hold by two bolts that bolt stright down INTO the body of the supercharger

    using your 13mm deep socket and extension remove the bolts and slide the bracket out of the way (dont have to remove it from the car)


    Next lets do some electrical, this plug that connects to the cam, crank and ICM:

    Undo it:

    and kinda push it out of the way. Most of these will have a clip attached to the body of the connector that snaps into a bracket of the fuel rail. Unhook it if your is still connected, this one was undone already.

    Next plug wires, the three over the top of the supercharger for cylinders 2,4 and 6 ya, dissconnect them from the coil pack

    and tuck them up and out of your way:

    on the factory provided tool rest.

    You have a vaccum line on the fuel pressure regulator:

    Twist and gently pull it off and store out of the way.

    You have this electrical connection on the front of the engine infront of the supercharger boot bypass valve:


    and this wire loom clamp:

    disconnest and unclip these.

    Fuel injectors:

    With your air compressor and duster/spray knozzle spray the air arround the base of each injector where it enters the head, sand, dirt and grim like to rest here and as soon as the injector is up and out, the gunk will fall into your intake runner. Not what you want if preventable.

    With all the stuff out of the way you can get to them pretty easy now.
    With a thin finger or a screw driver you want to press in (twards the body) of the injector on this thin metal wire that wraps around the injector:


    Pressed in, and "unlocked":


    The trick is to pull on the injector electrictal connector "head" not the wiring itself. If the connector is being stubborn, you can take your needle knoce pliers and reach in and grab the head of the harness and gently pull while keeping the clip in and the harness unlocked from the injector.
    Ah, good job its removed:


    Next lets remove the quick connects from the fuel rails:
    Get you another clean folded up paper towel and place it under the disconnects to catch the fuel that will DRIP out of the rails and lines when removed.

    Using the 3/8" disconnect tool snap it over onto the smaller fuel rail tube, yes it has to go on with the long part pointing towards the connection.


    Pulling the quick connect like your putting it on and pushing the disconnect tool into it wiggle - twist - and try to pull them apart


    Yes it takes a few trys but it will come:


    Great job!

    Now do the 1/2 larger size:


    Awsome dude, we might make a mechanic of you yet!

    Now that the fuel lines are disconnected, with your bailing wire, string, duct tape, I dont care, get them out of your way while you work:


    Fuel rails removal from engine:
    On each corrner of the raisl near where you removed the mounting nuts provides a strong support to pull:


    You can do it yourself, but I perfer to always have a buddy helping for sure on this part. Do one side at a time by pulling UP - stright up and releasing the fuel injectors from the iron heads that are pressed into. Yes, some times it can be stubborn or easy just depends. The injectors will stay in the fuel rail, thats what you want! Try to keep the rail level cause there is fuel that will spill out of the holes where you removed the disconnect lines from.

    Its off~!

    Might as well turn it upside down now and pour it all out onto a rag.

    Now lets remove the injectors from the fuel rail, they have a thin metal clip holding the injector inplace on the rail. By pulling on it, it will release the clip:


    Here is your clip removed:


    Got 5 more to do now.

    When you remove the injectors from the fuel rail, most likely the oring from the injector will stay in the fuel rail:


    No problem, just dig them out with your small screw driver.

    MY FINDINGS ON THE INJECTOR O-RINGS FOR THIS VEHICLE:
    The o-ring that was in the fuel rail was in good shape for its age. The o-ring that was on the bottom of the injector that was in the cast iron head was slightly aged. When I removed them all, two of the o-rings split in half on two differant injectors:


    The others came off as a whole, but when I squeezed them, they had hair line cracks in them. My thoughts, the cast iron heads and their heat dammaged these o-rings more than the o-rings that were ontop of the injector that was in the fuel rail.

    To remove the o-rings from the injectors, the top ones will slide right off no problem. The ones of the bottom of the injector have a thin brown plastic "lip" holding them on.

    I STRONGLY RECOMEND THAT YOU SOME HOW CUT THE O-RING OFF RATHER THAN TRY TO ROLL, AND PUSH IT OVER THE LIP OF THE INJECTOR. IF YOU DO ROLL IT, YOU RUN THE RISK OF CRACKING AND BREAKING THE LIP OFF AS SEEN IN THIS PICTURE:

    That is one of three pieces that broke off.

    Next removal of the o-rings from the quick disconnect fuel line:

    Using your scratch awl or mechanics pick set you need to GENTLY pry up and remove the o-rings fom with inthe line.

    There is TWO o-rings perside. The first one on this car was yellow:


    and the second further back was brown (not pictured).

    Its the same on the other side, just a differant size, yellow first, the a brown one.


    MY FINDINGS ON THE O-RINGS REMOVED FROM THE QUICK DISCONNECT FUEL LINES:
    The o-rings appear to be dry and when squeezed they show slight cracking/hair line cracks as with the injector o-rings. They came out as a whole, although I did knick two of them with the pick when removing them making them un-reuseable.

    Was'nt that fun? Lets take a break and go back to the injectors and the installment of the new o-rings:
    The new or-ings go back onto the injector the same way they came off (top o-ring anyway), lube them with clean engine oil and slide them on. Yes, top and the bottom o-rings. Be gentle on the bottom that you dont break the "lip" its fragile!!!

    With the o-rings lubbed up with oil, go ahead and install them back into the fuel rail. Gently push, rock them around in a circular motion, while twisting to get them in. You dont want the o-ring to roll out of place off the injector, so dont push hard. Let it go in at its own pace. "Ohh ya" REMEMBER to put on those injector clips back on:


    ("ohh ya" = inside joke)

    Now for the o-rings to go back into the main fuel lines for the quick connect:
    O'Reillys or any other part store intown does not sell these, they appear to be a "dealer only item". When we removed these from this car two of the 4 were dammaged (knicked or cracked) and I didnt feel comfortable reusing them again while we waited on new OEM replacements. So, I VERY carefully removed the o-rings from my car because the engine was already pulled:


    And gave them to my girlfriend for the mean time while we wait on new ones.

    Getting them in, I hope you have still hands and patience for this!!!

    Lube the new replacements with clean motor oil, (yes the part numbers will be updated to this thread when I get them)

    With your scratch awl or mechanics picks, and a thin flat bladed screw driver you want to push them in IN ORDER as they came out, remember the yellow one is closet to the opening and the brown one is the next one in on both sides. Its a P.I.T.A. to get them back into the grooves, so take your time and easy does it. You dont want to force them and risk poking them or tearing them while your putting them in. Just takes some time. The littler line will be harder to do, so I suggest you start witht he larger one to get the practice. Check and double check that they are seated in there fully and the o-rings did not roll over on themselves!!! They should be and HAVE to be fully seated and smooth all around. I found it helpful once they were in to take the small, thin, flat bladed screw driver and run it around on the edges making sure they were smooth. You feel a bump, then you know the o-ring got twisted. Just work with it, and use both tools, screw driver and the awl or pick to work them into place. You may find it helpful to use a flash light to see down in there while you work too.

    Now, put everything back together as it came apart. Have a helper or another set of eyes look over everything making sure everything is connected when you think your done.

    Helpful tips:
    When you install the fuel rail with the injectors installed in it back onto the car I always have the holes the injectors go back into wipped clean and a thin layer of clean motor oil wiped in the hole to help slide the o-ring on the injector into the head.

    Get the fuel rail into position, NOT INSTALLED yet and with all the injectors heading for their holes push down on the fuel rail in and on all four corrners, the same corrners you lifted up on to tremove them. Once its down and the fuel rail is sitting on the LIM I go around and give each injector a little wiggle (side to side turn) to make sure its seated fully in the head. If so, then start putting all the nuts and bolts back on and all the electrical and vaccum lines back on as well.

    For the quick disconnects, lube the fuel rail line where the quick disconnect goes over it with clean motor oil. Push the fuel line on gently and wiggle it side to side gently as you do and when it bottoms out, you will hear a click or few. Give it a tug like you want to take it off to make sure it wont come off. Yes they do have some play in them and they will move back and forth a little so dont worry, thats alright.

    If you dont have any left over parts other than the old o-rings congrads~!

    Now, screw back on the gas cap, and turn the key atleast two times while checking for fuel leaks. If any will happen it will be at the quick disconnects, or around the injectors. If no leaks after a few turns of the key, turn the key atleast 4 to 5 more times to build back up the fuel pressure. (you cant over pressurize the system)

    Start the car and again, check for leaks while running.

    No leaks, you did it right, and you just saved yourself a few hundred bucks, and maybe even your entire car.

    I'm sure you may find a few different ways to do this, but this is how I have always done it and it has worked well for me many of times.

    Good luck when you start and congrads when you finish, and always feel free to ask if you have questions most everyone on this forum is here to help.

    ~Farnsworth~


    NOTE:
    These are for the 1997-2003 Pontiac Grand Prix 3800 Supercharged engine

    O'Reillys part numbers and quanty needed to do the job per vehicle.

    O-Reillys:
    O-rings: need 6 boxs (comes 2 o-rings per box) PN: 27457
    fuel line o-ring kit (for the quick disconnect) one box PN: 27478
    ^^^^^^^^^^^^^^^^^^^^^^^^^^^^^^^^^^^^^^^^^^^^^
    The part number 27478 from O'Reillys is WORTHLESS, DO NOT BUY THIS ITEM!!! The o-rings in the box are the wrong size, and the 1997 year was given to the guy behind the counter. This is a dealer only item, no parts store will sell this over the counter. I will call my dealership in the morning, and order 2 sets and provide the part numbers A.S.A.P.

    Total cost is around $10.00 - $12.00 for the above.

    Remember to lube the new o-rings with clean motor oil before installing them so they will slide and not catch and tear.

    Lets get it done people. Plan to do my girlfriends car tomOrrow and have pictures and a short write up to go along with everything.

    Please keep this alive and bump it to the top as needed so everyone can see it. Never hurts to tell a friend as well.

    ~Farnsworth~
    Last edited by J_Ferguson; 01-05-2008 at 06:00 AM.

    1998 GTP, U-Bend Delete,Hi-Flow Cat,No Res,SLP Headers,BRISK Plugs ,180 T-Stat, 3.4 pully
    2007 GM Show and shine August 10http://www.youtube.com/v/aRh91q1jRio&rel=1
    OQCGP Clubhttp://www.youtube.com/v/j_YHmgU9ehs&rel=1
    Reply With Quote  
     

  8. #8  
    I live here. UR LOSN's Avatar
    Join Date
    Dec 2007
    Location
    Rockford, IL
    Posts
    5,796
    Thanks (Received)
    0
    Likes (Received)
    0
    Dislikes (Received)
    0
    that is a very nice write up. would like to make it a new "How to"
    2001 GTP- PT76 turbo, Intense Drag cars old engine, Stage 4 Intense turbo cam,FMIC,150 wet,Double roller timing chain,Diamond forged coated pistons 8:0:1,Diamond piston rings,Cryoed L32 connecting rods,Cryoed crank,Clevite77 main bearings,Clevite77 cam bearings,Clevite77 L32 rod bearings,ARP Everything, Intense/meizere true billet Flexplate,Intense Wilson UIM/LIM,Intense oil pressure kit,Cometic,OE-R lifters,Cryoed L67 block,ATI turbo dampner,80# inject,Weldon 2035 fp,Aero Fuel Rails,AL cradle
    Reply With Quote  
     

  9. #9  
    Donating Users sra_chipmunk's Avatar
    Join Date
    Dec 2007
    Location
    Georgia
    Posts
    148
    Thanks (Received)
    0
    Likes (Received)
    0
    Dislikes (Received)
    0
    Me and Jason Austin (another local member) eliminated the stock fuel line. We cut the fuel line under the car under the drivers side, and removed it from the engine bay. We then installed a -6 AN compression fitting on the open fuel tube under the car. We used -6 steel braided line from there to the fuel rail/fuel logs. We found this to be the best way to eliminate any chance of a fuel leak and it looks 100% better.
    Yeah its a grand prix, so what, wanna fight about it.
    Reply With Quote  
     

  10. #10  
    GTP Level Member VinnieGTP's Avatar
    Join Date
    Jan 2008
    Location
    Las Cruces, NM
    Posts
    781
    Thanks (Received)
    0
    Likes (Received)
    1
    Dislikes (Received)
    0
    I have a bunch of the quick connect o-rings. PM me your address and I'll throw 2 of each in the mail for you.
    Reply With Quote  
     

  11. #11  
    SE Level Member Belo's Avatar
    Join Date
    Jan 2008
    Posts
    10
    Thanks (Received)
    0
    Likes (Received)
    0
    Dislikes (Received)
    0
    A lot of people have had this problem and it's caused many gps to go up in flames.
    Thrasher CAI, GMPP Catback, Pacesetters, aeroforce, gmpp handling kit, AGXs with SSCs, 180*, MSD Wires, Custome Tune
    Reply With Quote  
     

  12. #12  
    GT Level Member bayareagtp's Avatar
    Join Date
    Dec 2007
    Location
    Milpitas , Ca.
    Posts
    270
    Thanks (Received)
    0
    Likes (Received)
    0
    Dislikes (Received)
    0
    yea they are getting the whole line and replacing it for me . the only thing i hate is my car sitting down the for the last 2 weeks . oh well at least it is getting fixed . thanks for all the info .
    1998 GTP , 3" down pipe w/cat , u-bend delete , full 3" exhaust w/ magnaflows , no resonator , powerslot front rotors , Overkill PCM , Overkill FWI , 180* t-stat , 1* colder plugs , alt. re-wire , alt. stage 1 booster . 215 whp and 238 torque .
    Reply With Quote  
     

  13. #13  
    SE Level Member 01whitegtp's Avatar
    Join Date
    Dec 2007
    Posts
    26
    Thanks (Received)
    0
    Likes (Received)
    2
    Dislikes (Received)
    0
    Quote Originally Posted by sra_chipmunk View Post
    Me and Jason Austin (another local member) eliminated the stock fuel line. We cut the fuel line under the car under the drivers side, and removed it from the engine bay. We then installed a -6 AN compression fitting on the open fuel tube under the car. We used -6 steel braided line from there to the fuel rail/fuel logs. We found this to be the best way to eliminate any chance of a fuel leak and it looks 100% better.
    Can you show me all the stuff needed for this conversion. I have also cut the stock lines off the car but I am running rubber fuel injection hose right now and it has been fine.
    06 GXP - lowered, 20% tint
    Reply With Quote  
     

  14. #14  
    I live here. SyntheticShield's Avatar
    Join Date
    Dec 2007
    Location
    Oklahoma
    Posts
    8,200
    Thanks (Received)
    3
    Likes (Received)
    3
    Dislikes (Received)
    0
    X2. I would like to at some point make some SS braided lines with AN fittings from as far back as I can got all the way up to the rail.
    Reply With Quote  
     

  15. #15  
    Donating Users sra_chipmunk's Avatar
    Join Date
    Dec 2007
    Location
    Georgia
    Posts
    148
    Thanks (Received)
    0
    Likes (Received)
    0
    Dislikes (Received)
    0
    I will see if I can get my can on the ramps today and I will crawl under it and take pics of everything needed to make this work. Stay tuned.
    Yeah its a grand prix, so what, wanna fight about it.
    Reply With Quote  
     

  16. #16  
    I live here. SyntheticShield's Avatar
    Join Date
    Dec 2007
    Location
    Oklahoma
    Posts
    8,200
    Thanks (Received)
    3
    Likes (Received)
    3
    Dislikes (Received)
    0
    Outstanding, thank you soooo much for that.
    Reply With Quote  
     

  17. #17  
    GT Level Member bayareagtp's Avatar
    Join Date
    Dec 2007
    Location
    Milpitas , Ca.
    Posts
    270
    Thanks (Received)
    0
    Likes (Received)
    0
    Dislikes (Received)
    0
    YES !!!!!! i finally get my car back ! its like christmas all over again . the guy said he got this box big enough for a hot water heater filled with my 12ft of fuel line . i cant wait till tomorrow . i can finally start doing some work on my car .
    1998 GTP , 3" down pipe w/cat , u-bend delete , full 3" exhaust w/ magnaflows , no resonator , powerslot front rotors , Overkill PCM , Overkill FWI , 180* t-stat , 1* colder plugs , alt. re-wire , alt. stage 1 booster . 215 whp and 238 torque .
    Reply With Quote  
     

  18. #18  
    Donating Users sra_chipmunk's Avatar
    Join Date
    Dec 2007
    Location
    Georgia
    Posts
    148
    Thanks (Received)
    0
    Likes (Received)
    0
    Dislikes (Received)
    0


    If you have stock rails, this should still work. You would just need to add another compression fitting to add onto your stock rail.

    I left the return fuel line stock because its not really under much pressure and I have yet to hear of anyone having the return line cause an engine fire.

    I have dont this mod to my car over a year ago and is hasnt leaked a drop.
    Yeah its a grand prix, so what, wanna fight about it.
    Reply With Quote  
     

  19. #19  
    GTP Level Member VinnieGTP's Avatar
    Join Date
    Jan 2008
    Location
    Las Cruces, NM
    Posts
    781
    Thanks (Received)
    0
    Likes (Received)
    1
    Dislikes (Received)
    0
    Did you not put the return line on?
    Reply With Quote  
     

  20. #20  
    Donating Users sra_chipmunk's Avatar
    Join Date
    Dec 2007
    Location
    Georgia
    Posts
    148
    Thanks (Received)
    0
    Likes (Received)
    0
    Dislikes (Received)
    0
    The return line is one, You can see it on the bottom pic on the opposite side of the fuel pressure guage. I left that connector stock. It is still connected though.
    Yeah its a grand prix, so what, wanna fight about it.
    Reply With Quote  
     

Page 1 of 2 12 LastLast

Similar Threads

  1. Gasket/Leaking problem
    By Phil_GTP in forum 3.4L V6 (LQ1) DOHC
    Replies: 11
    Last Post: 10-13-2008, 01:48 PM
  2. Fuel Gauge Problems
    By thermanlee in forum General Tech Discussion
    Replies: 9
    Last Post: 05-29-2008, 12:33 PM
Tags for this Thread

View Tag Cloud

Bookmarks
Bookmarks
Posting Permissions
  • You may not post new threads
  • You may not post replies
  • You may not post attachments
  • You may not edit your posts
  •